
Hello there!
I am Madigan and I blog over at Madigan Made. I enjoy sharing simple ideas for crafts, recipes and decor with my readers.
I love word and quotes, so I am more than excited to share a project for “Typography Week” here at the The CSI Project.
But first, I wanted to give you a little background on the subject matter of this sign:
I am slowly redecorating our basement with a sports theme. I wanted a cute piece of art for the room, but I did not want it to scream “sports.” What do you eat at baseball games? What also represents Philadelphia? (we support all their major sports teams, even the Sixers.) The answer… Pretzels!

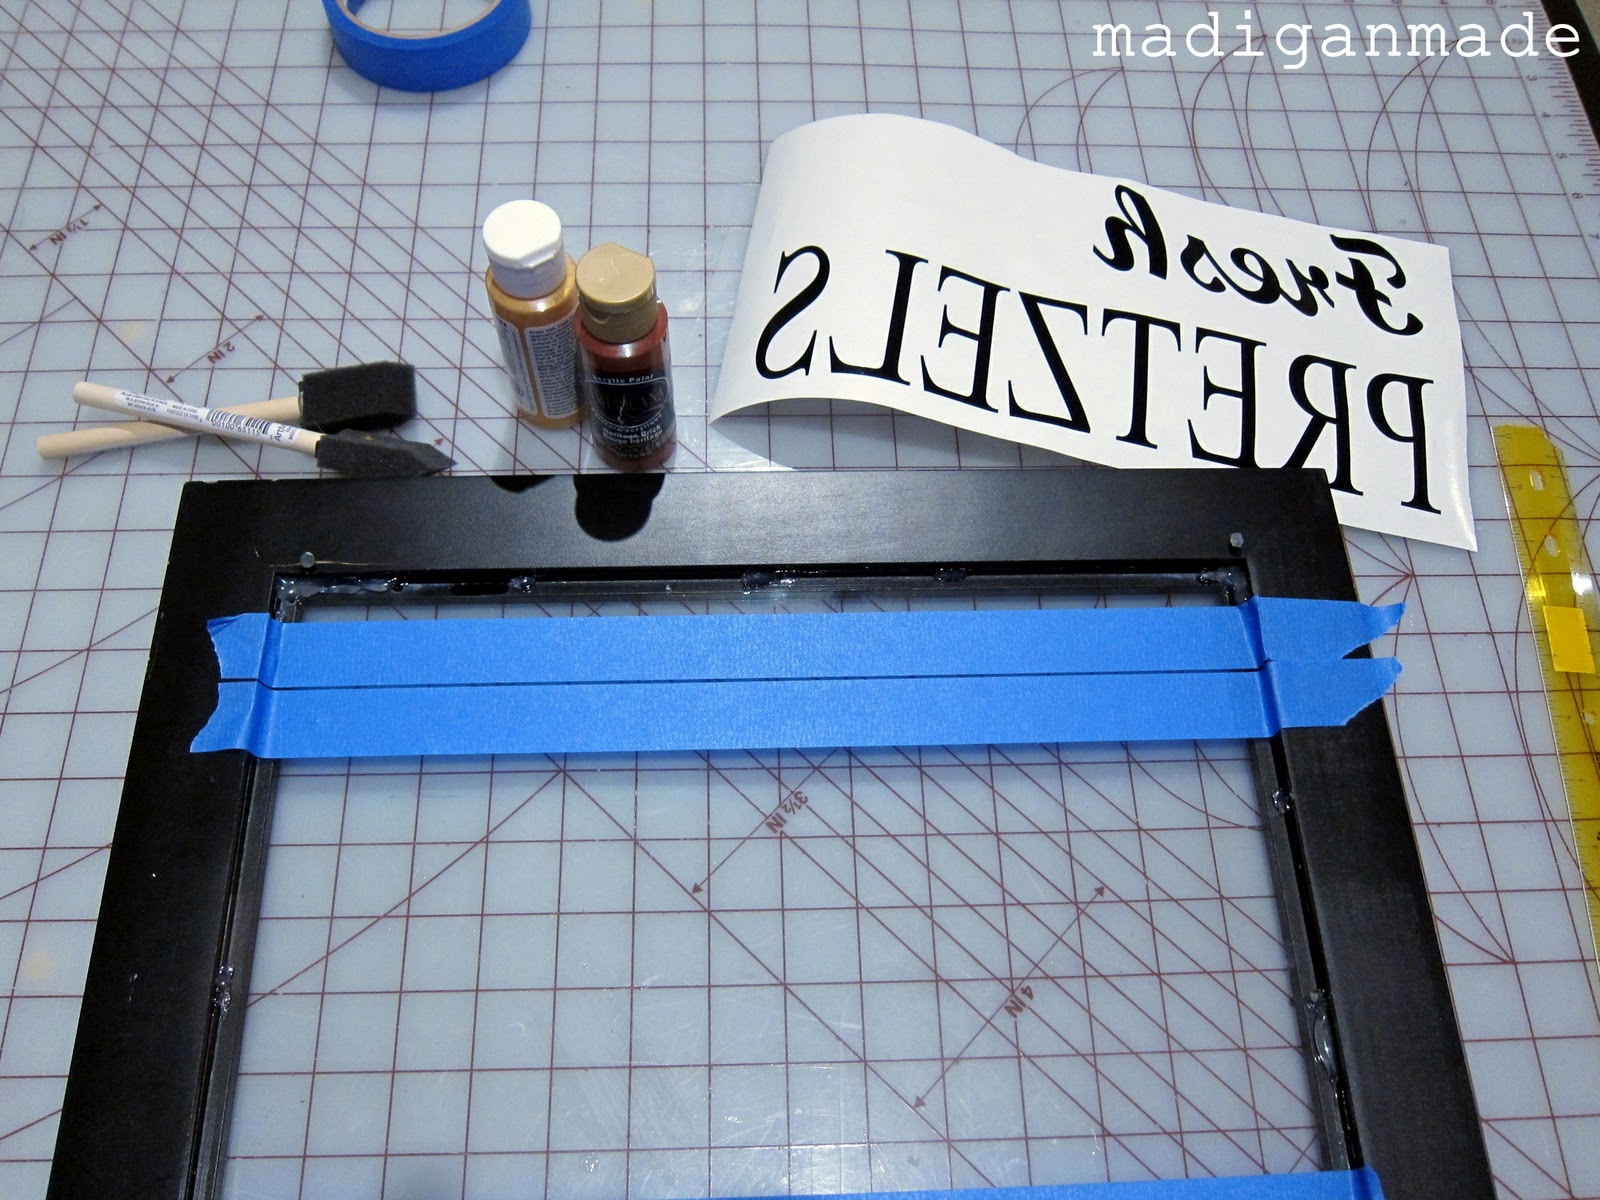
Gather the supplies needed.
– Picture frame with the glass intact (I used an old 11″x14″ frame from Michaels)
– Acrylic paints (red, gold and black)
– Antiquing medium
– Vinyl letters (cut out as a mirror image using a die cutting machine)
– Masking tape
– Paint brushes
– Glue gun
Cut out words in vinyl with a die cutting machine. Make sure the images are a mirror image, so that when adhered to the frame, you’d see the words correctly from the front.
Open up the frame so you can see the back of the frame and glass. You can put a few dollops of glue from a glue gun in the corners to hold the glass in place.
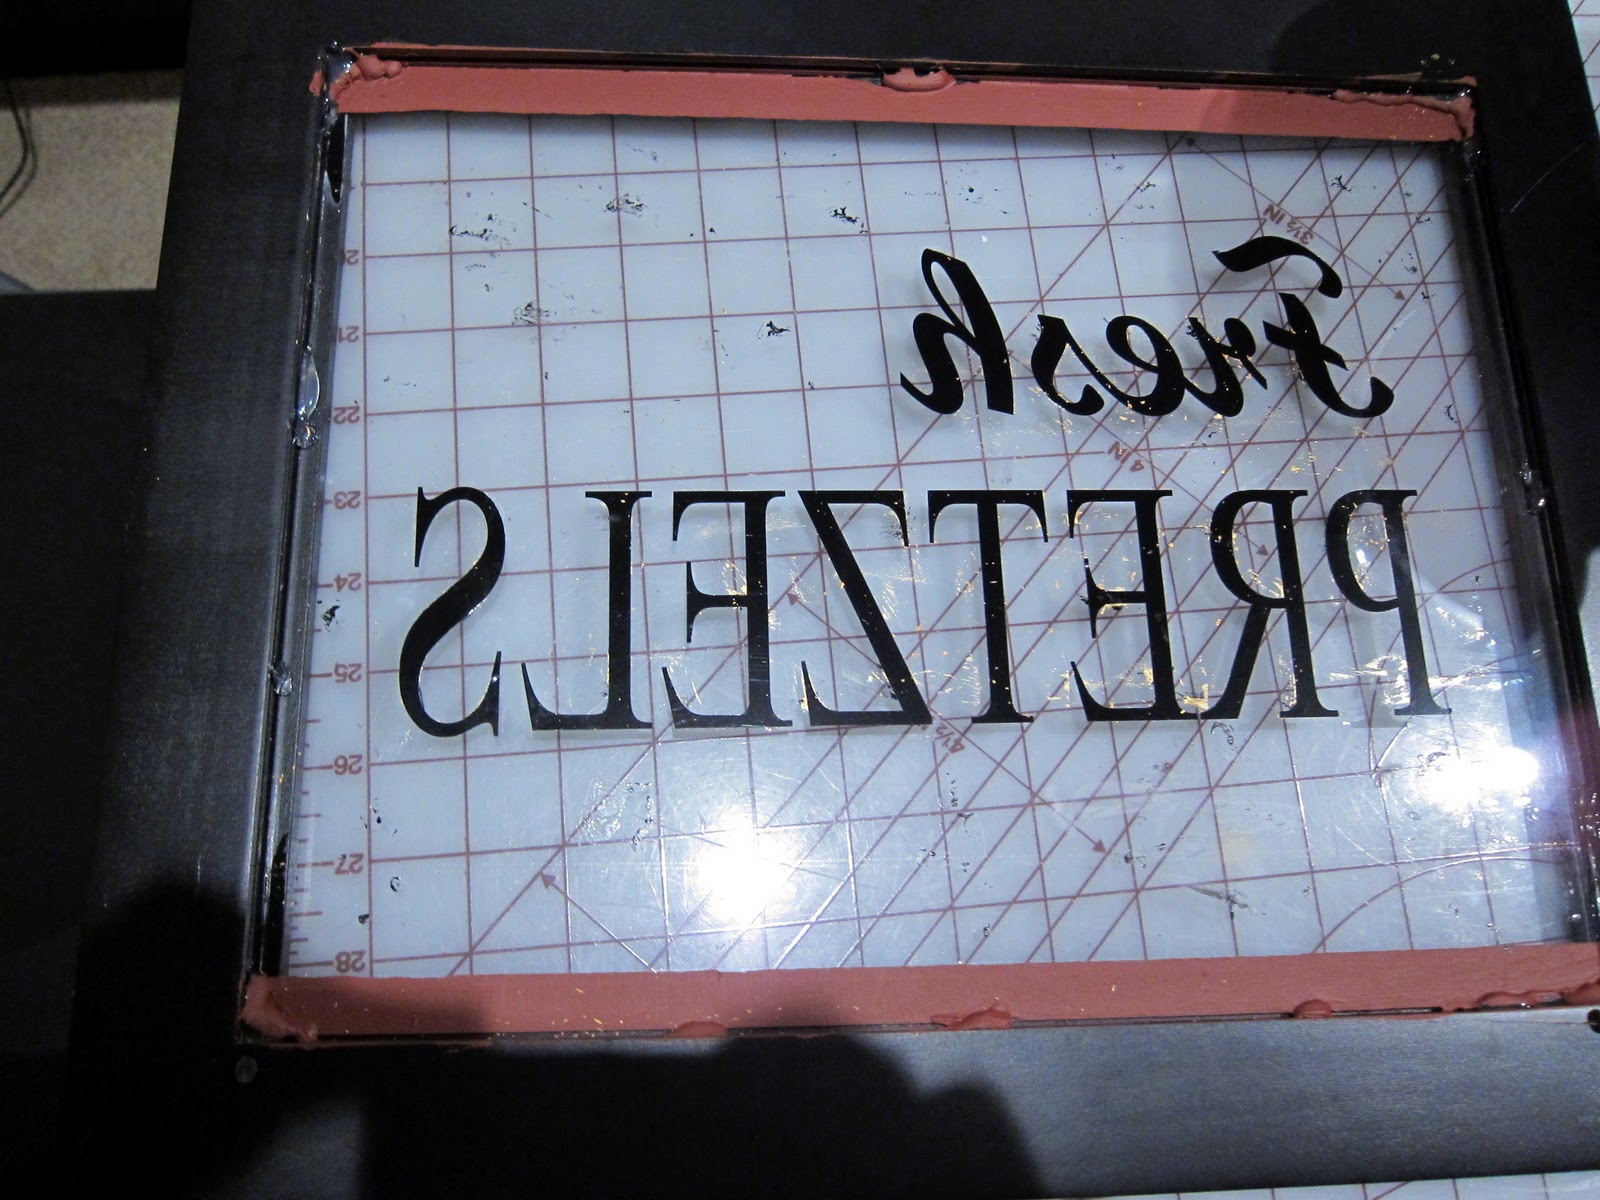
Optional step: If you want a stripe, tape off and paint two red stripes with several coats craft paint on the top and bottom of the glass.

Next, take your brush and dab some gold paint randomly on the glass where the letters will be placed. You also may want to dot a few spots of black paint around the glass, too. This helps to start the layered paint look. If you don’t do this now, you will not see some of the gold ‘in front’ of the black letters. When painting on glass, you kinda have to work “in reverse.”
Using transfer paper, place the vinyl words on the glass.
This next part is fun. Start to paint MANY layers of gold paint onto the back of the red lines and vinyl. Every once in awhile you can purposely scratch at the finish, then add another layer of paint. At one point, you can also use a layer of antiquing meduum, too. There really are no rules here. Whatever you do will help add to a layered and worn finish.


I’m so glad I chose to pay a little homage to soft pretzels… they are one of my favorite indulgences. If you cannot get your hands on one of these soft & salty beauties… I am truly sorry! (and the ones from your grocery store freezer cannot hold a candle to bakery fresh!)

A big CSI welcome and thank you to Madigan for an awesome tutorital to kick off our week of typography projects!!! Also, if you missed the info on The CSI site overhaul and new schedule, be sure to read
THIS POST.
The NEW linky will now go up on Thursday 9am EST.