
Hiii there!!

I am Madigan from Madigan Made. Have you ever stopped by my blog? Well, c’mon over! I love to blog about all kinds of crafts, decor projects and recipes. (The simpler the better!) It’s the little things that I love: pretty paper, new recipes, fresh spray paint, cute ribbon, great fabric, a strong cup of coffee, shopping and dark chocolate. (And, of course, my hubby and pup!) You are welcome to follow my adventures in the kitchen, at the craft table or in the yard with a can of spray paint.
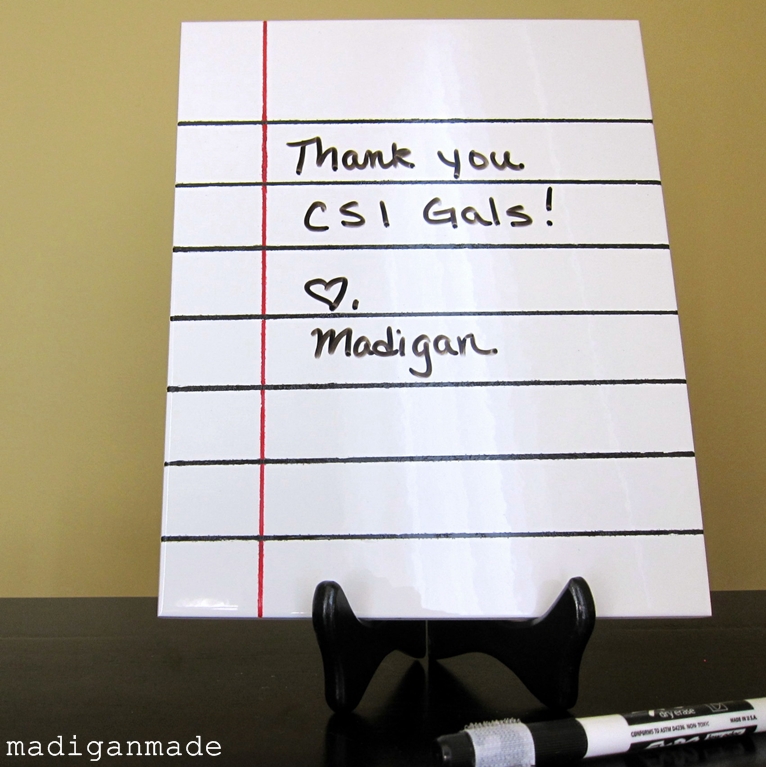
Today I am sooo excited to share a Five Dollar Challenge project with the CSI Girls!
I made this loose leaf inspired dry erase memo board out of a piece of white tile.
I find that the hardware store is a great place to find cheap-y cheap materials for projects.
I went there for some inspiration for this $5 project.
In the back of my mind, I remembered that my sister-in-law made small dry erase boards from 4"x6" tile in the past.
Can I tell you how excited I was to find these big 8"x10" tiles instead?? For $1.07 each?
Once I saw that the tile was close to the size of a piece of paper, I immediately knew the memo board needed to be a ‘loose leaf’ paper. (This loose leaf project from Flamingo Toes inspired me, too.)
Want to know how to make one of these memo boards? Follow the steps below.
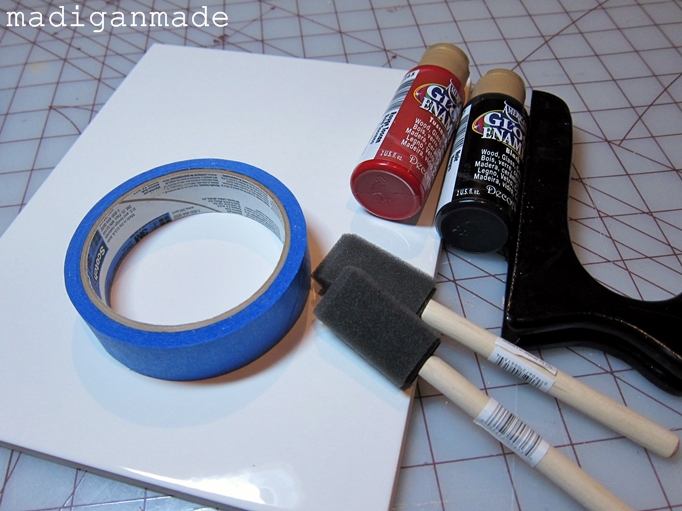
Supplies Needed:
1 8"x10" white glazed tile
Enamel craft paints (red and black)
1" masking/painters tape
Dry erase marker
Hook & loop tape
Picture stand
Equipment needed:
Brushes
Glue gun & hot glue
Oven
Directions:
1. Clean the tile surface thoroughly.
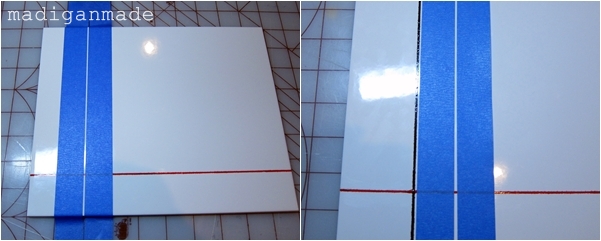
2. Using two strips of tape, mark off a thin line about 1.5" from the longest edge of the tile. (having a cutting mat with a grid underneath helps guide you, but is not necessary)

3. Paint a red line. Immediately remove the tape while the paint is still wet. (this prevents the tape from peeling up the paint)

4. Allow the red line to dry for several hours. Why? Because if you move on too quickly to the next step, you will peel off the red paint – just like I did. Oops. That required a few touch ups!
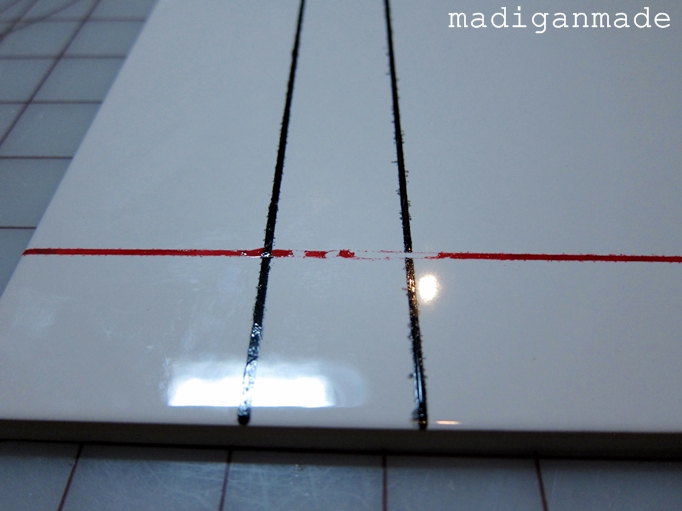
5. Using two strips of tape, mark the first perpendicular black line about 2" from the ‘top’ of the tile.
6. Paint the black line (it will cross over the red line). Remove the tape immediately.
7. Mark a second black line about 1" below the first. Use the width of the tape as a guide. Paint that line and remove the tape right away.
8. Repeat step 7 over until you worked your way down to the bottom of the tile. Do your best to keep the lines even, but don’t worry too much. My lines are not perfectly crisp or parallel, but I think it adds to the charm of the board, right? 😉
9. If you see any bleeding paint that got under the tape, gently scrape away at the edges of each line to clean them up a little.
10. Allow the paint to dry for 48 hours. Bake the tile in the oven according to the paint manufacturer’s instructions.

11. Attach a small piece of hook and loop tape to the back of the tile and around the marker cap with your glue gun. This will be an easy way to store the marker near the memo board.
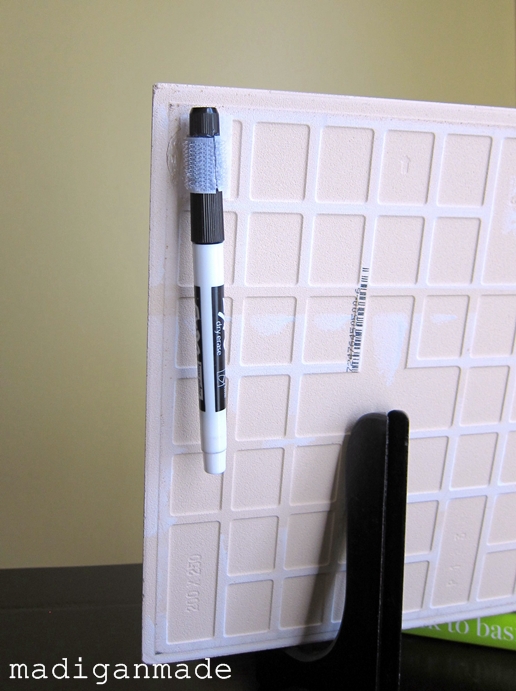
12. Place the tile in a plate holder and use it to keep all your important notes!

The dry erase marker will easily wipe off the glazed tile with a damp cloth. But the baked on lines should stay put. I would be careful not to use the marker near the red line, because it might not wipe off of that line. If you use a black marker – it should not matter if the marker hits the black paint. (That is why I chose to paint black horizontal lines.)
Wouldn’t these memo boards be cute for a student’s desk,
dorm room or teacher’s gift?
And they are cheap to make!
Want to see the cost break down of my supplies?

Thanks so much for letting me show you this inexpensive project.
And a BIG thanks to the CSI Girls for the opportunity to share it with you!
If you like this craft, you may be interested in some of my other projects.
I’d be delighted if you wanted to visit me over at Madigan Made. Please stop by and say hi!