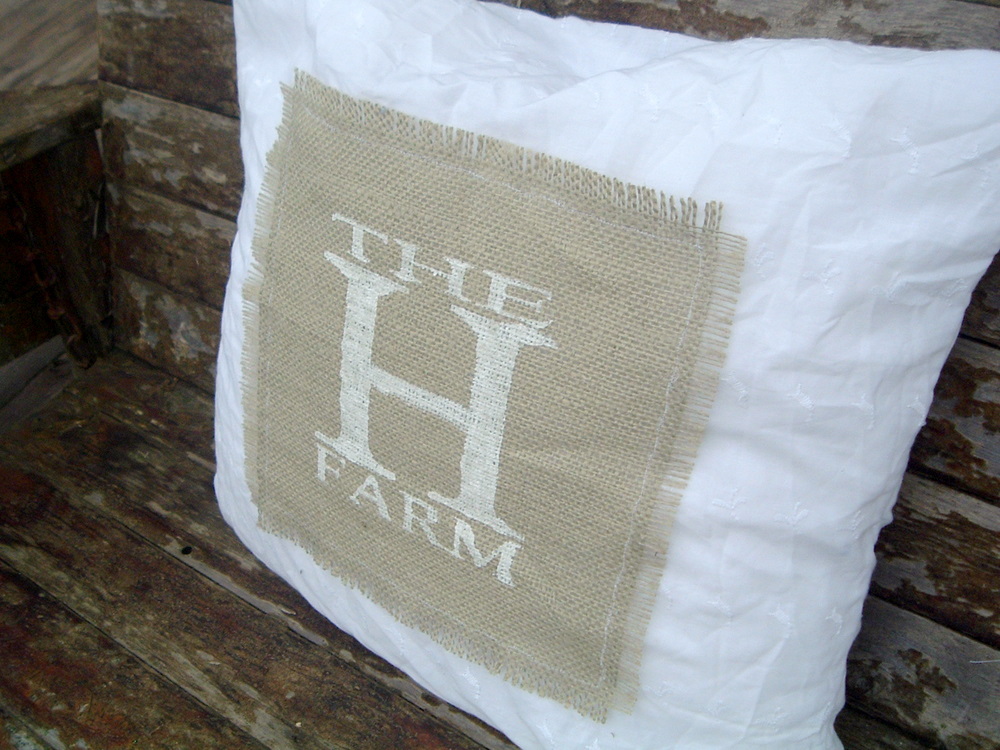
So happy to be guesting on the CSI Project today! My name is Angie with The Country Chic Cottage. I practically raced to volunteer for burlap week!! I admit it…I love burlap! I am all about a rustic, farmhouse feel and burlap goes so well with that. So for today, I made a Burlap and Lace Pillow.
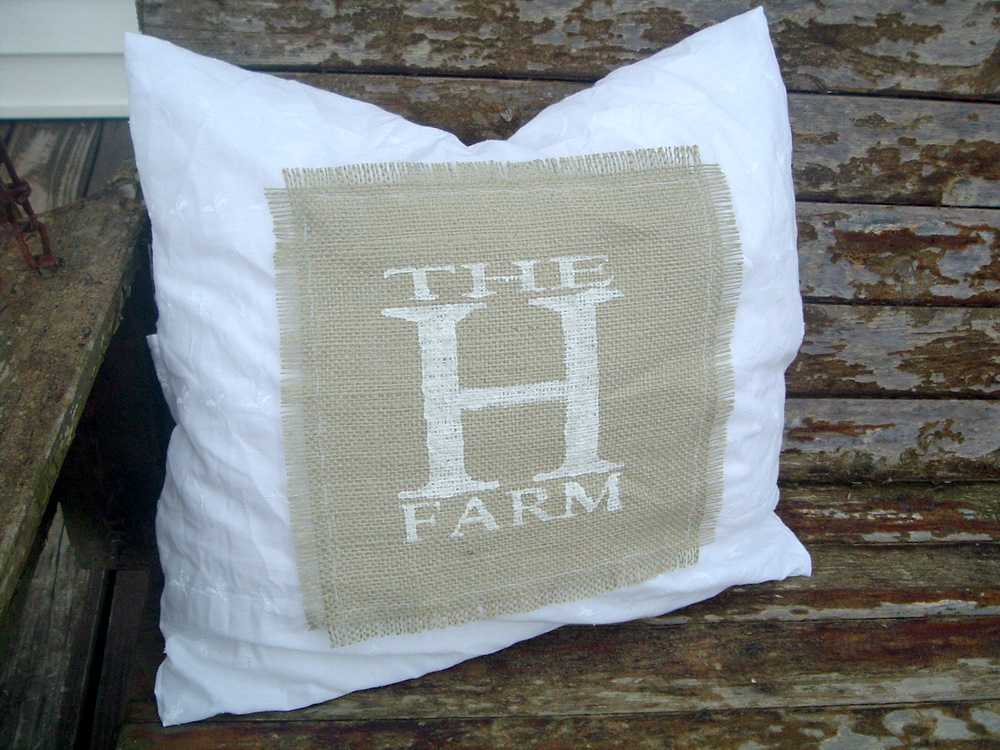
The graphics on the front could of course be anything you wish…for me I decided to show off the fact that we live on a farm!
First of all let’s work on the burlap portion. My pillow cover measures about 17 x 17 and I started with a 10 x 10 inch square of burlap and some fray check. You can get fray check at Wal-mart or any hobby store. It is not expensive and it sure does the job!
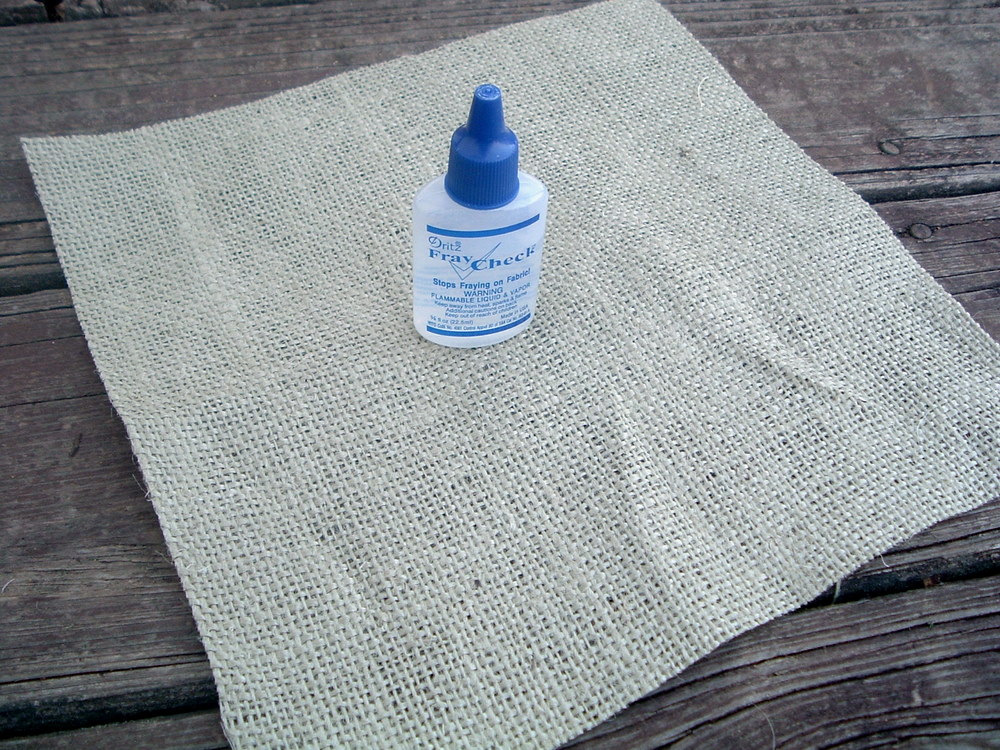
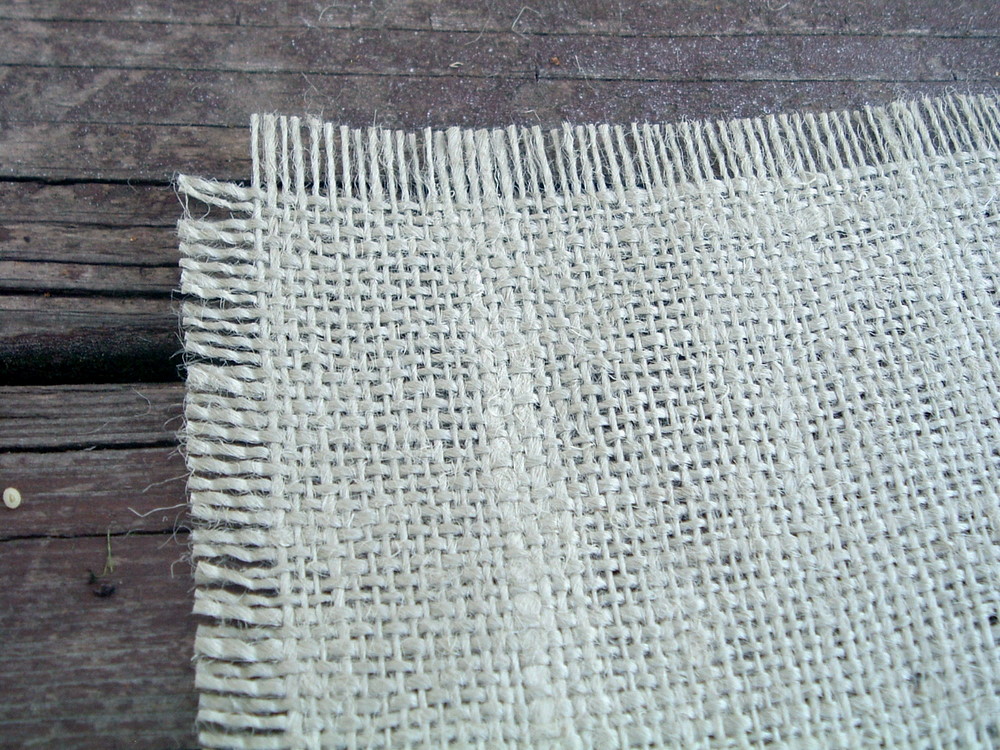
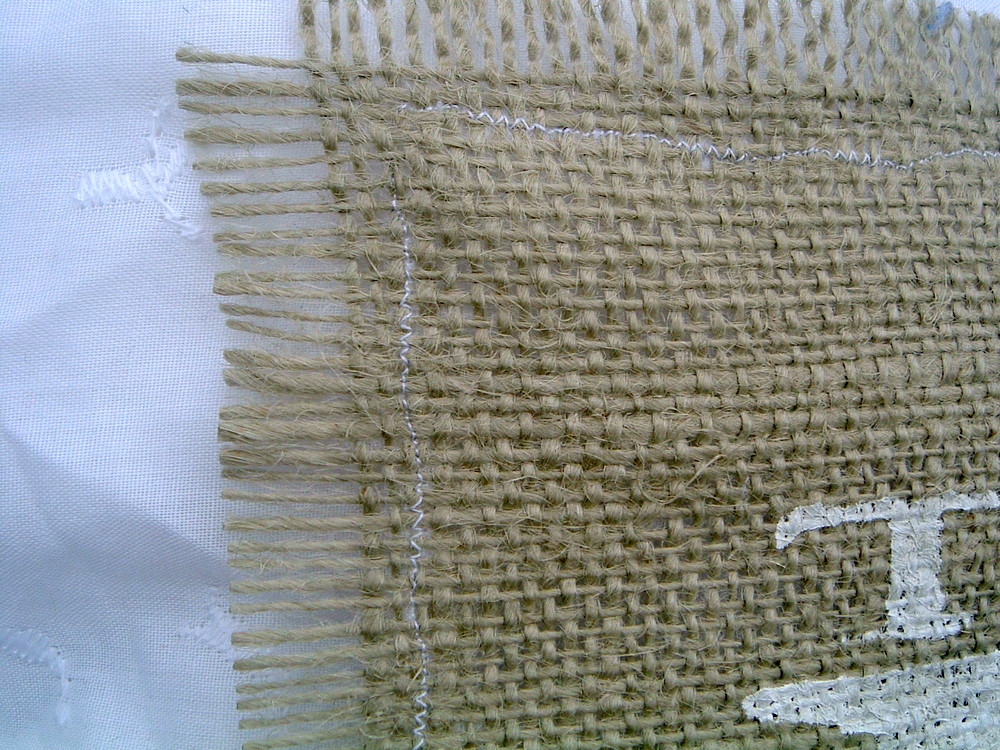
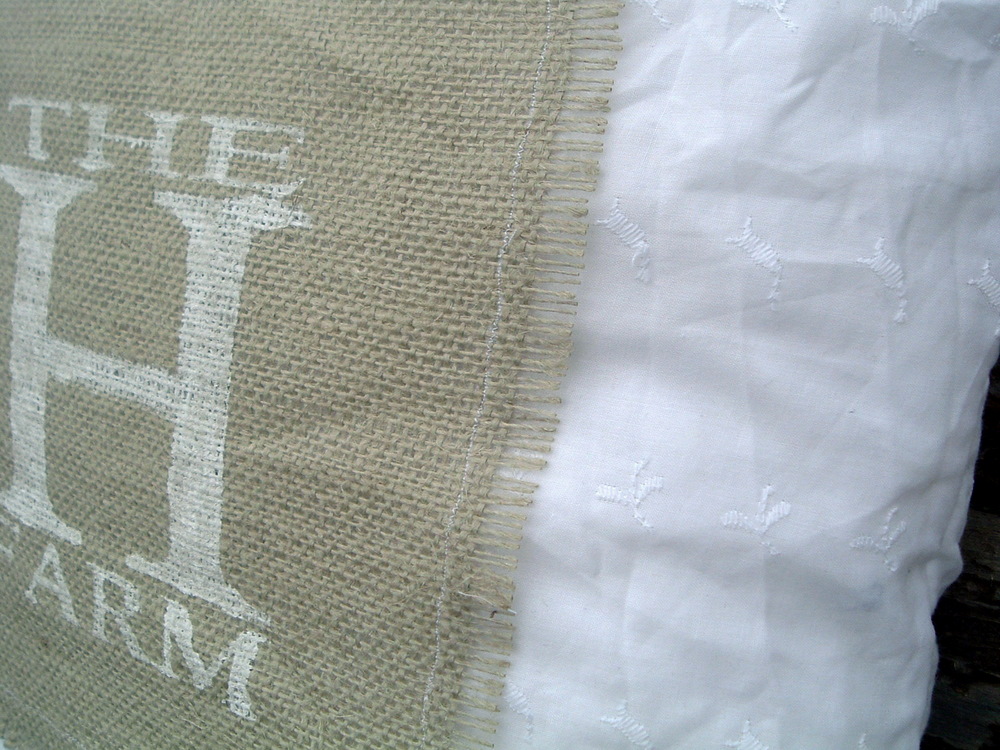
The first thing I did was to pull out pieces of burlap all around the edges to get a frayed edge. I pulled 5 strings around each side — the amount is up to you and how much fray you want. Then just use your fray check liberally all around that outside edge. After it dries it does not affect the color. However you can use the fray check on the back of your square if you are worried about it.
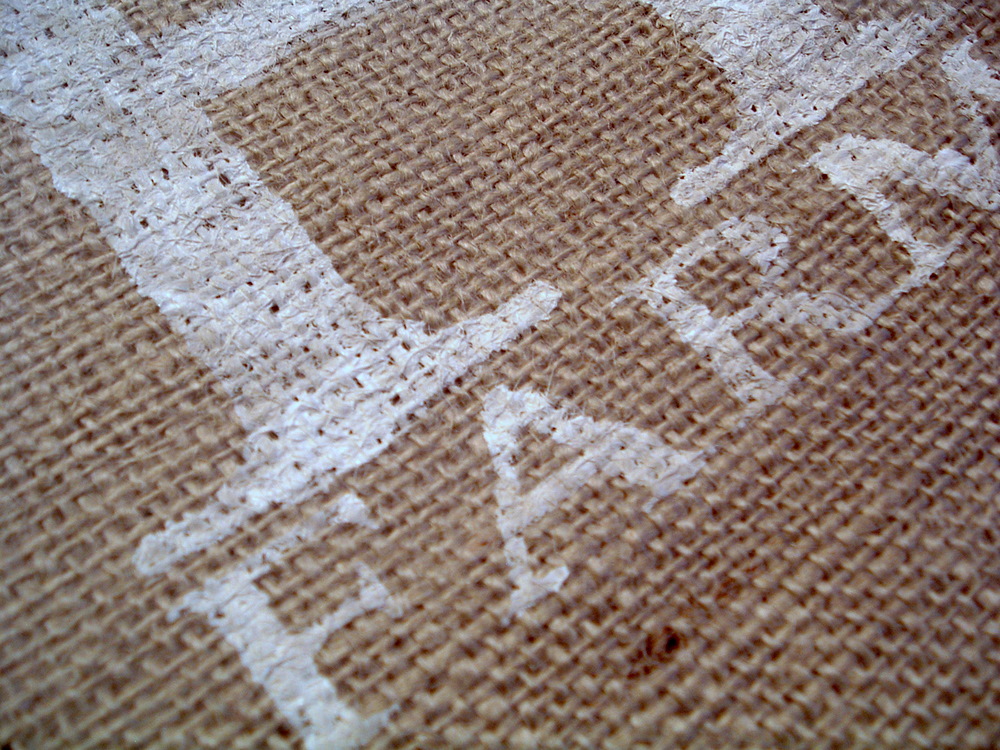
I then used my silhouette to design and cut out my graphics. I use little pieces of tape to hold in the middles of my letters.
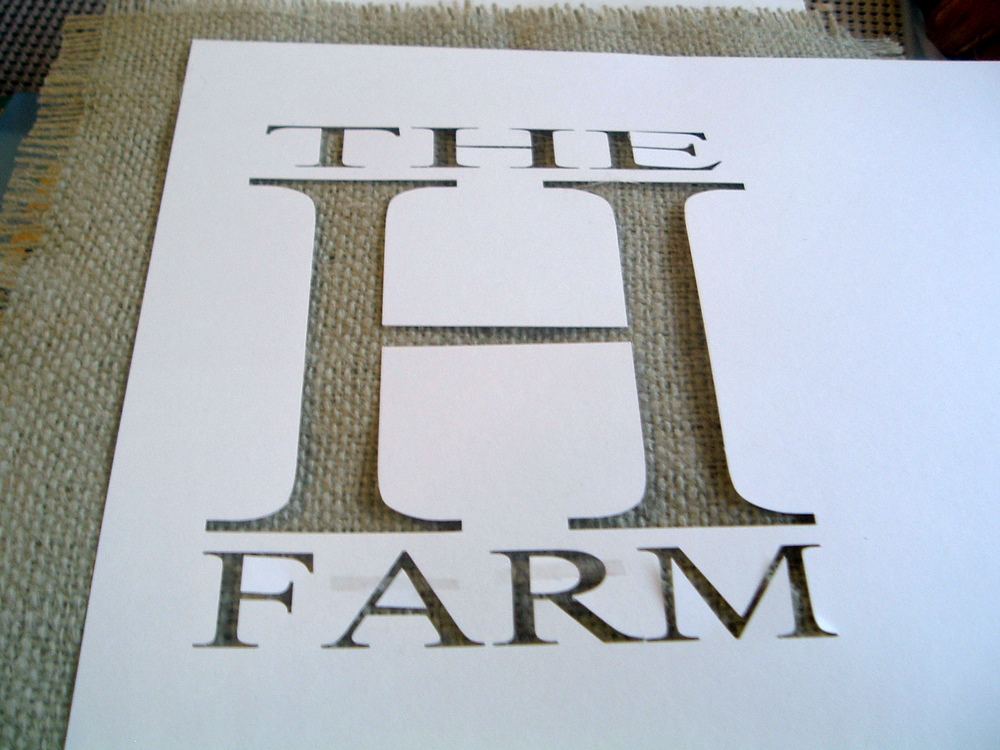
I heart the way white paint looks on burlap! Stenciling on burlap is not an exact science — all those bumps leave some room for your paint to run. But I love the way it turned out!

And the area where I used tape to hold in the letter middles, I touch up by hand with a small brush.
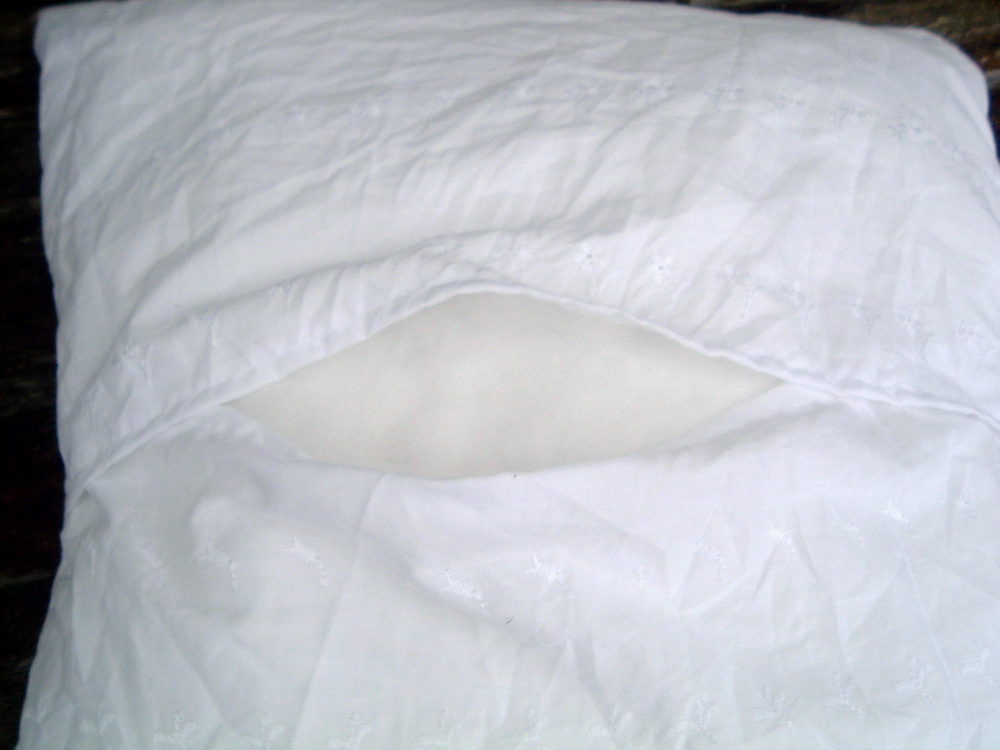
Now while that is drying, let’s talk about the “lace” portion! I love this fabric…love! I have used it in several places in my bedroom.
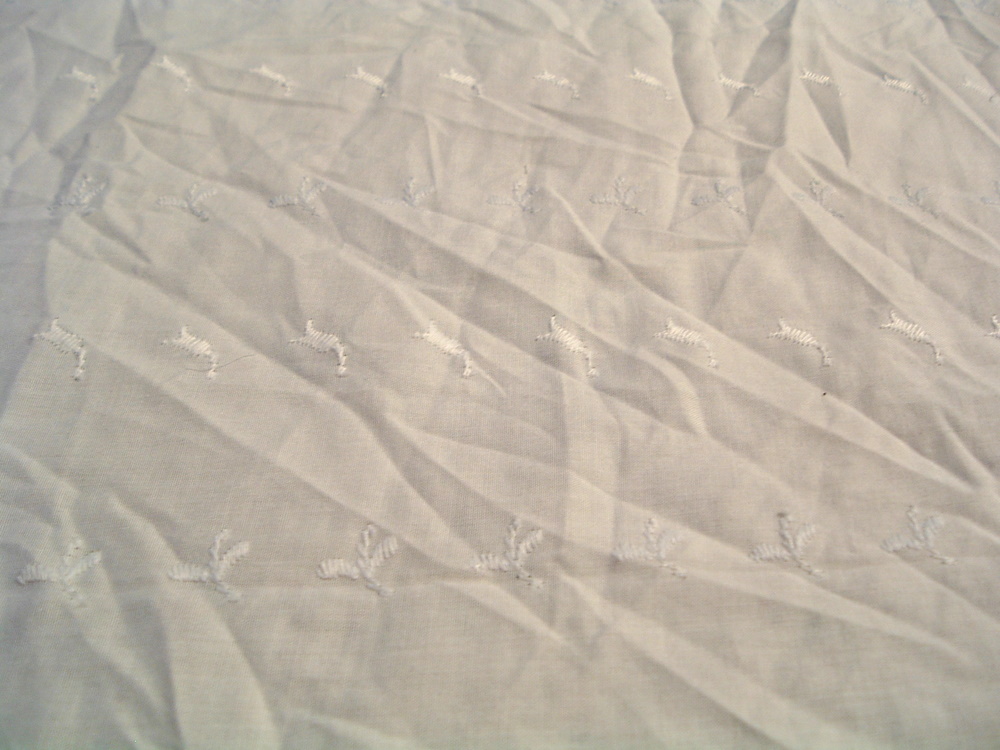
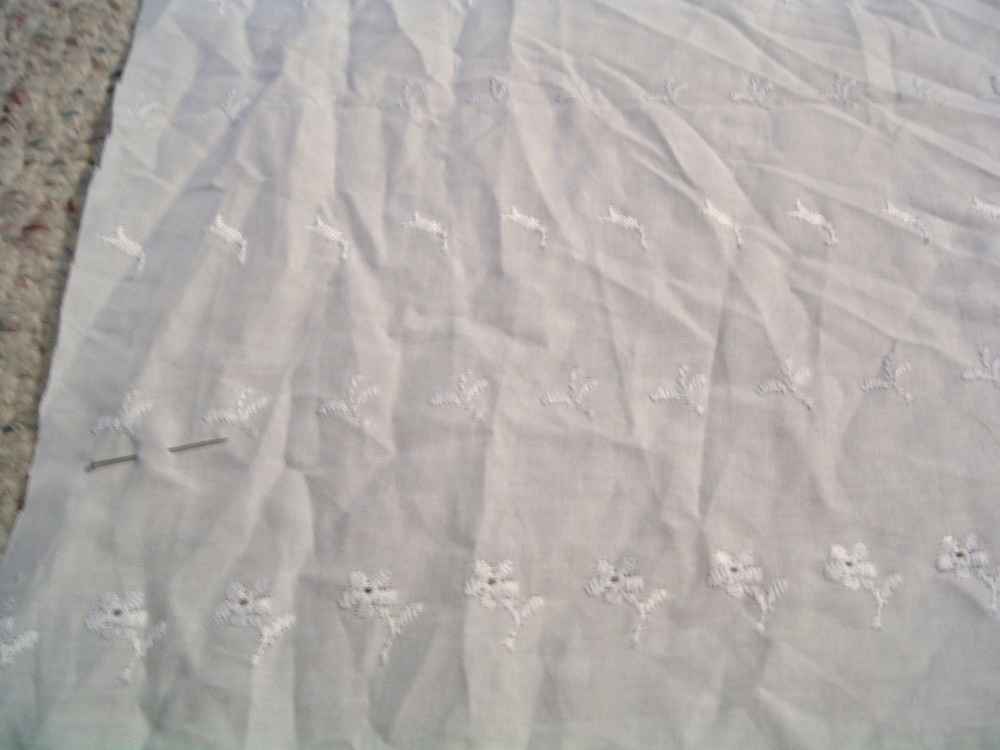
I just cut one looong strip. Enough to cover the front and back of my pillow plus some overlap for an envelope closure. Make it the width of your pillow plus a seam allowance. I then marked with pins where the “front” of the pillow will be — top and bottom.
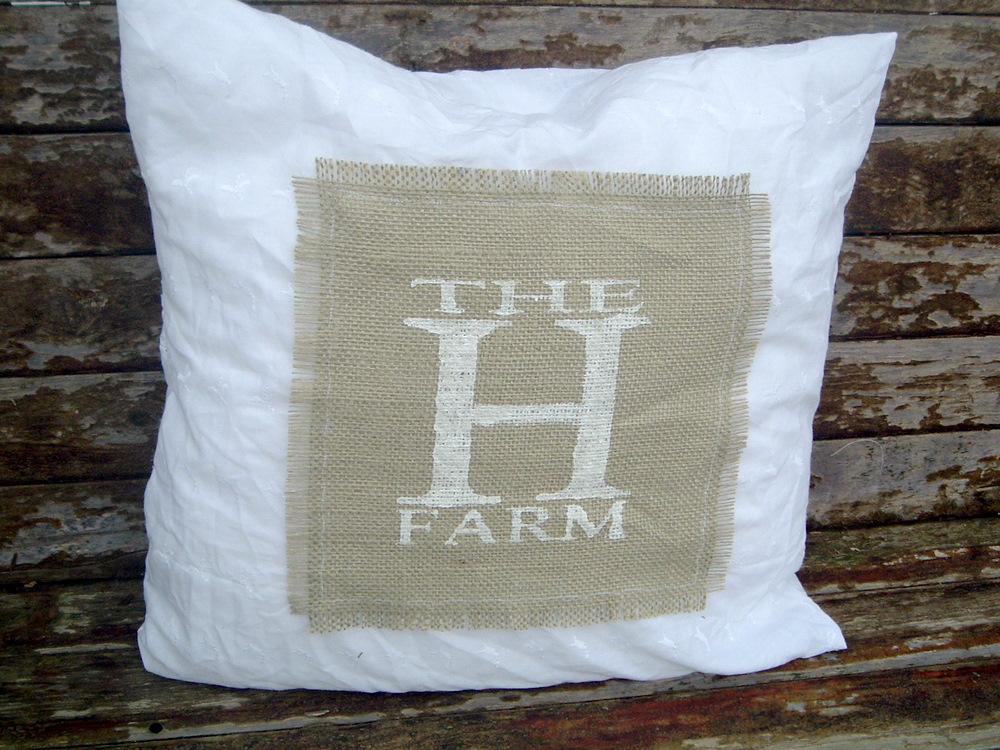
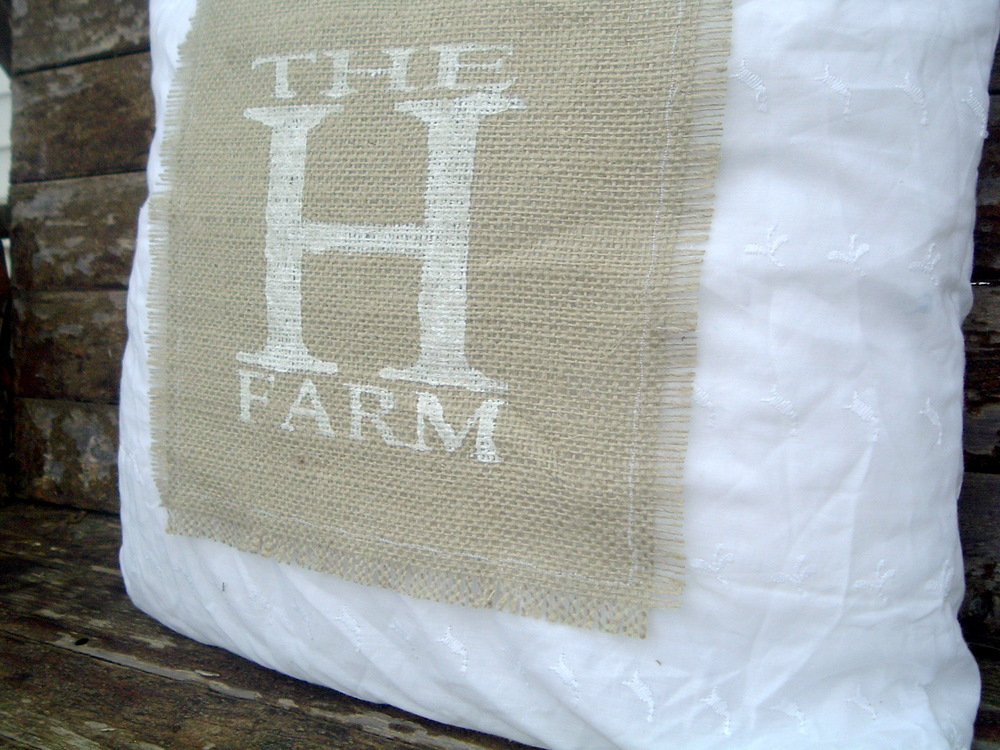
Then once your burlap piece has dried, center it on the front area of what will be your pillow and pin in place.
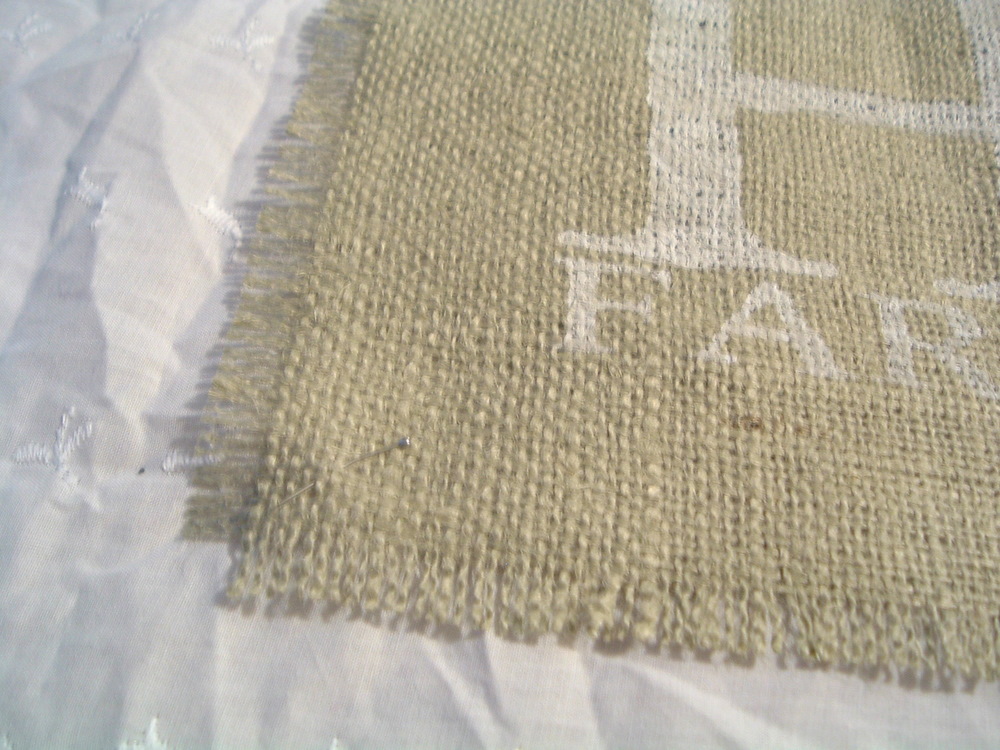
I used a fancy stitch on my machine to go all the way around the burlap piece. A straight stitch will work fine.
Sew around all 4 sides.

Now to make your pillow cover, you just have to hem both ends. Then fold your long piece on the pins from up above where the right sides are in (so burlap to the inside!). Sew up both sides of the pillow cover. And flip right side out through your envelope closure. Stuff in your pillow form.
Then enjoy the great pillow cover with an awesome contrast in texture!
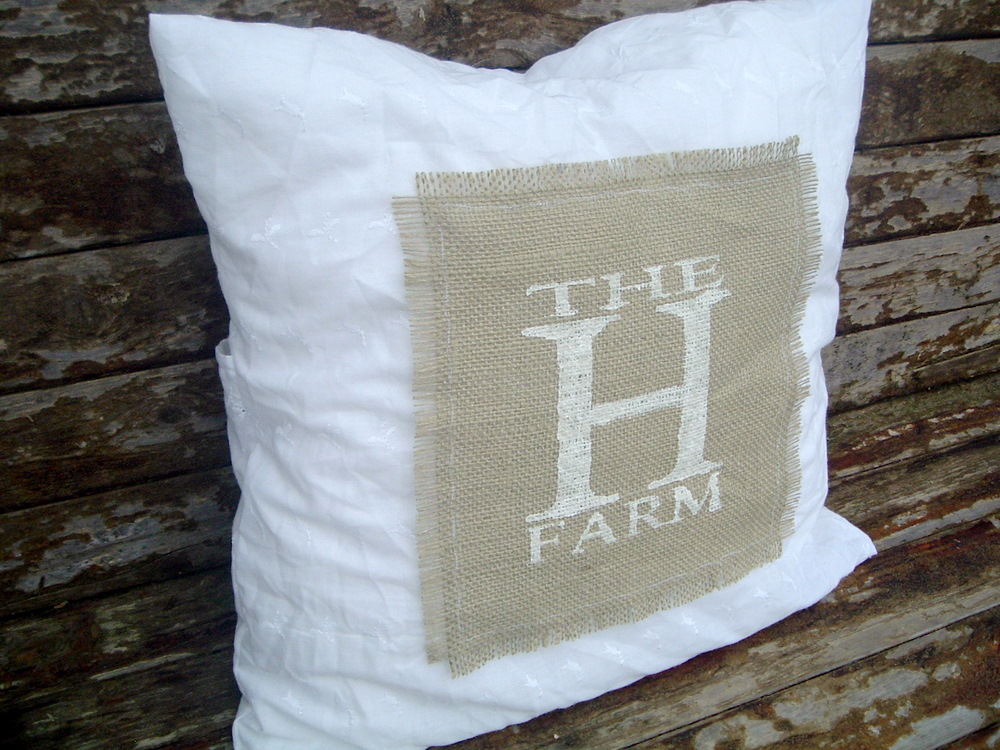
I love different textures combined into one!
Gorgeous lace accents that are store bought…
You can change the front graphics to anything your heart desires. Perhaps a silhouette? A fleur de lis? A bird?
Go ahead and stalk your fabric store for some lacy goodness so you can make your own!
For even more burlap ideas, head on over to my blog. You will find burlap and ribbon pillows, framed burlap monogram, burlap decor ball, plus oh so much more! Many thanks to the CSI girls for having me today!
~Angie~