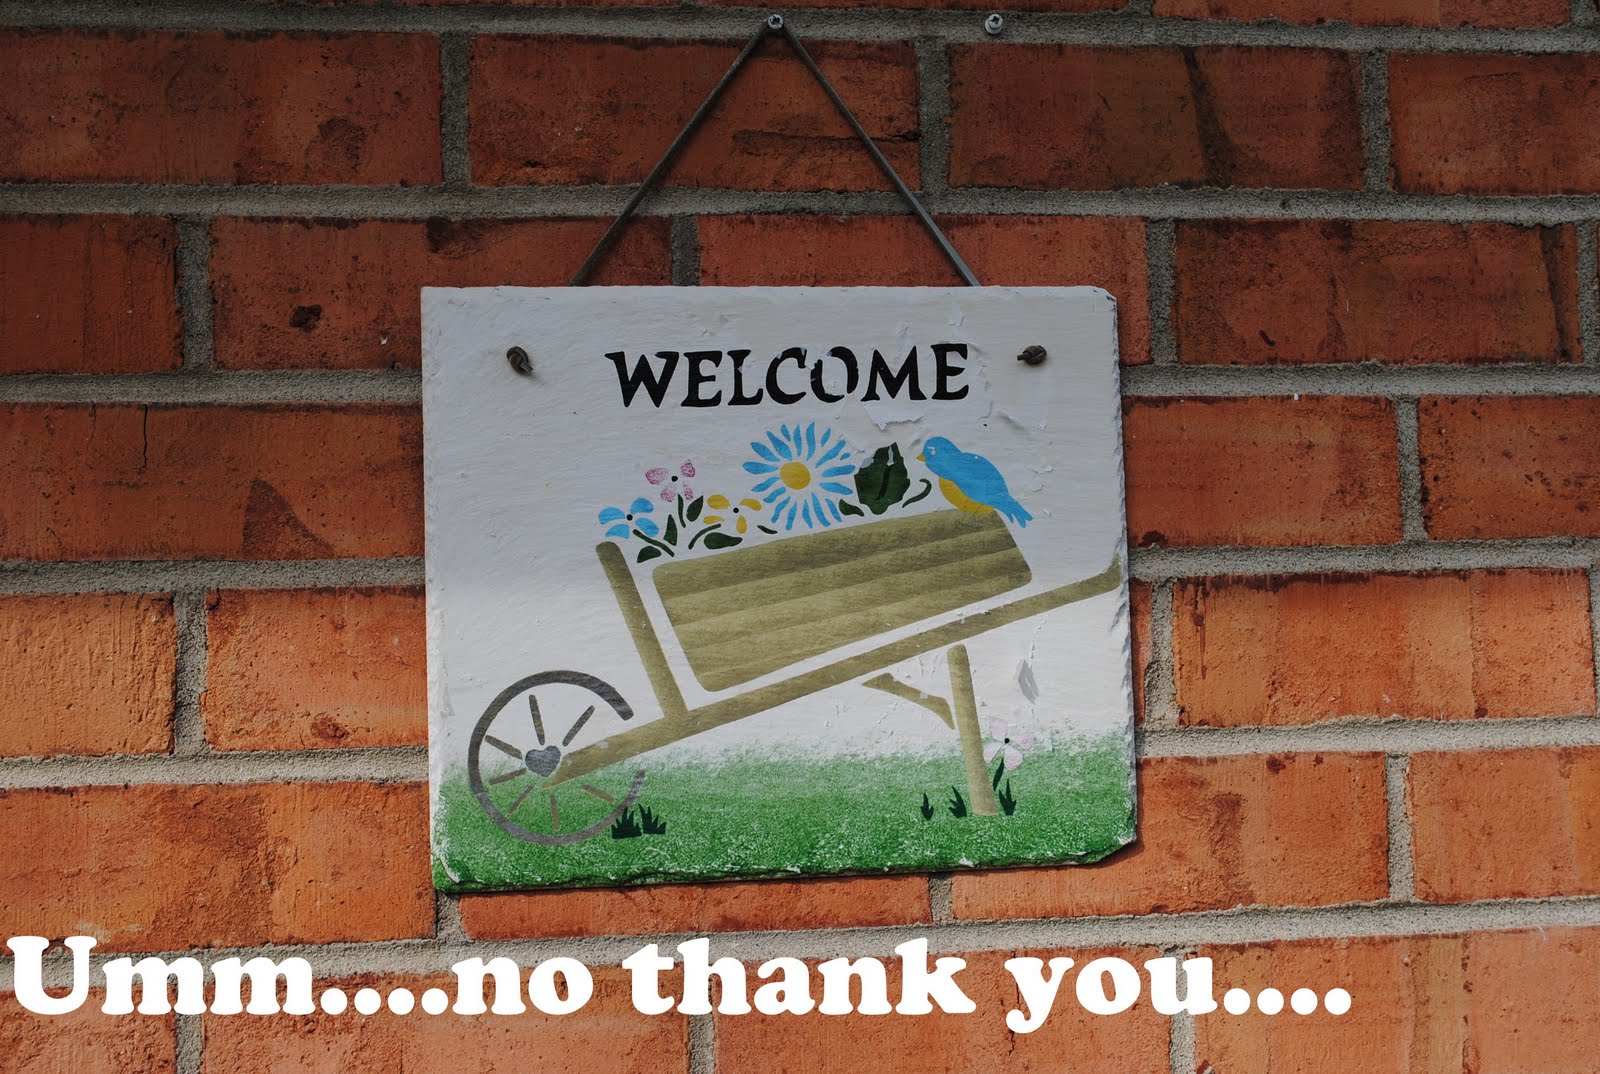
They say curb appeal is everything. I’m not particularly sure who "they" are, but they know what they’re talking about! When I took a closer look at the hanging decorative slate I had on the brick wall outside my front door, I was really embarrassed! I didn’t want to greet my guests with something that not only has peeling paint, but is also just not really my style.

Today’s project would be simple to recreate, even if you don’t have a slate. A board, old plaque, or framed paper would work just as well. (But if you’d like a slate, I see them in thrift shops all the time)

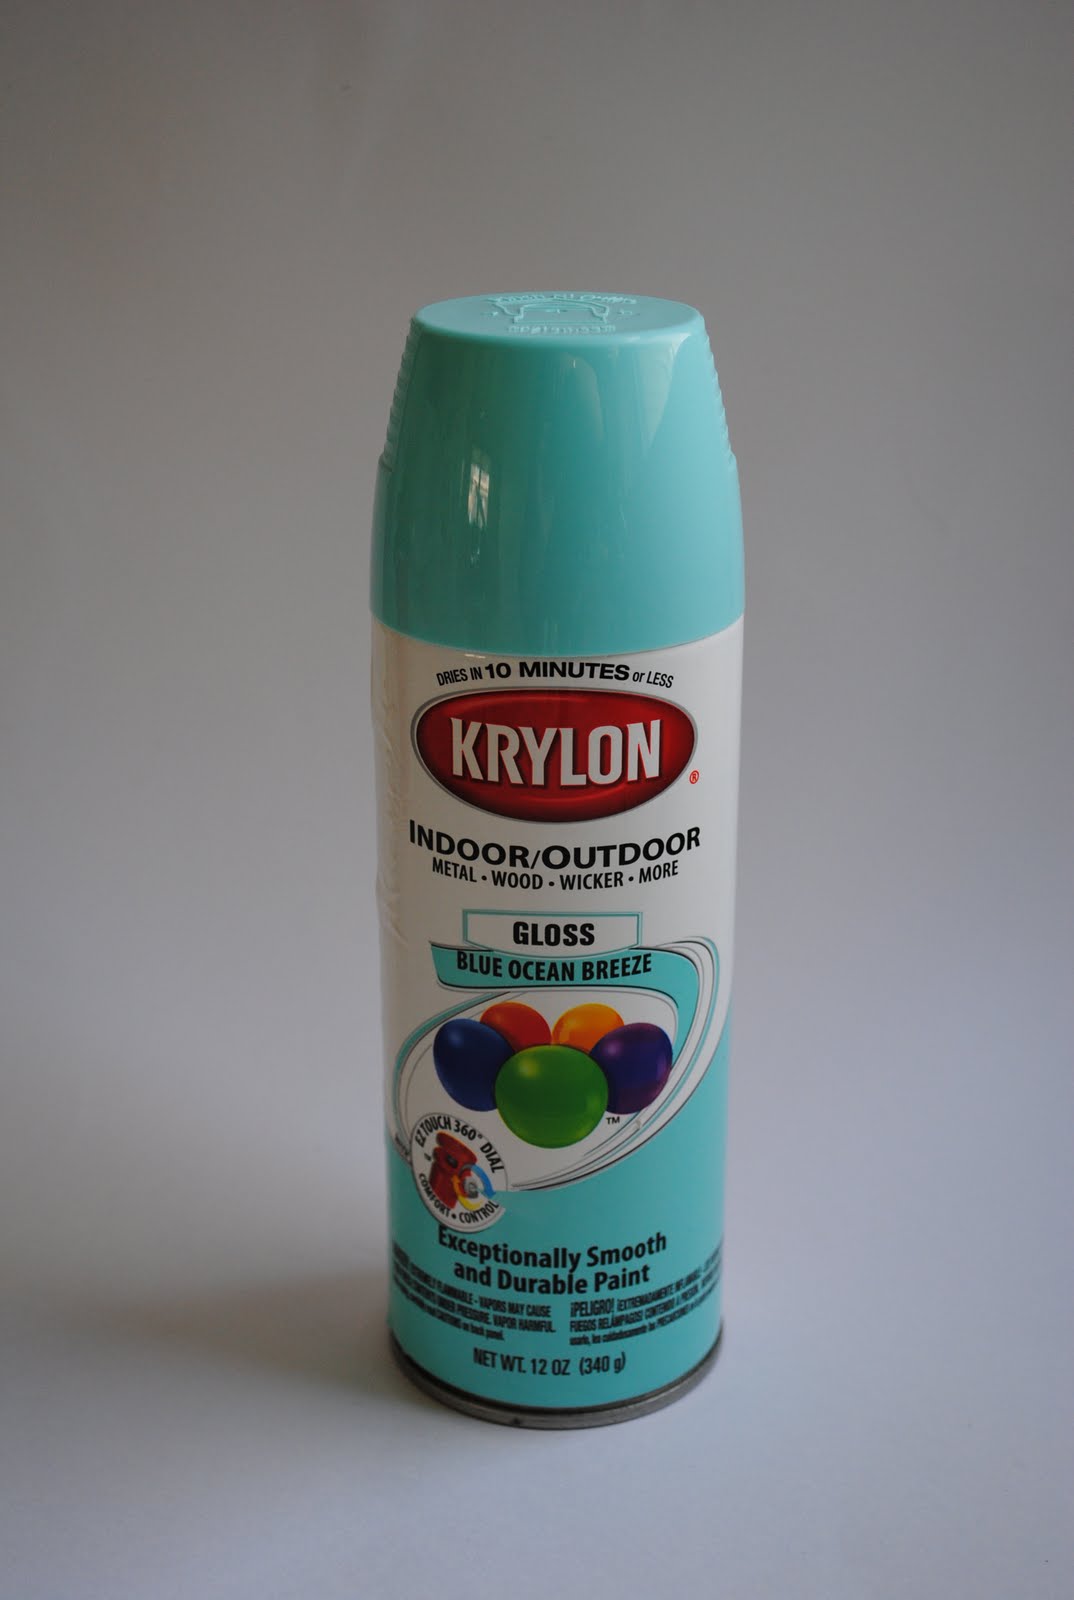
After doing a bit of brainstorming, I rounded up my basic supplies to work on a transformation. The real star of the show was my new Krylon Blue Ocean Breeze spray paint.
I sanded down the slate to get the icky peely stuff off, and took it to my high tech spray painting work station, otherwise known as the back yard.

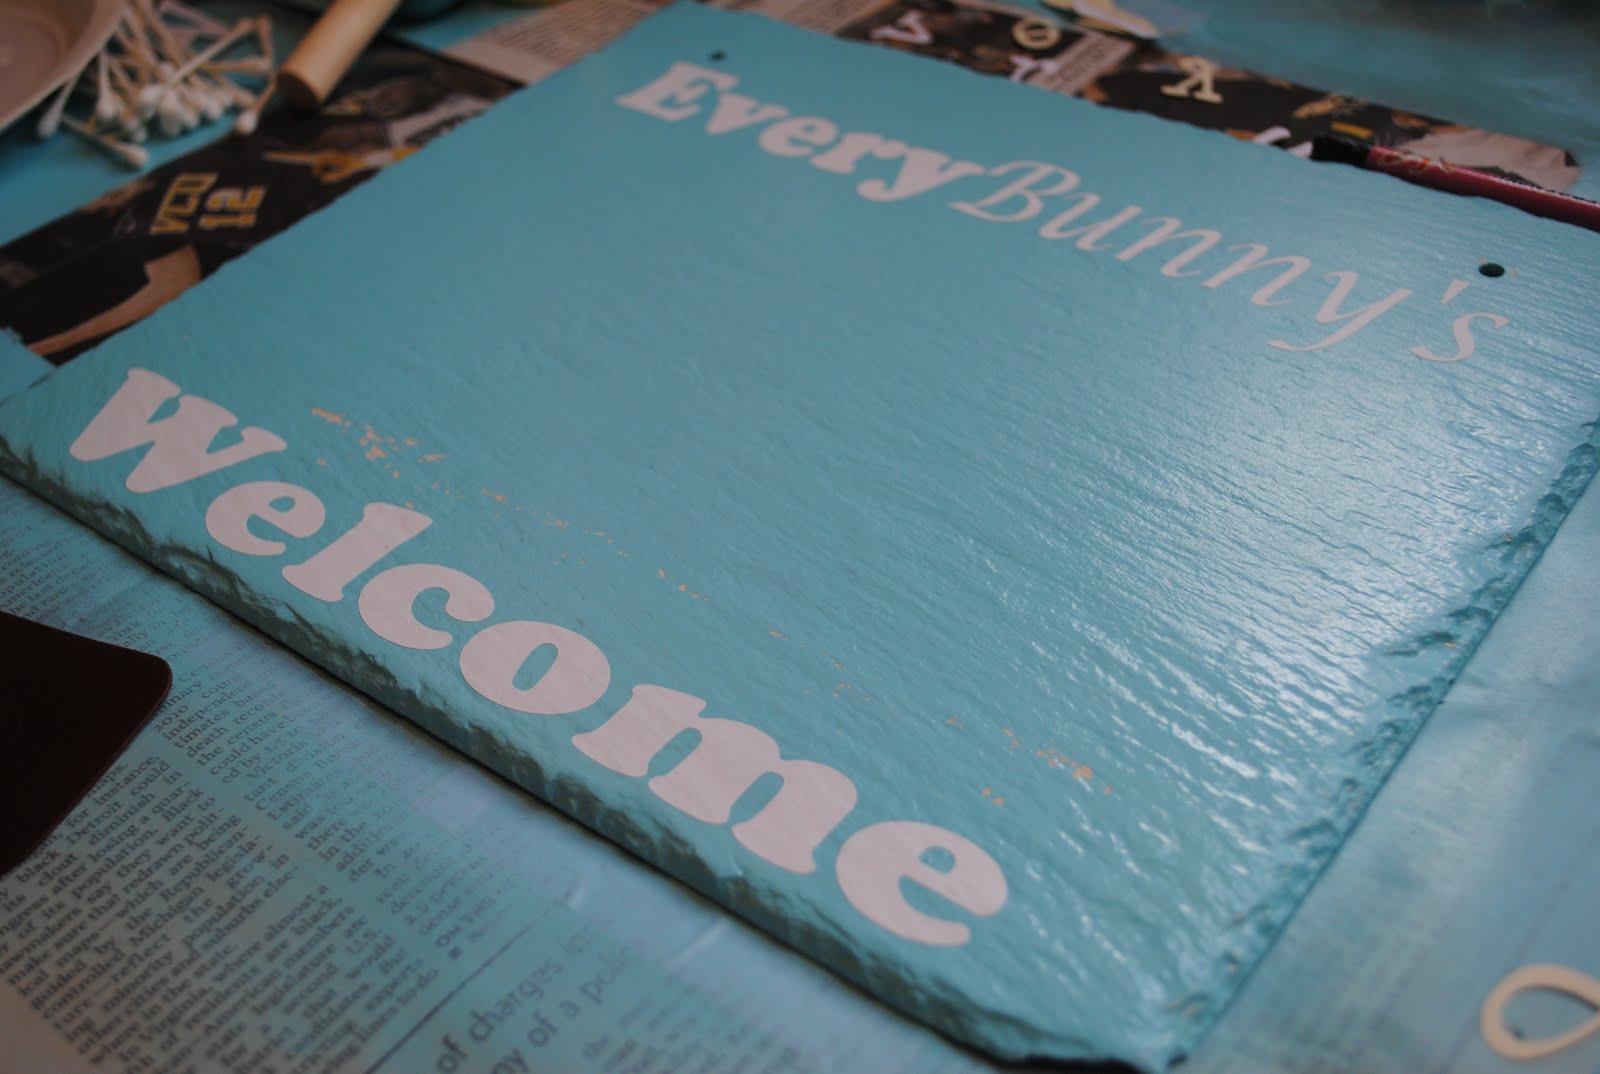
A couple of coats later, and the slate was already looking better:

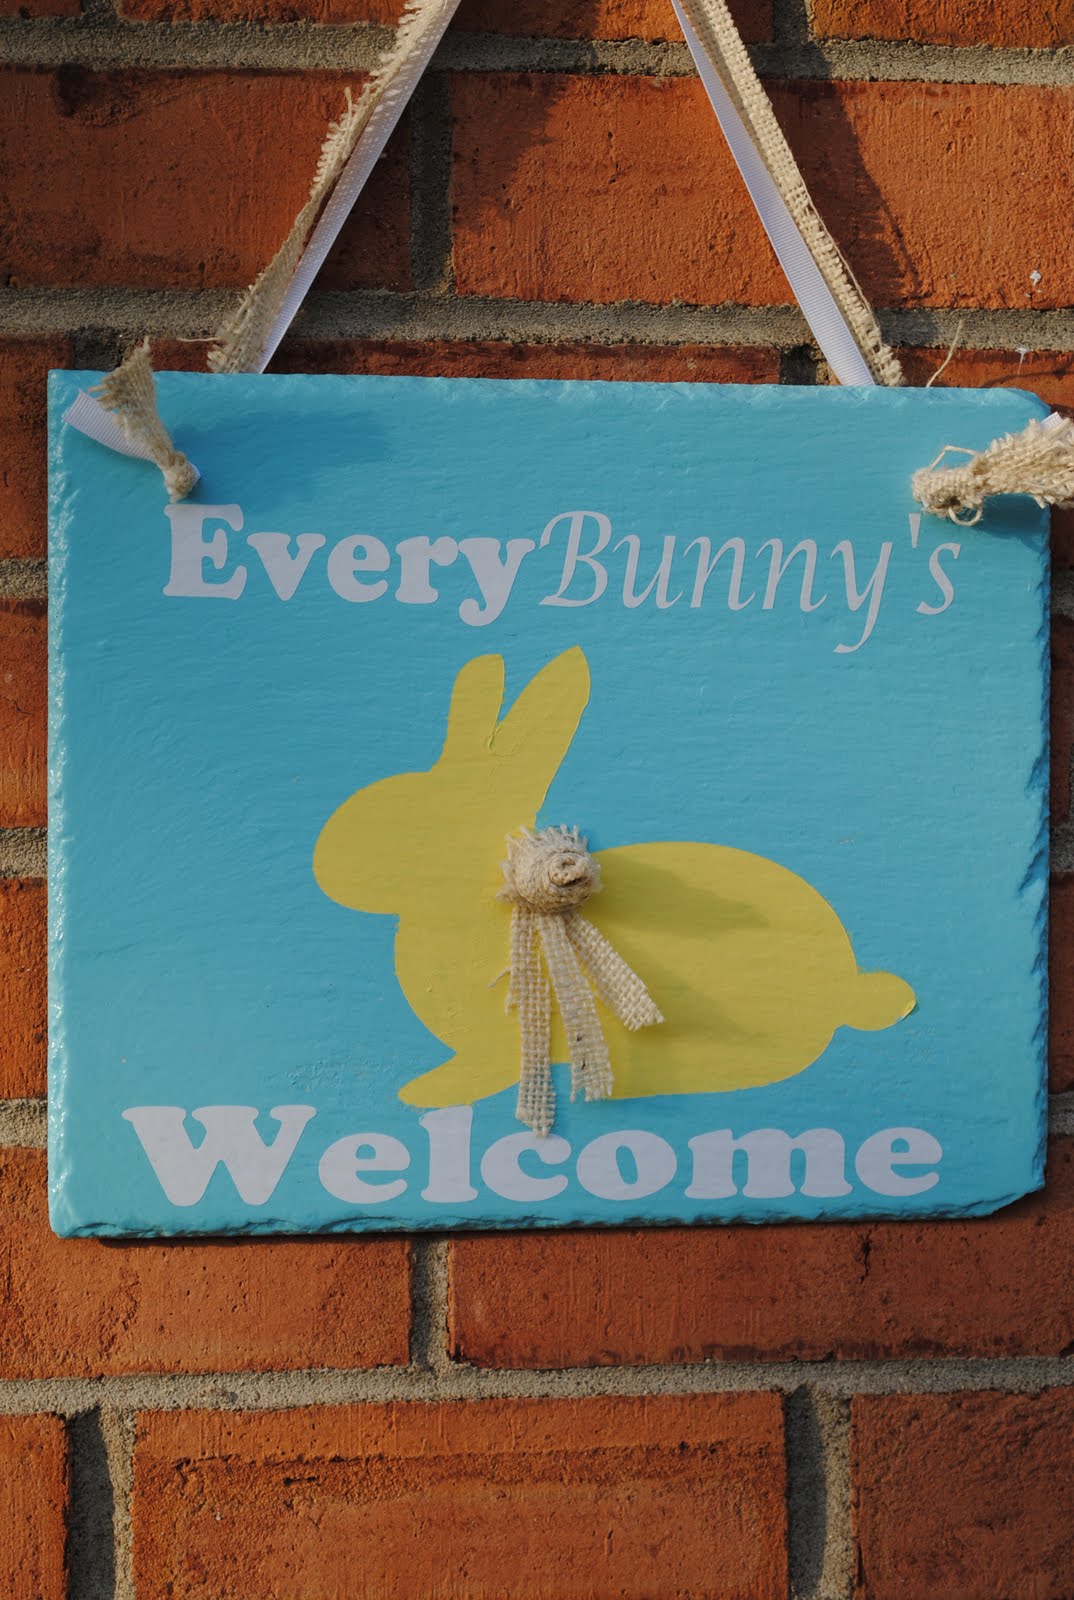
I wanted something to hang outside my door that will reflect our celebration of Easter, but also carry through the Spring season. I decided to do something with a bunny silhouette…using my Silhouette. My original plan of creating a stencil and painting on the letters didn’t work out so well (Craft Fail!), so I opted to use white vinyl letters for my phrase:
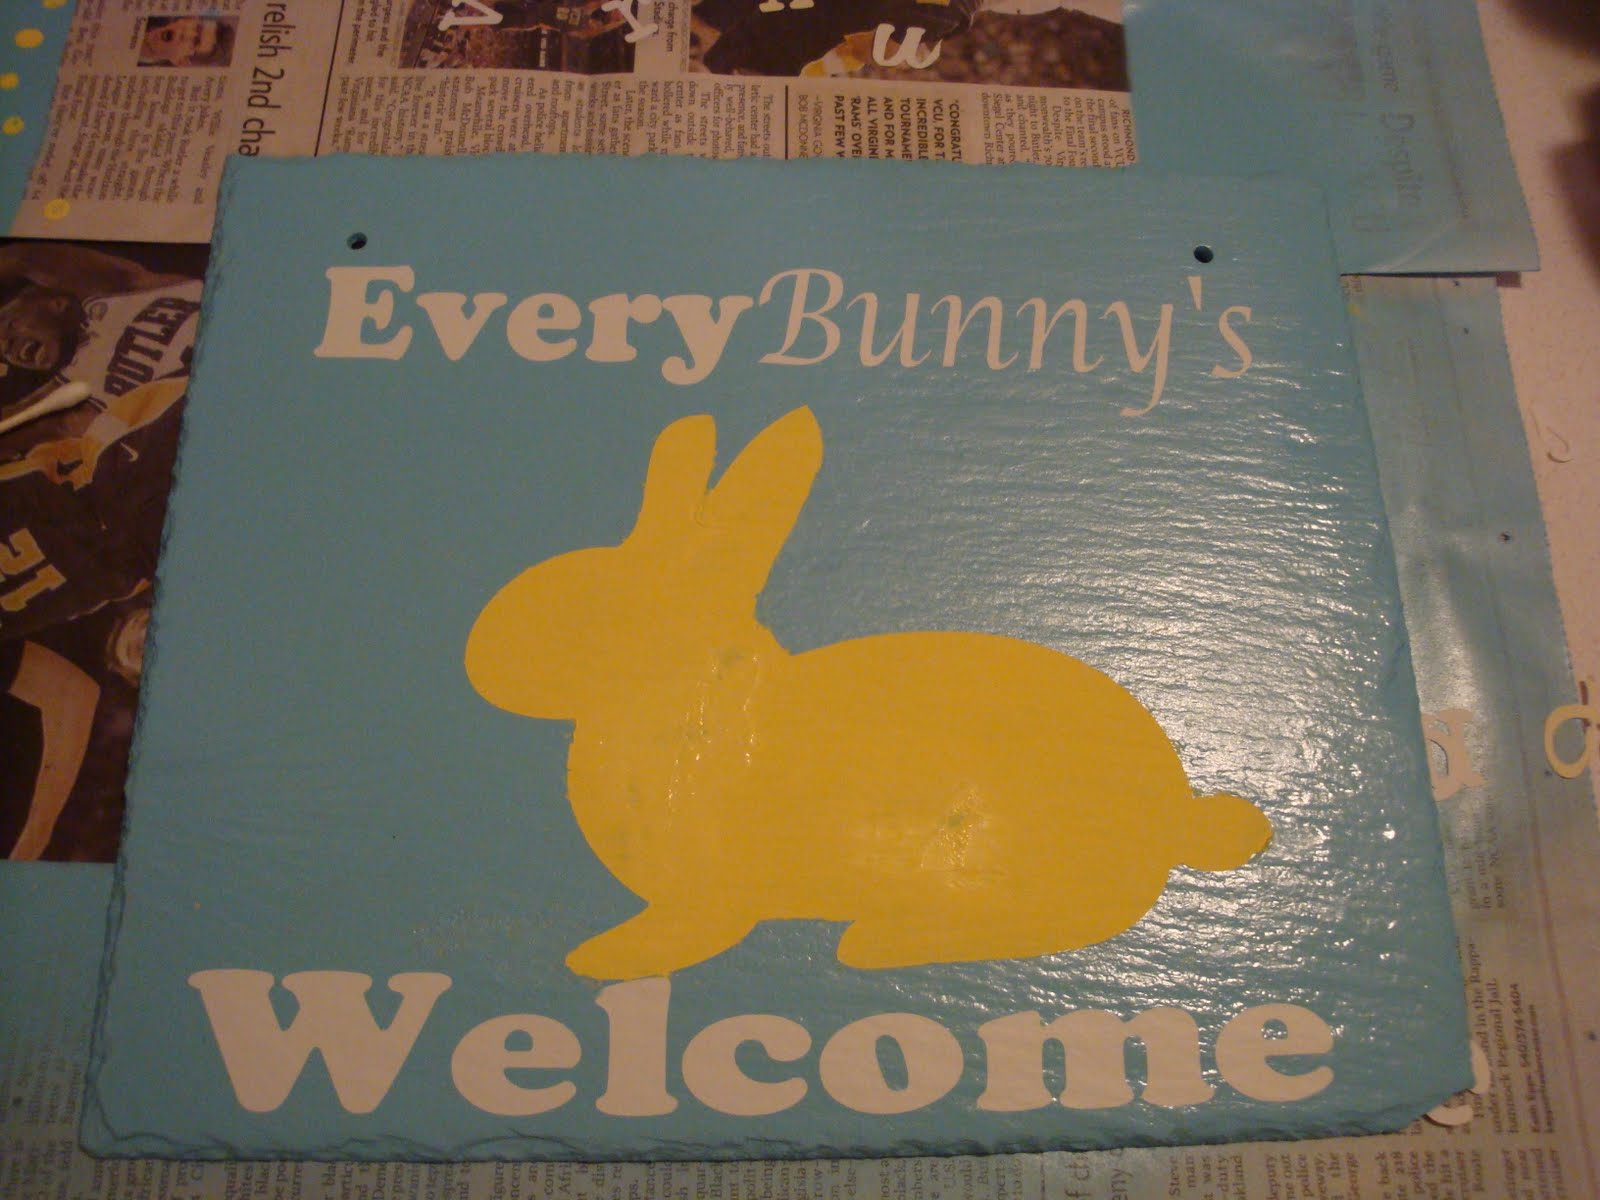
I also used some vinyl to make a rabbit stencil. It peeled some of the blue paint off, but I was thankfully able to touch that up with some paint sprayed on a paper plate and a Q-tip. Because I am resourceful like that. (And also too lazy to start over.)

I used some yellow (permanent!) Acrylic craft paint and a little foam brush to paint the bunny.
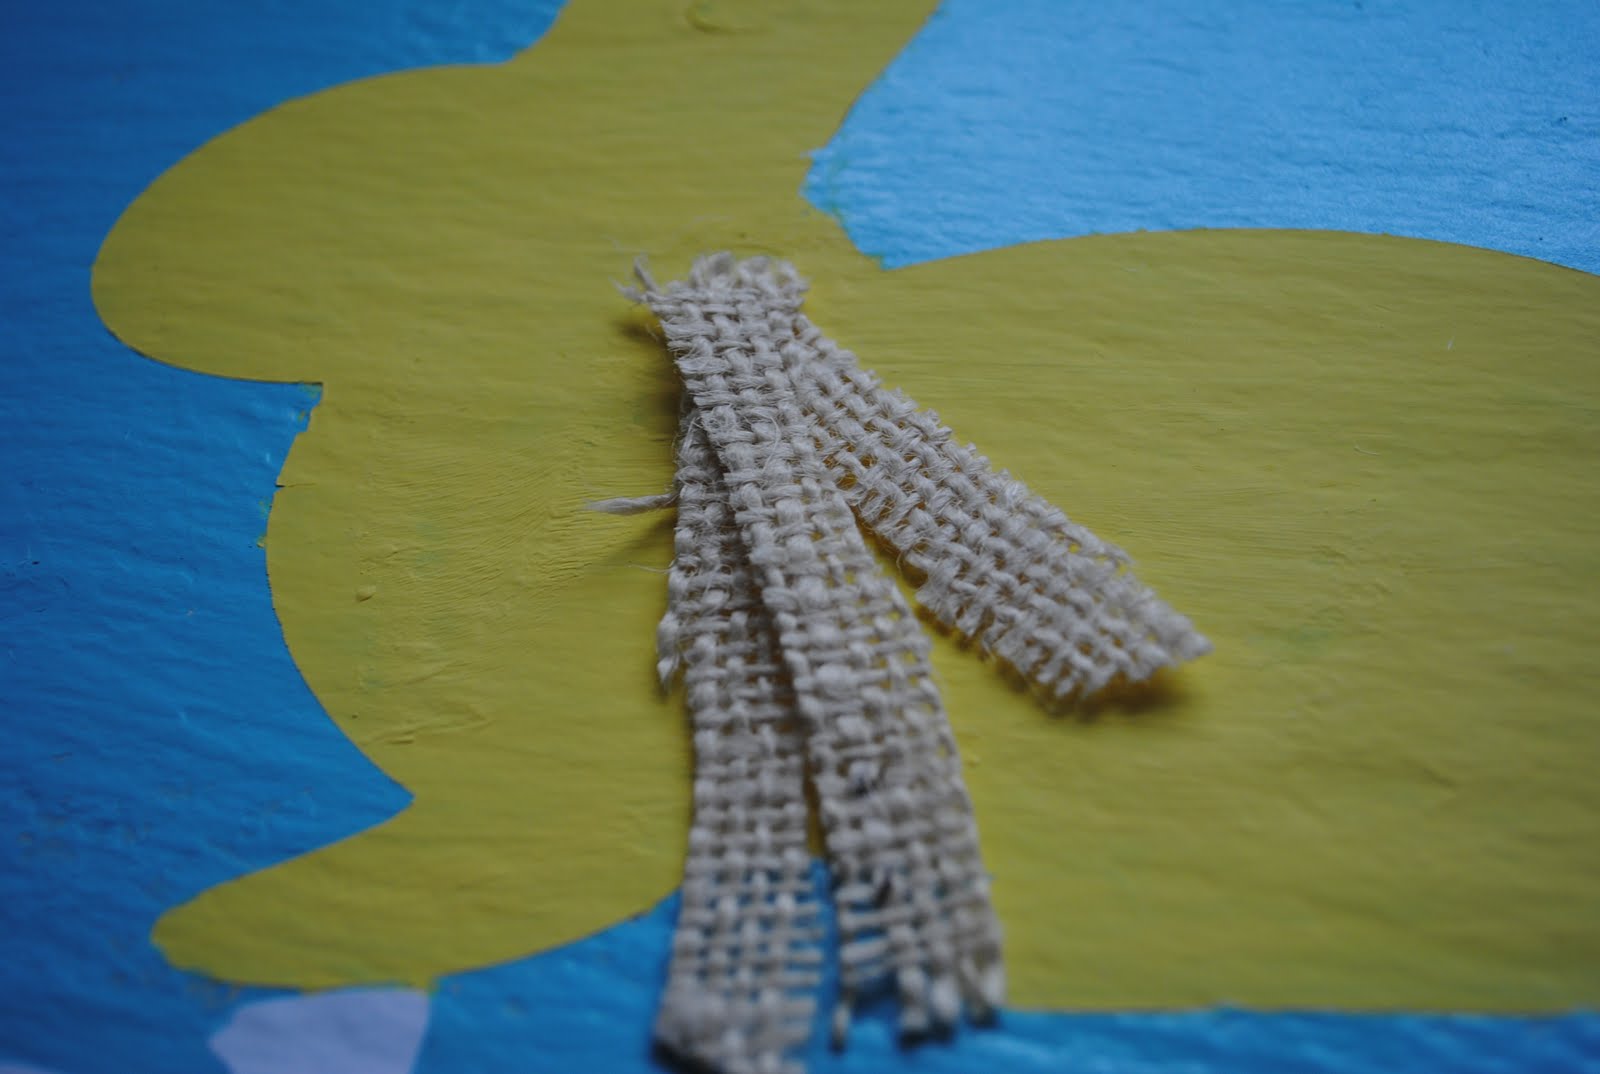
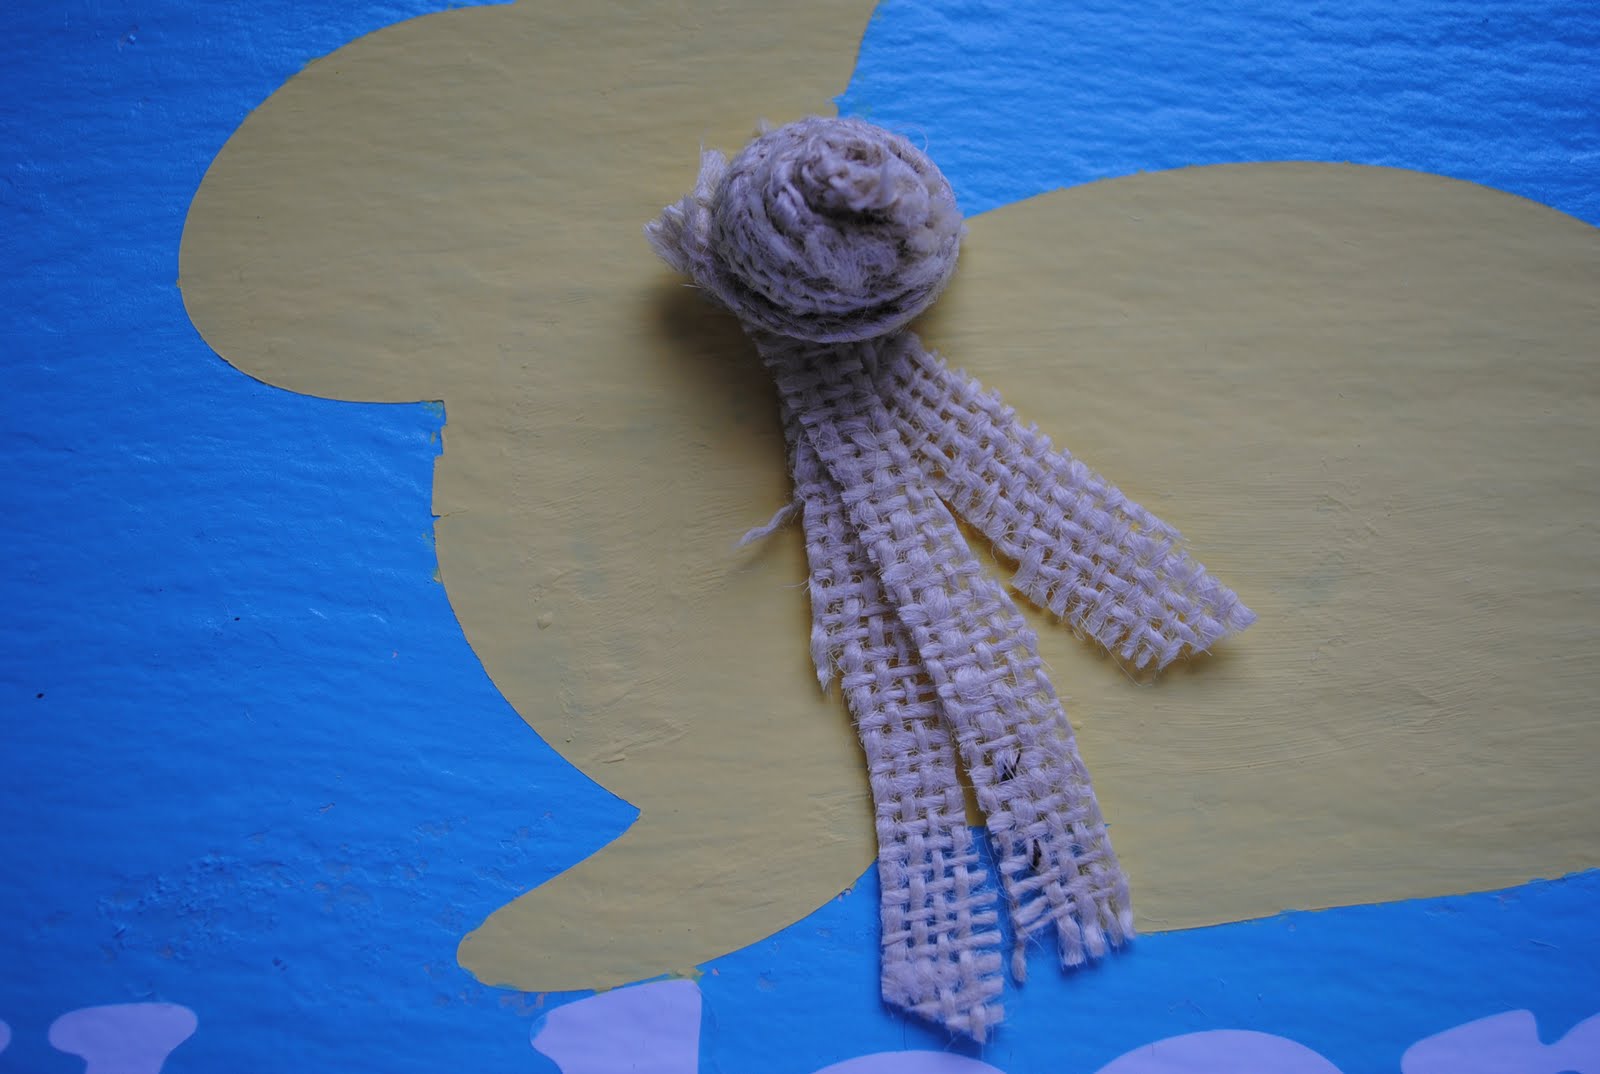
I wasn’t lovin’ it. It was just a bit too plain for my taste, so after some advice from a few crafty friends, I decide to give my bunny some burlap jewelry. Using some from my stash, I fashioned a tiny rosette and some "streamers," which I layered underneath and hot glued down.


I was definitely not digging the old leather cord that used to hold the slate up, so I cut another long strip of burlap and some white ribbon and forced them through the tiny holes to make a new hanger. No real technique here. Just some eye balling and maybe a few bad words whispered under my breath until I could get both ribbons through. Final product?
I hope you’ll come and visit me at Serenity Now. I blog about everything from my attempts at decorating and crafty things, to recipes, fashion, and stories of the slightly organized chaos that is my life at home! I’d also love to invite you to join my next big linky party on Tuesday, April 19th. "I {Heart} My Crafty Cutter" is a fun monthly blog party for people to share their projects, tips, and tricks for their Cricuts/Silhouette/Sizzix/Cuttlebug, etc. machines. Anything related to die cutting (or even stenciling, if you don’t own a die cutter!) is welcome! Click the button to see the last party.

A big old thank you to my friends at The CSI Project. I so appreciative of the way you celebrate and showcase other creative blogs! {Happy Easter, everyone. Here’s to better curb appeal this Spring!}