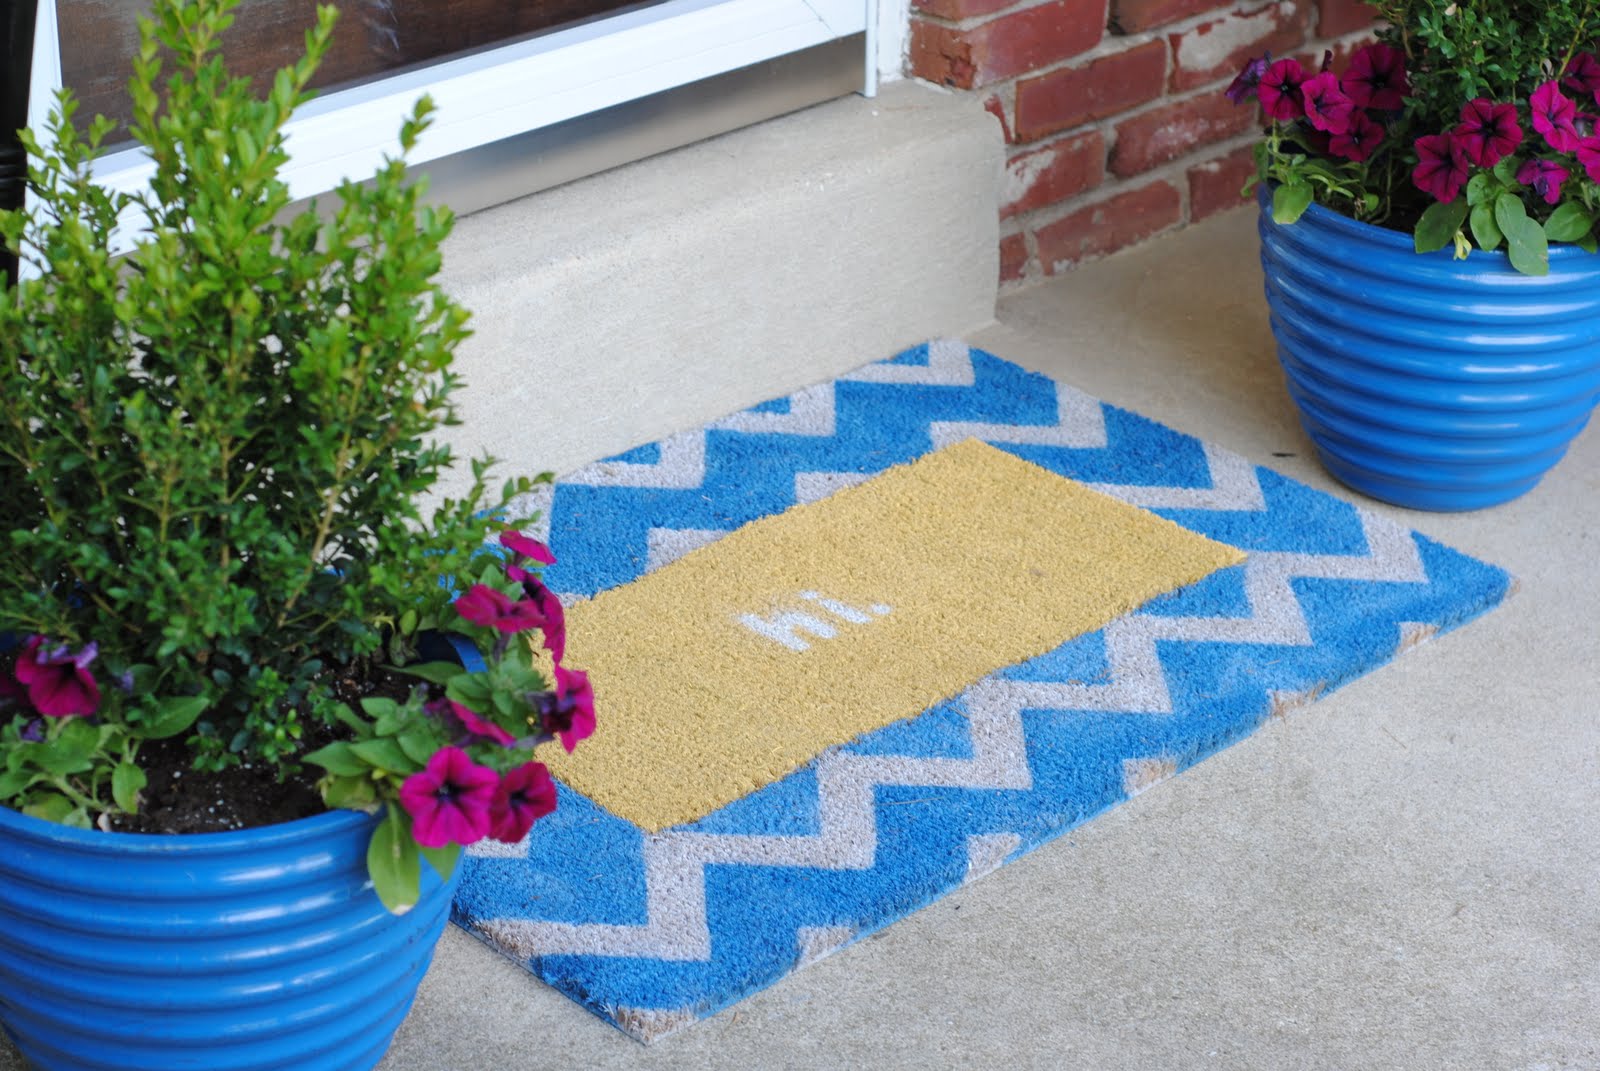
Hello, CSI friends! My name is Carrie, and my little corner of the blogosphere is Making Lemonade— where I blog about ways to live a lovely life, on less. If you haven’t heard the story of how my blog got it’s name, I’m warning you, it’s a doozy. {got tissues?} I’m thrilled to be guest posting here, though quite frankly very nervous. There’s some serious talent amongst the CSI crew, including all of you! After being stuck inside all winter I simply couldn’t wait to turn my energy outside– toward sprucing up our gardens, landscaping, and upping our overall curb appeal. One of this season’s projects has been to update our front entryway. And that meant saying "goodbye" to our old doormat and "hello, gorgeous" to a new one. But before I show it to you, promise you won’t roll your eyes and say, "another painted rug? Girl, it’s already been done!" because this little doormat has a surprise.
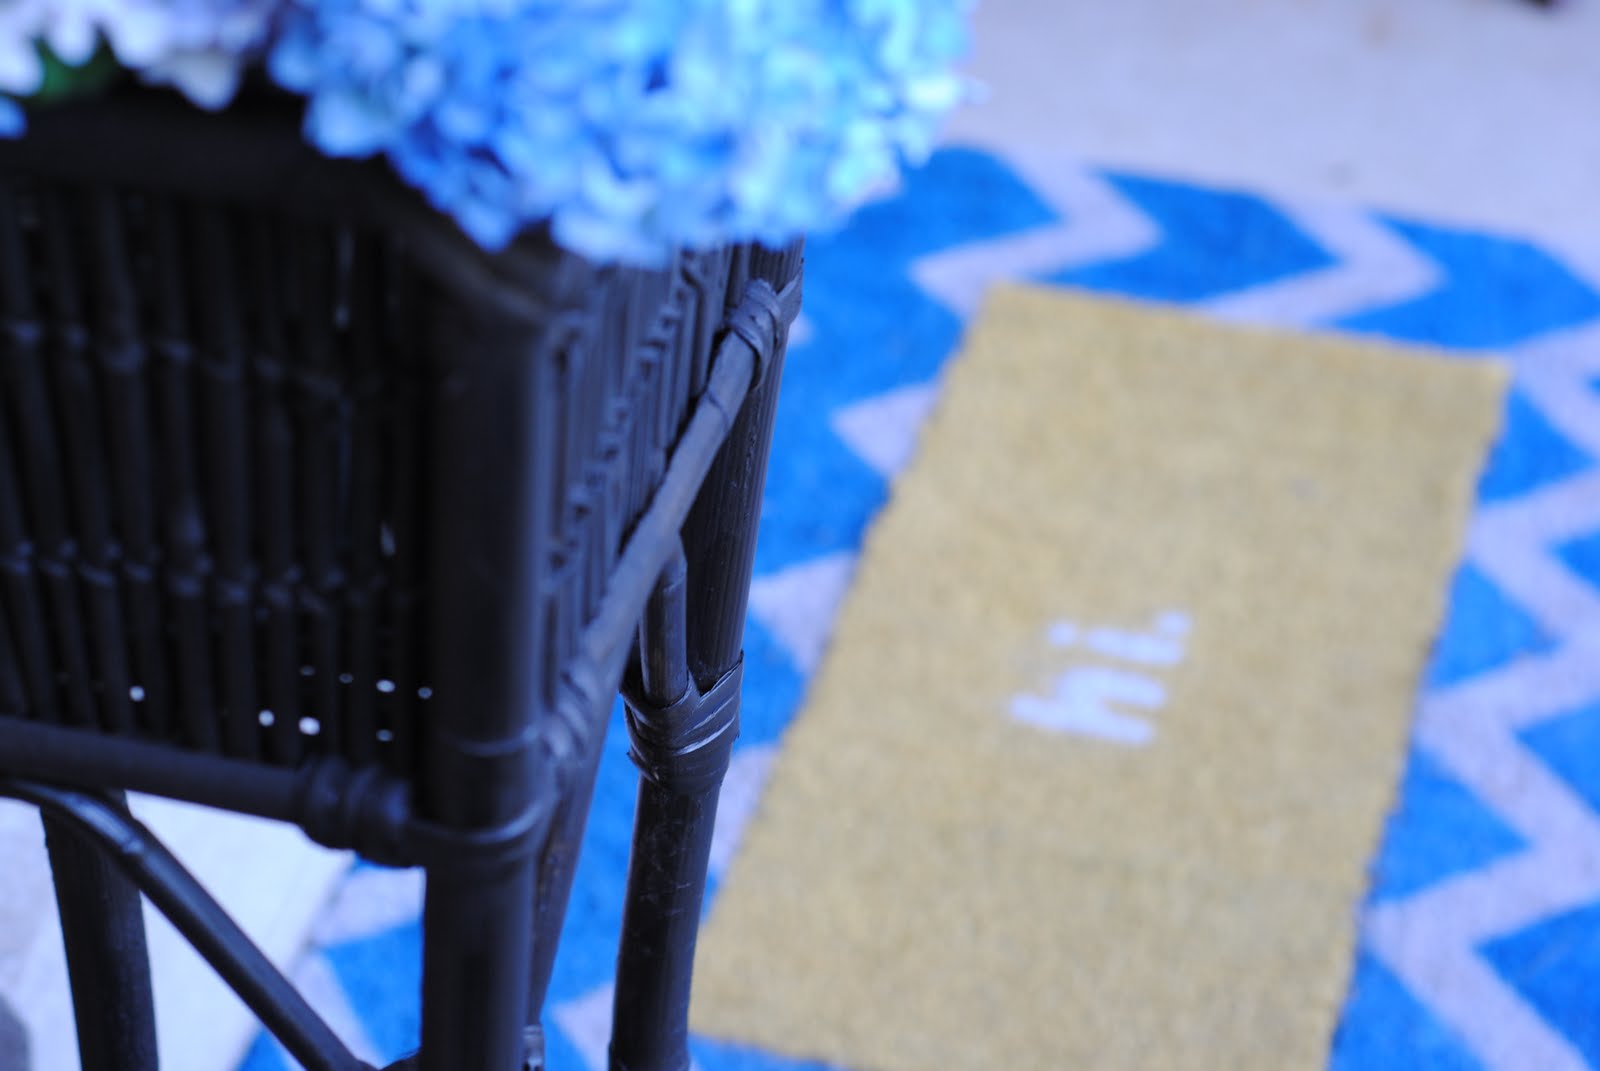
Summer greetings:
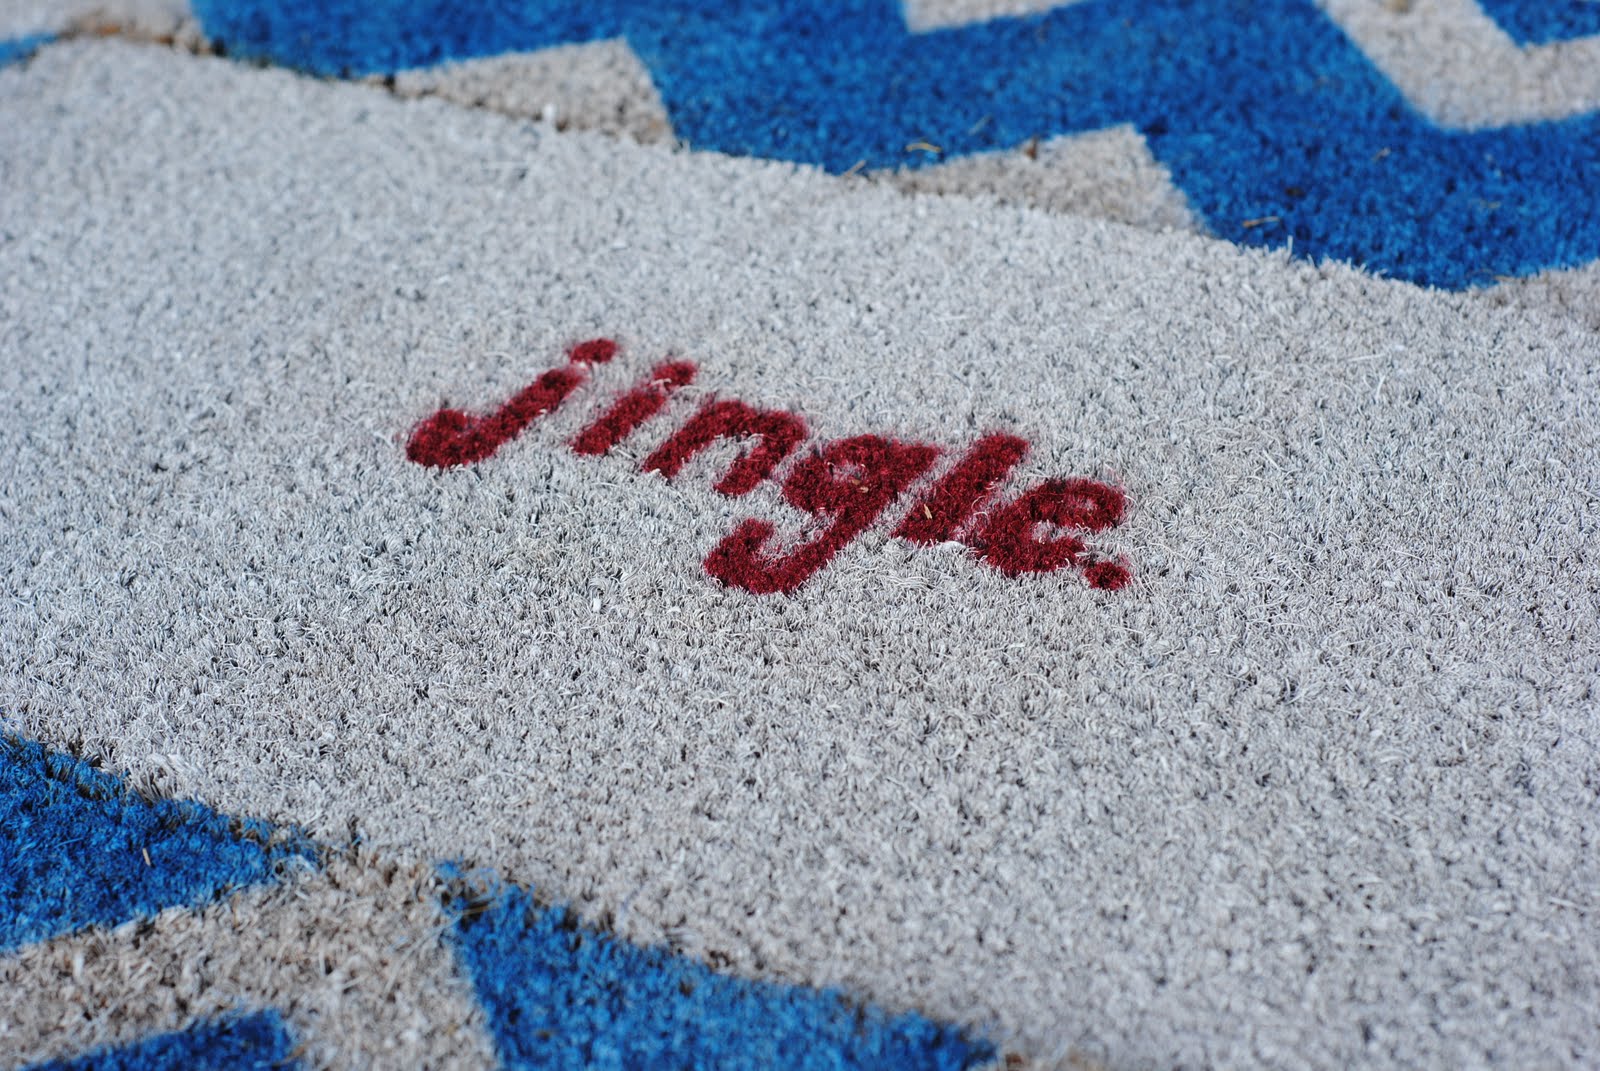
Presto! It’s Christmas (in July):
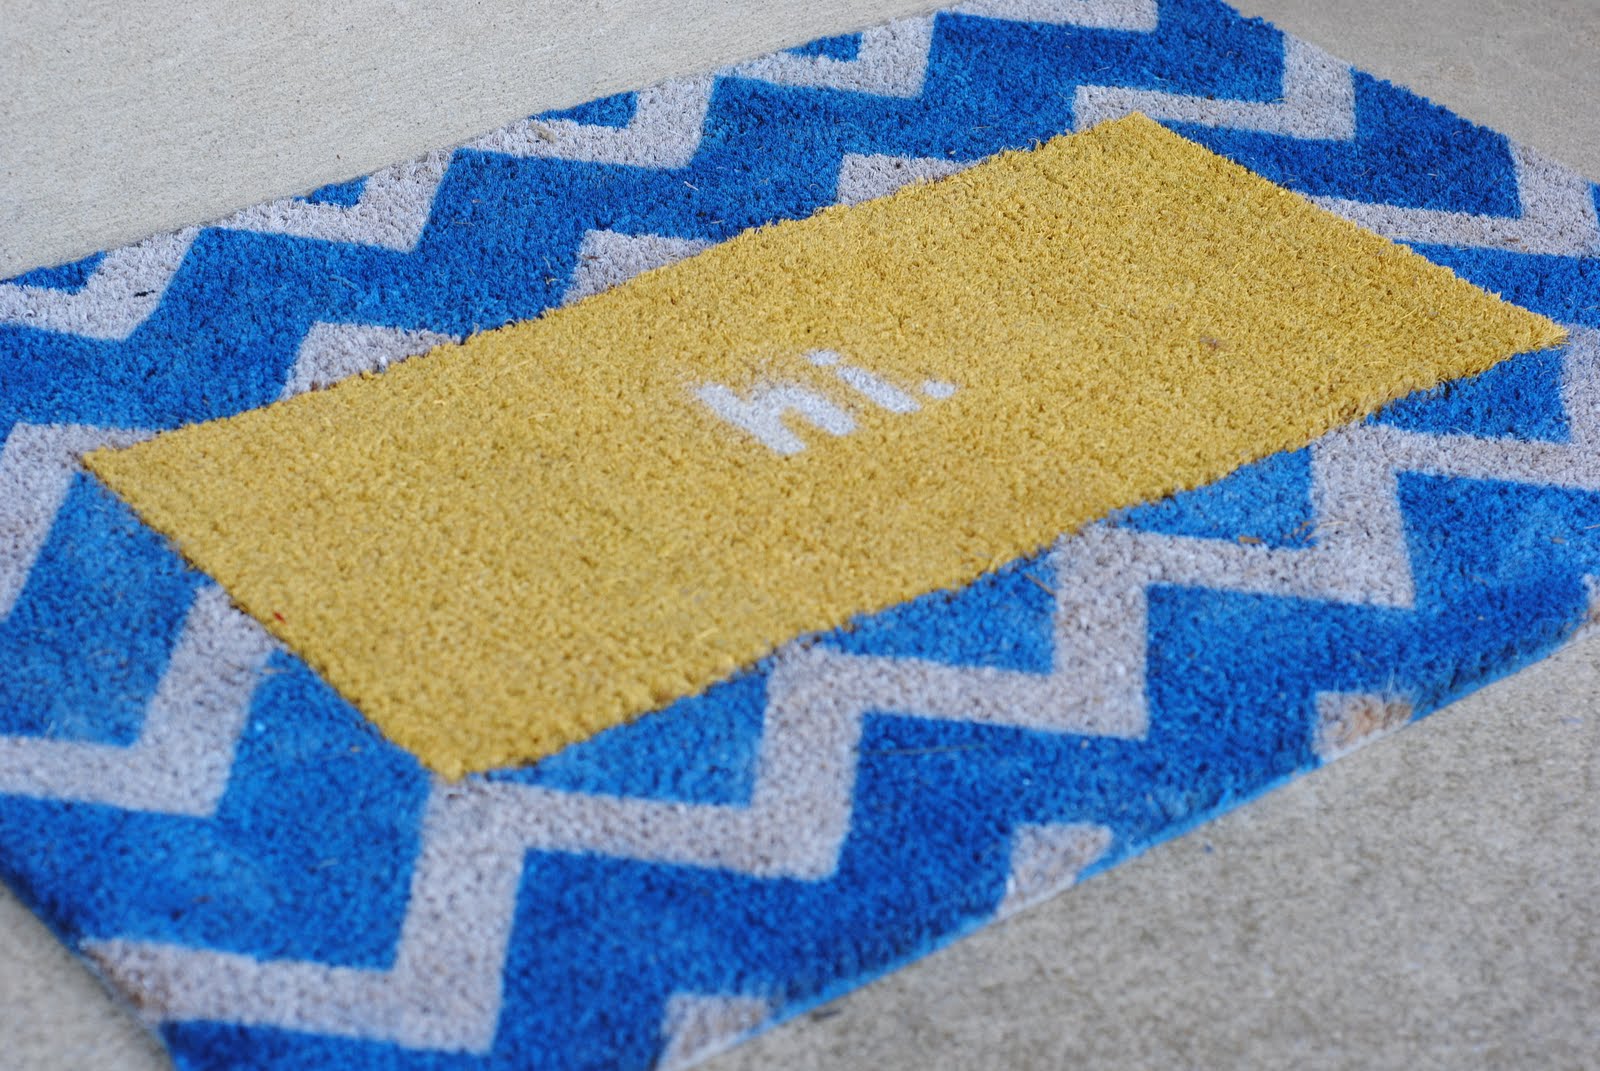
I know, I know… chevron is everywhere, but this is my very first time using it so I hope I get a free pass. 😉 Chevron-lovers can make this doormat as is, and all you chevron haters can use any pattern: stripes, dots, trellis, quatrefoil… you all are creative, I know figuring what pattern to use will not be an issue. As for the interchangeable part, the sky is the limit! I used different phrases, but you can use a favorite icon, a monogram, your house numbers… truly, if you can find it in a decal or make it using freezer paper you can do this.
Step One: We’re going to make the outside portion of the mat first. You’ll need to decide which colors you’d like to use. Through trial and error I found saturated colors seem to work best, but this was only after I’d used white. So for the alternating color I went for a bold blue. Use the lighter of your two colors for your base color (for me, white). Spraypaint the entire mat in that color using even strokes and several coats. Unlike most spraypainting projects, I found I needed to get pretty close with the can while spraying since the material is porous and absorbs it.
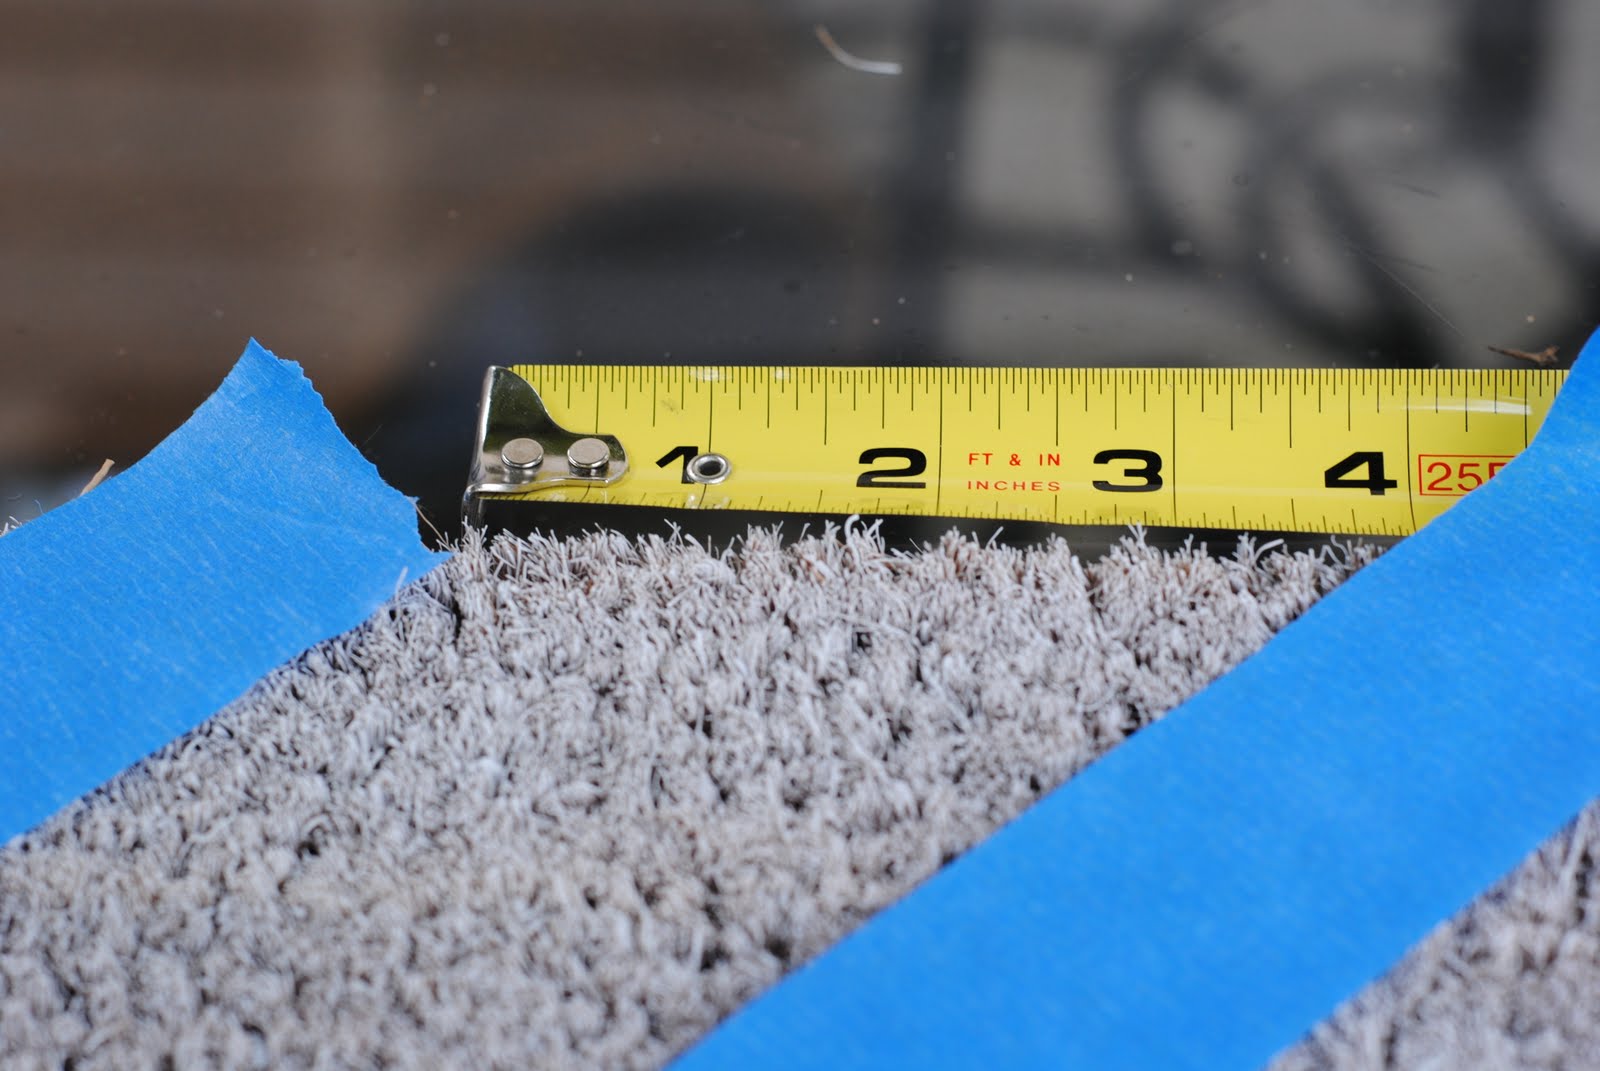
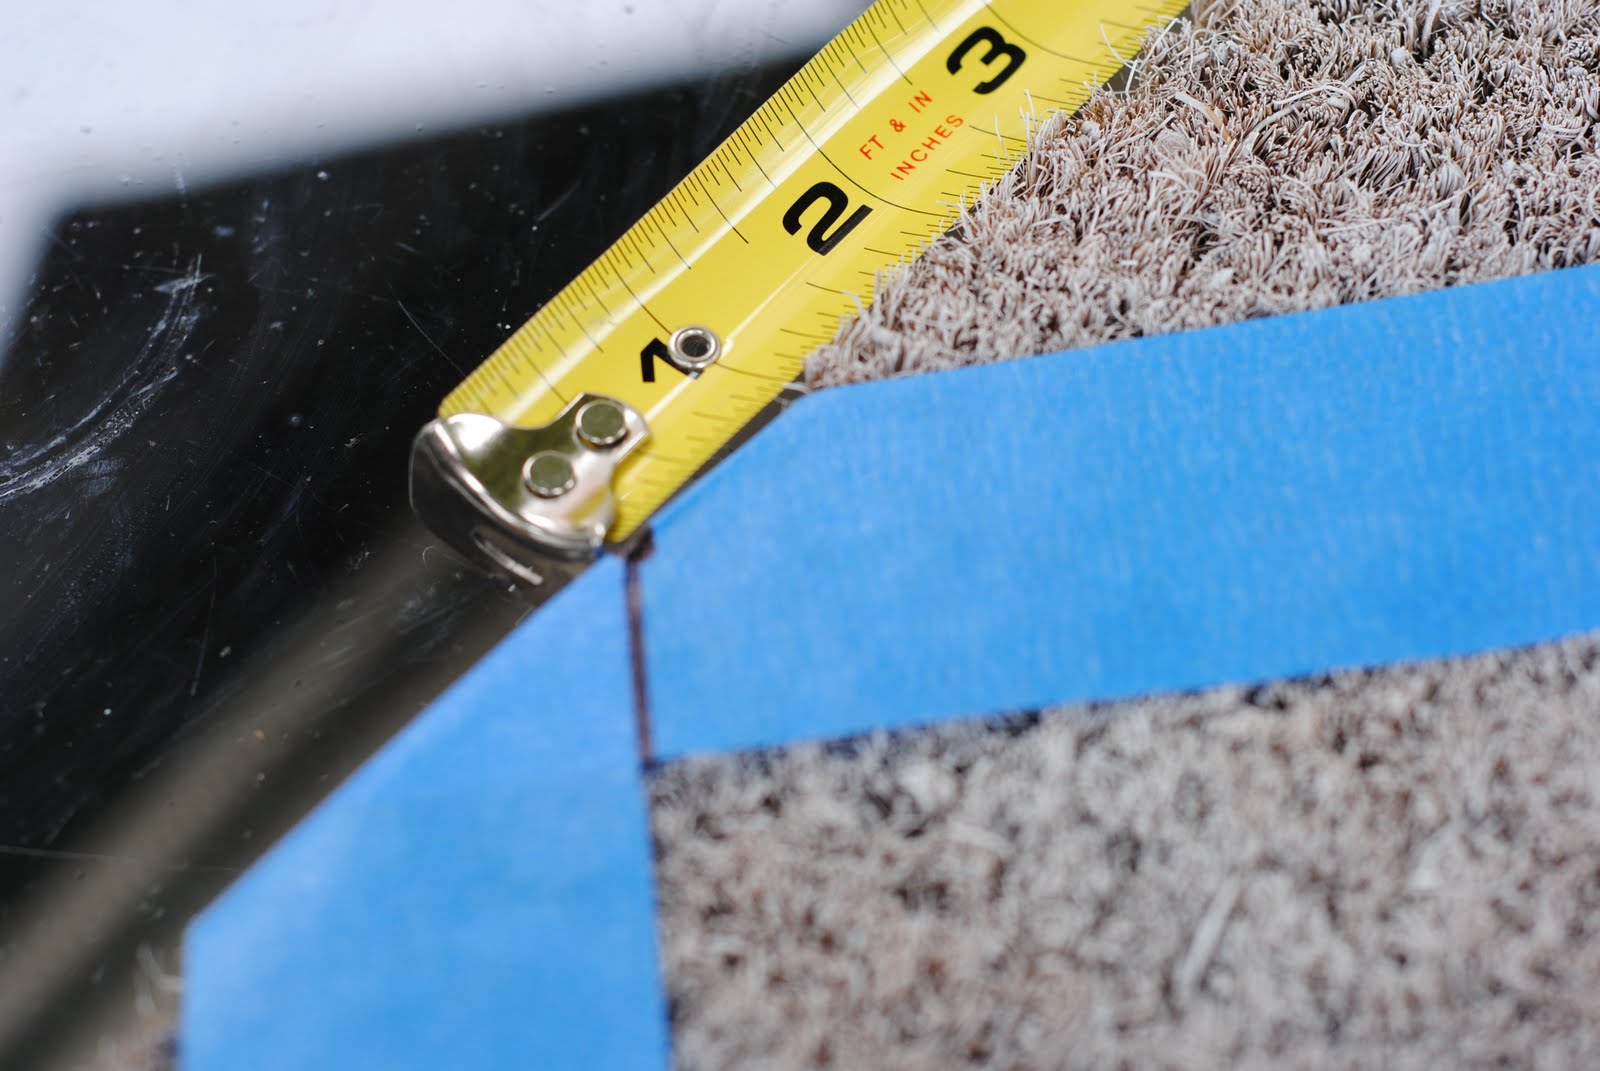
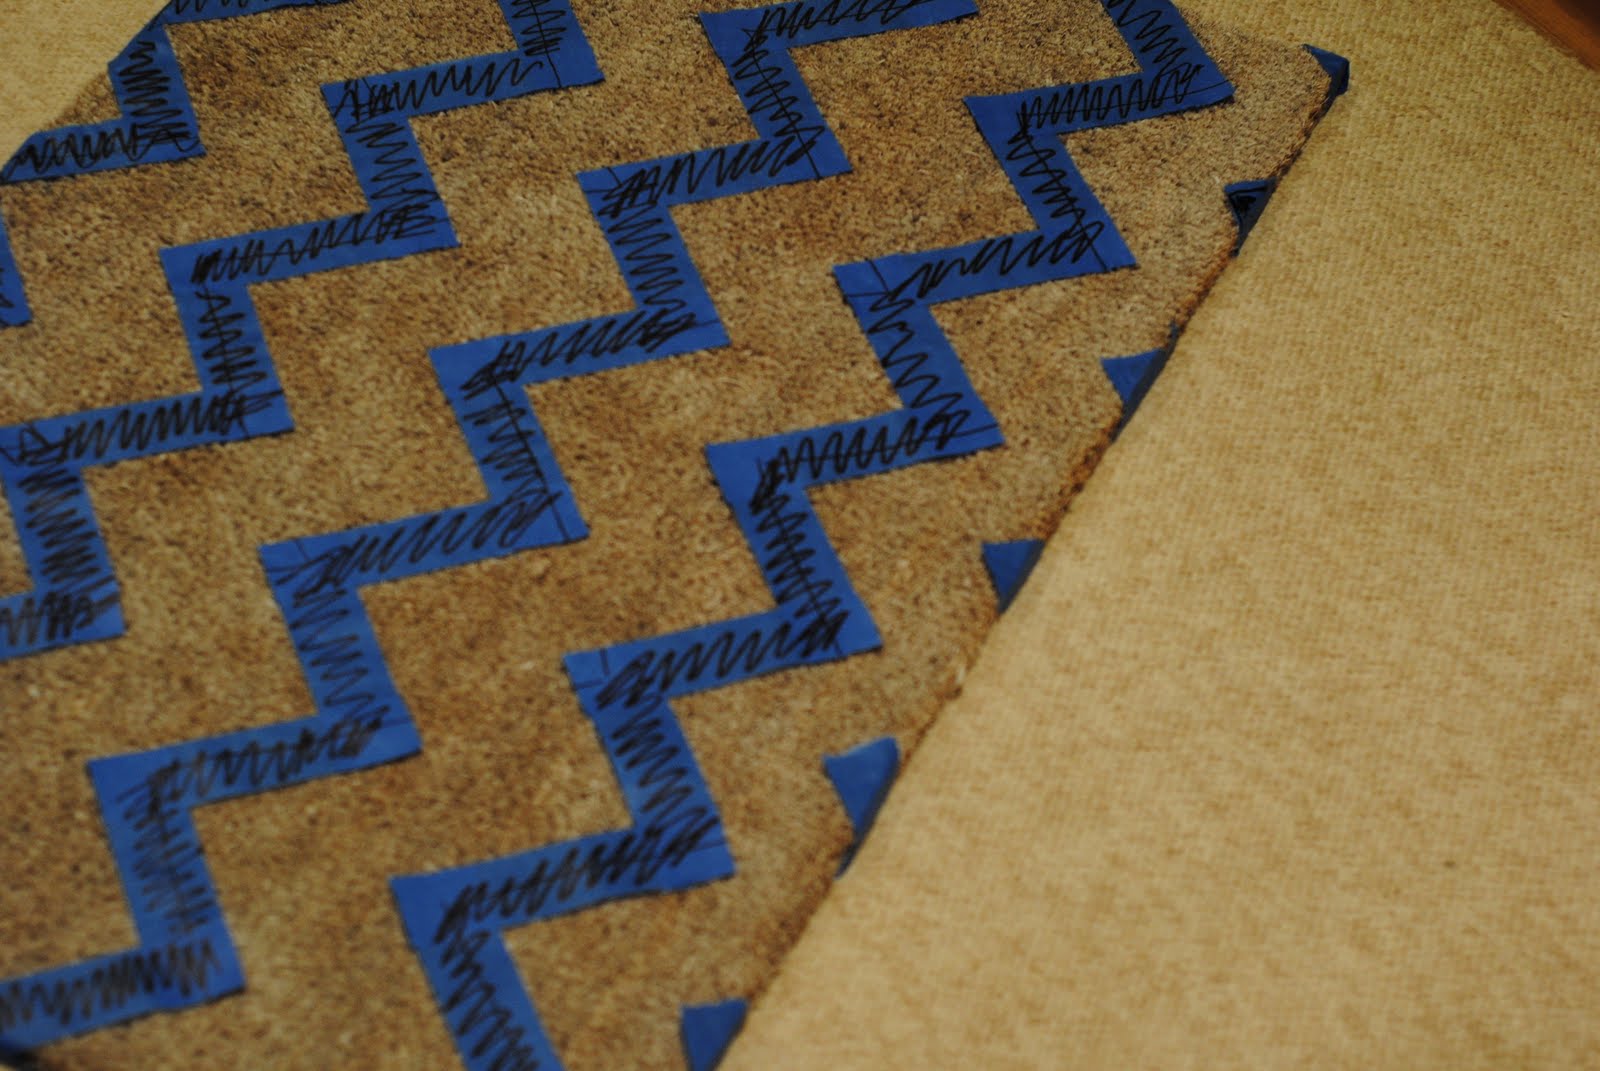
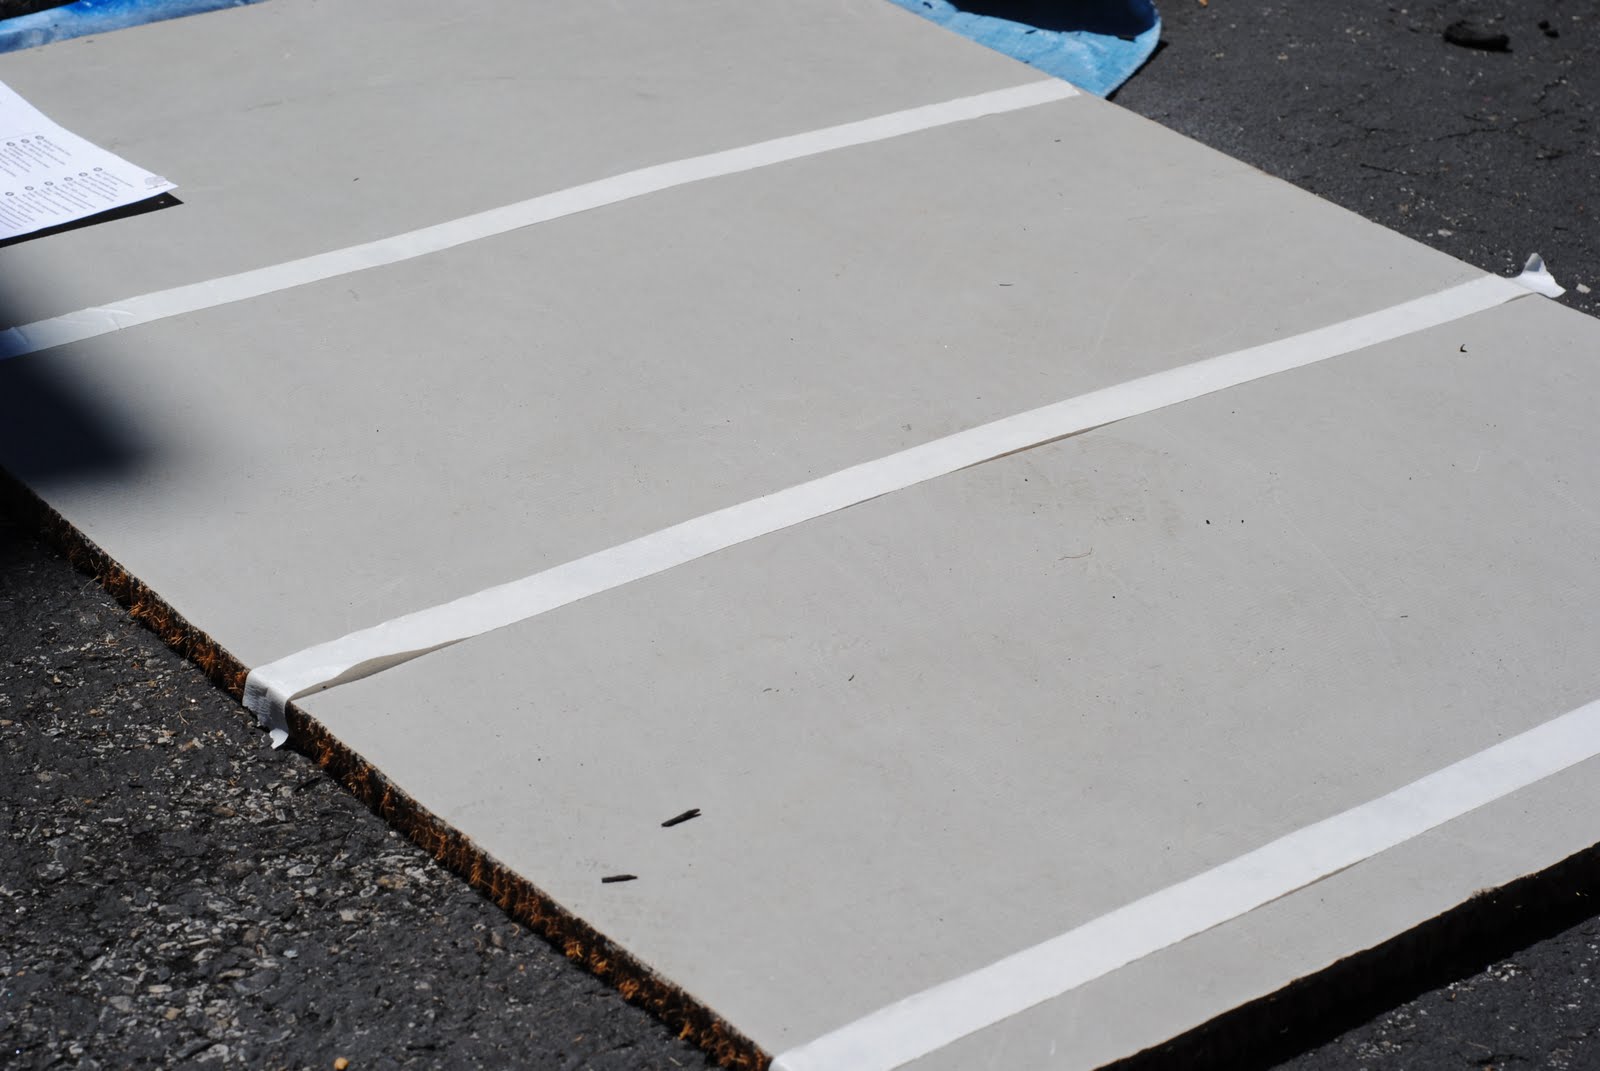
Step Two: Using 1 1/2 inch sized painter’s tape, I made a trellis pattern across the first mat. Starting at the upper left hand corner, I measured out 4 inches across the top and placed the top of the tape at that spot.
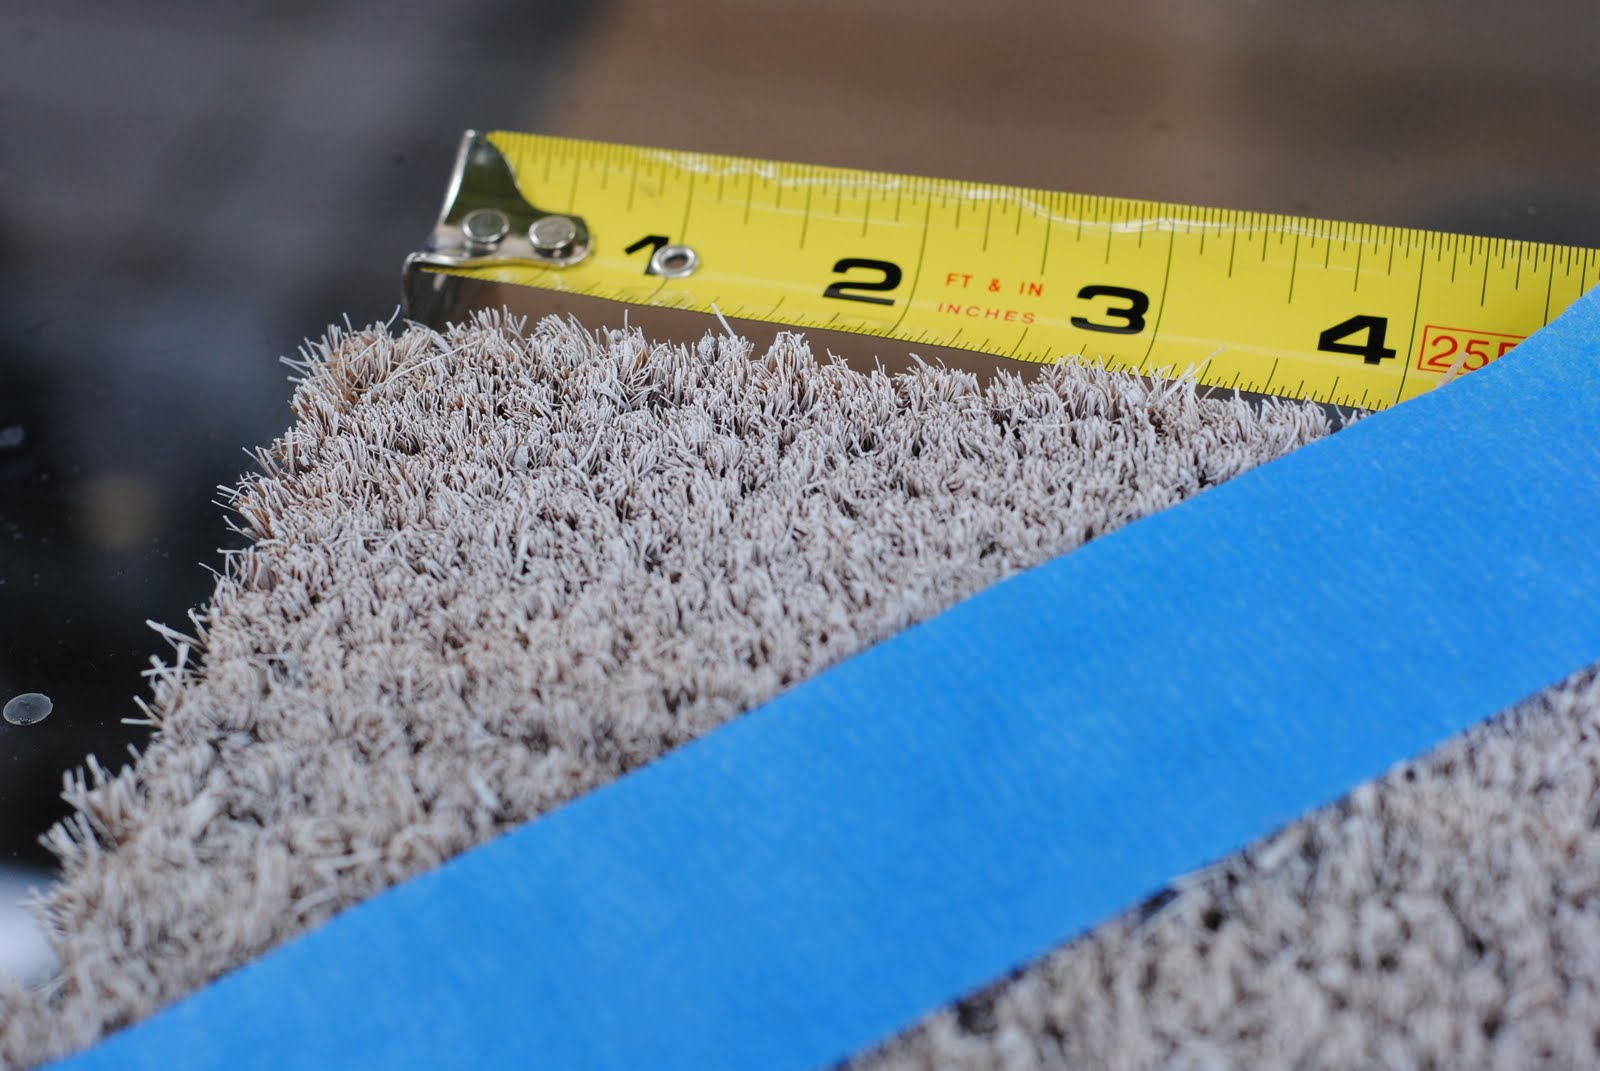
Before placing it on the mat, I then measured 4 inches down from the corner and then placed my first piece of tape. {if you want a chevron pattern that’s equal widths for both colors, you’ll need to place them less than 4 inches apart. But that takes math, so I’ll leave those calculations up to you.)
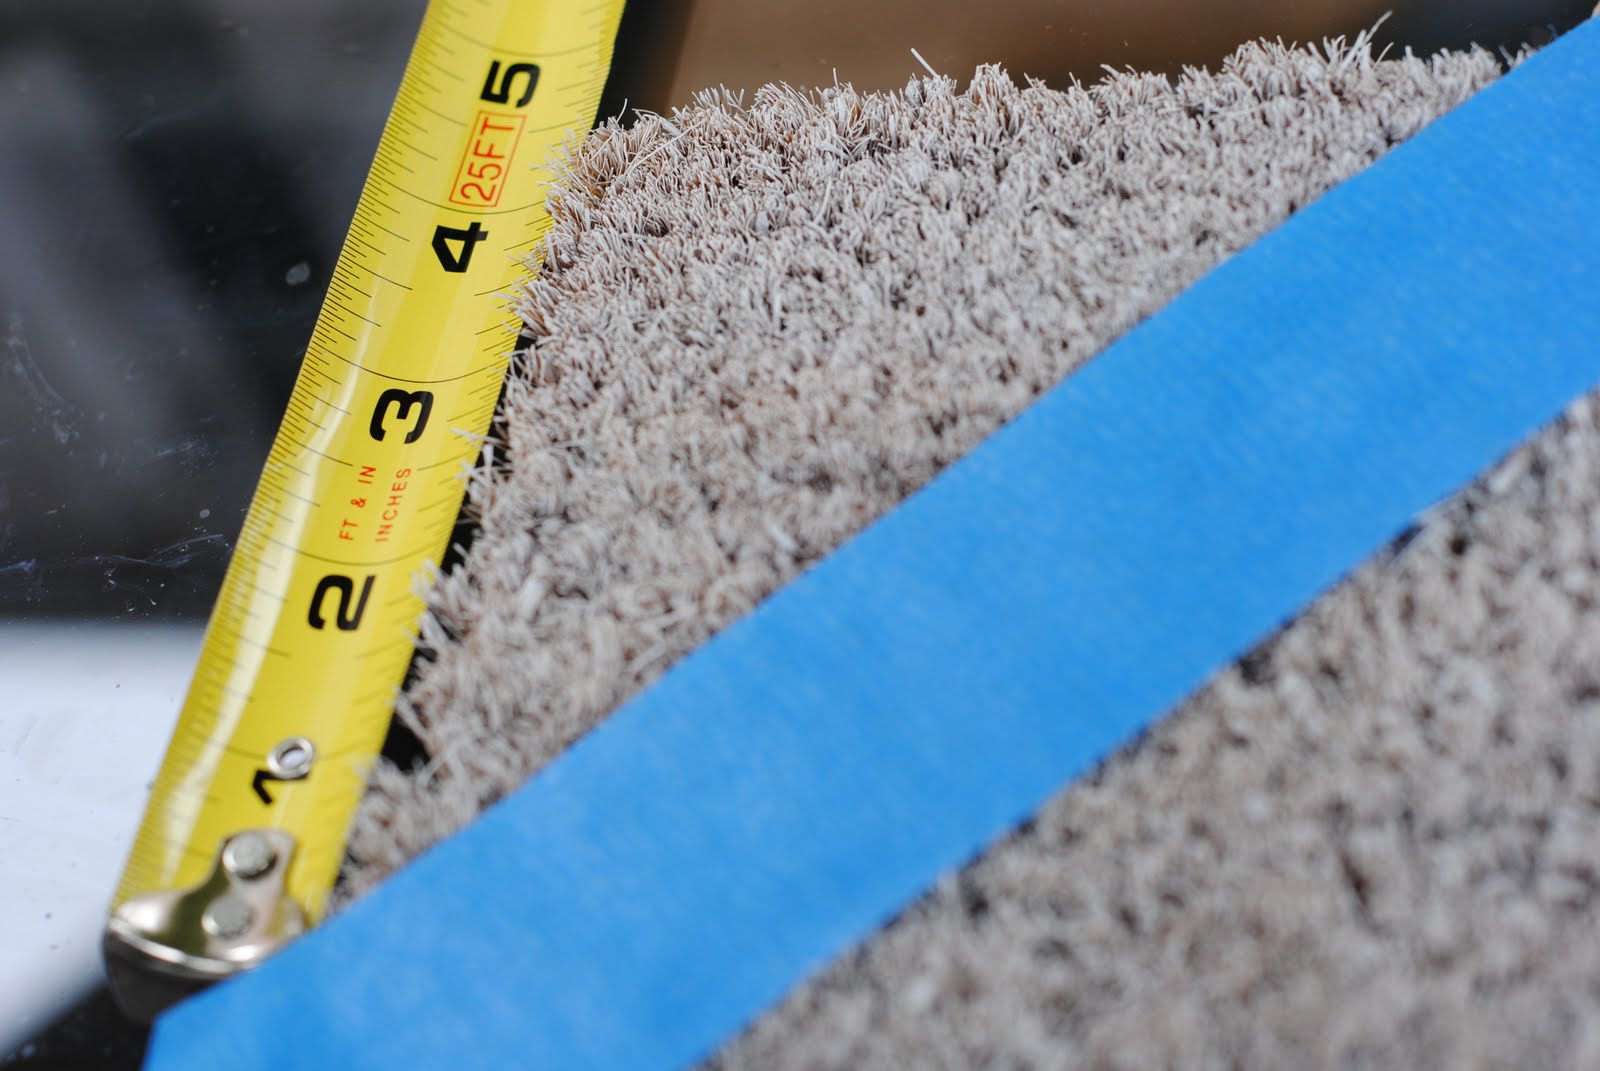
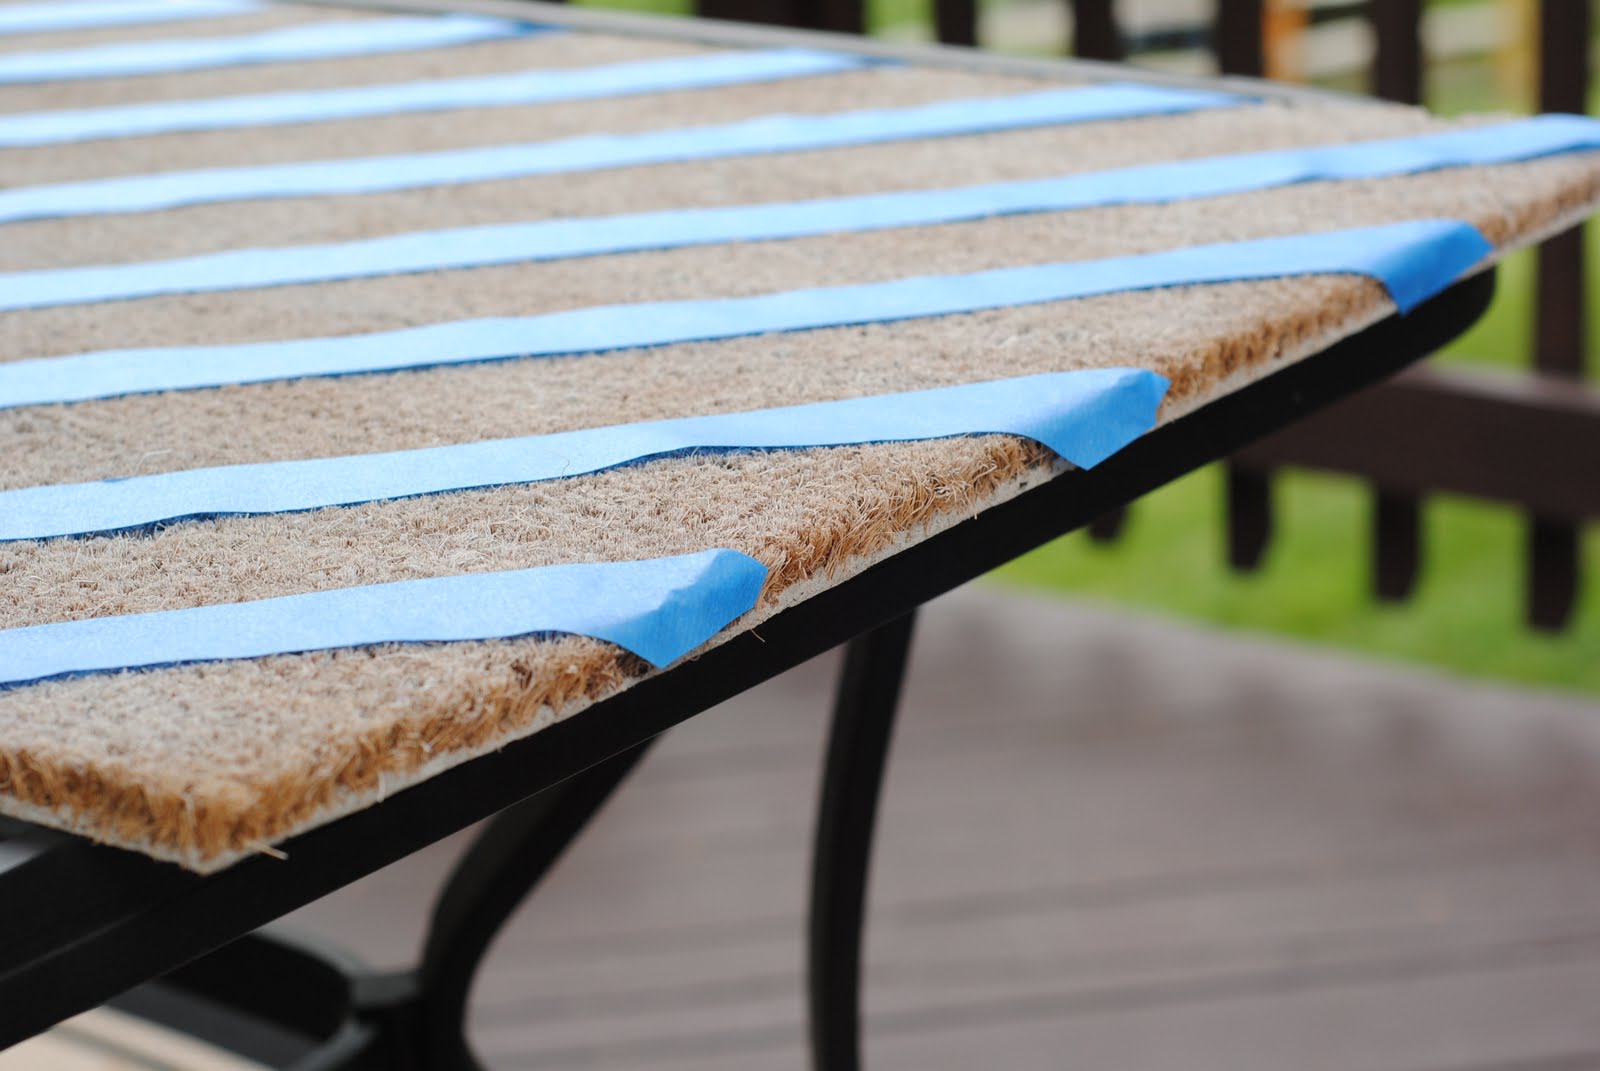
Working across the mat, I continued placing tape every 4 inches (measuring from the back edge of the previous piece) until I reached the end. It’s very important to measure both across and down for each piece to make sure you are keeping them level with previous pieces.
Be sure to leave some tape hanging over the edges, you’ll fold that down around the edge later when you are sure each piece is in the correct place.
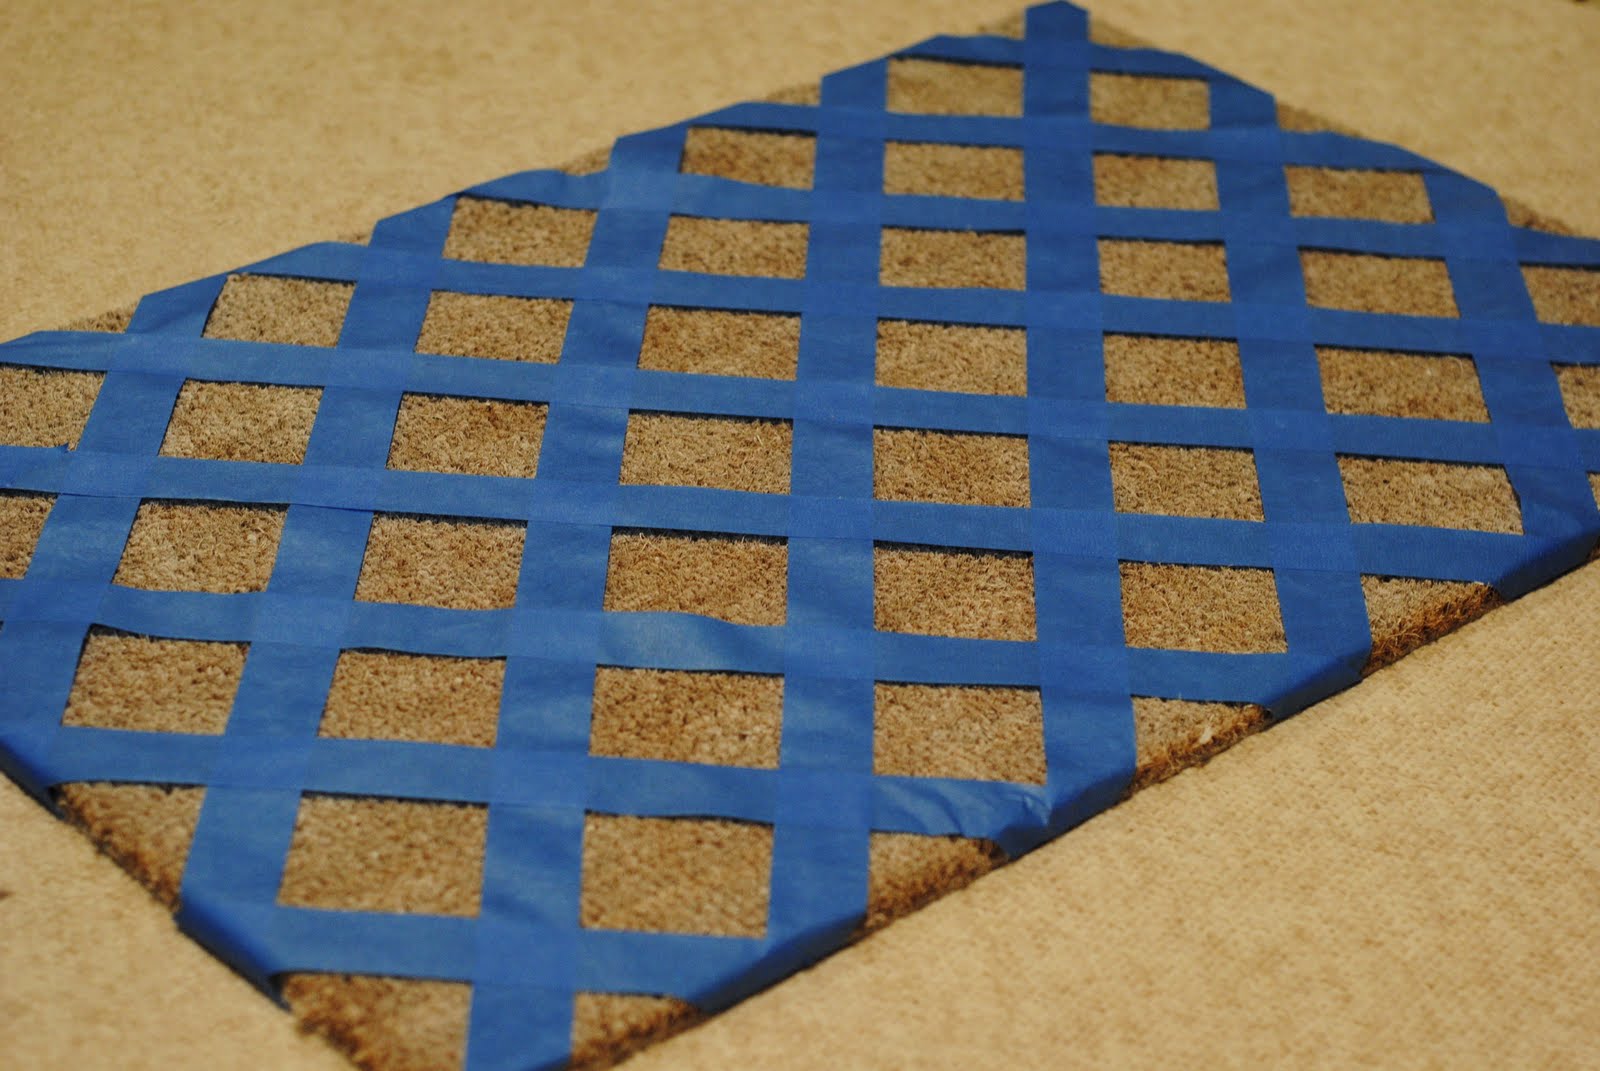
Step Three: Repeat this process in the opposite direction, starting at the lower left hand corner and place the pieces every 4 inches diagonally across until you reach the end of the mat.
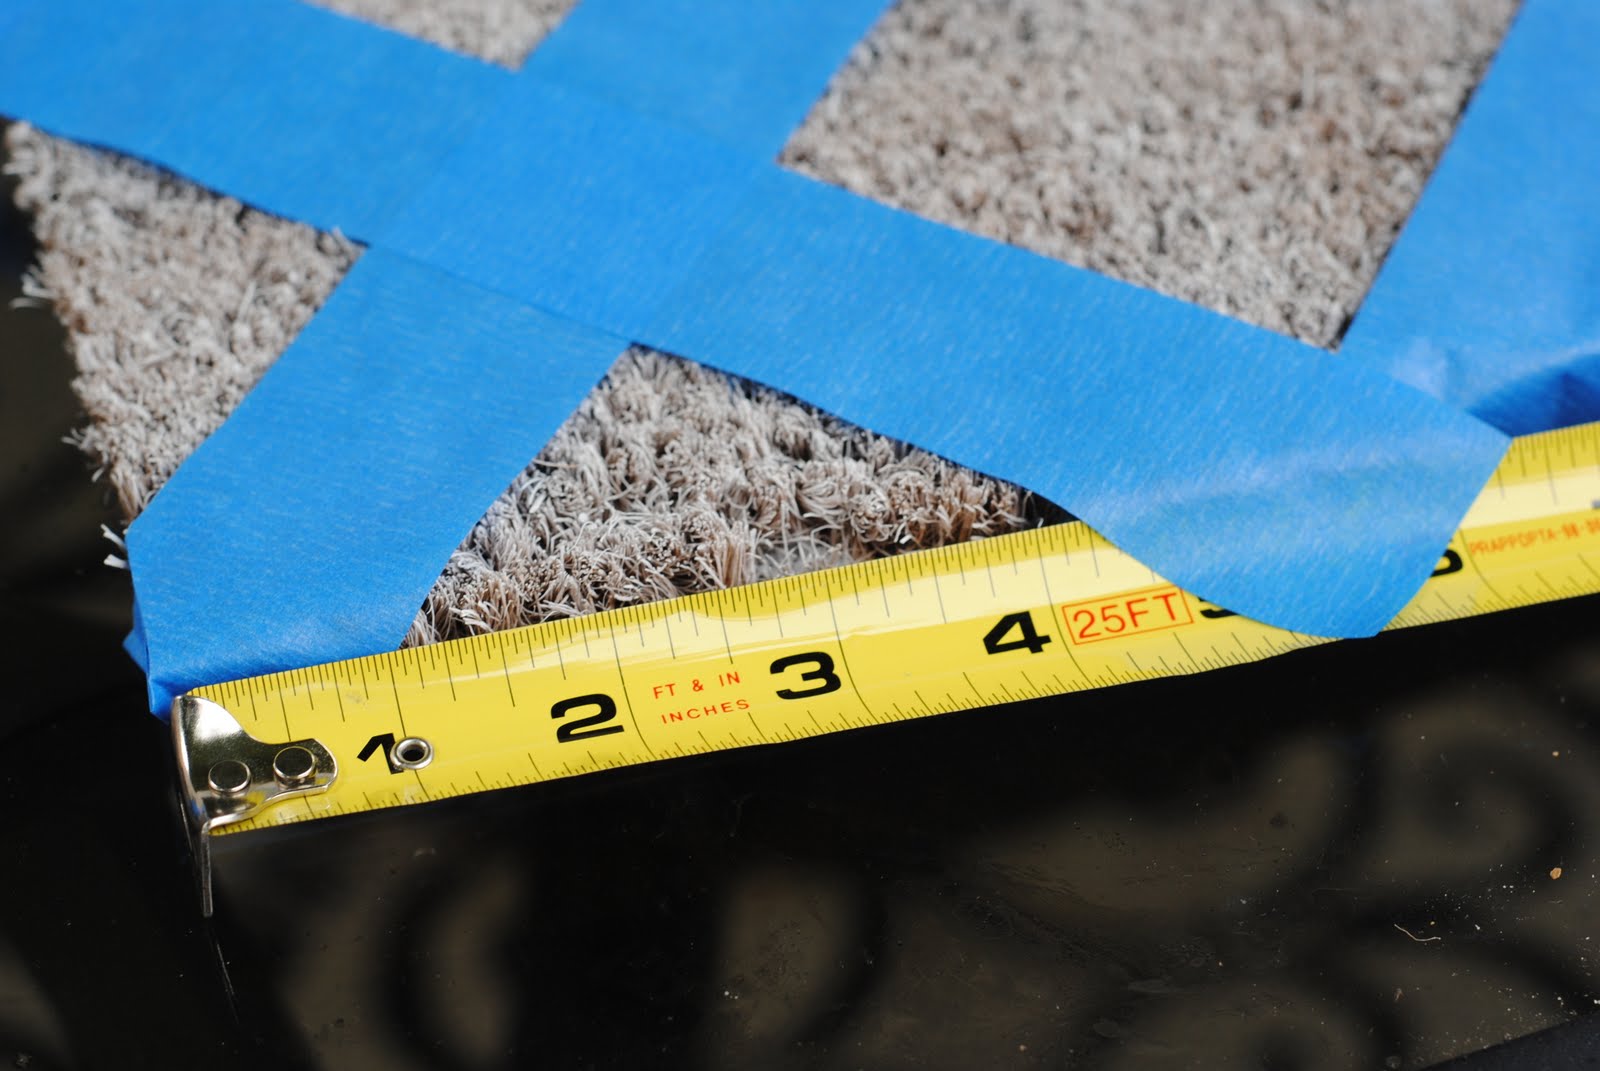
It gets a little confusing when the tape starts to overlap. I’m a visual learner, so it helped to draw a line to show where I should start measuring on the previous piece of tape.
When done, fold the edge of each piece of tape over so it helps the pieces stay on the mat. You should have a fabulous looking trellis at this point.
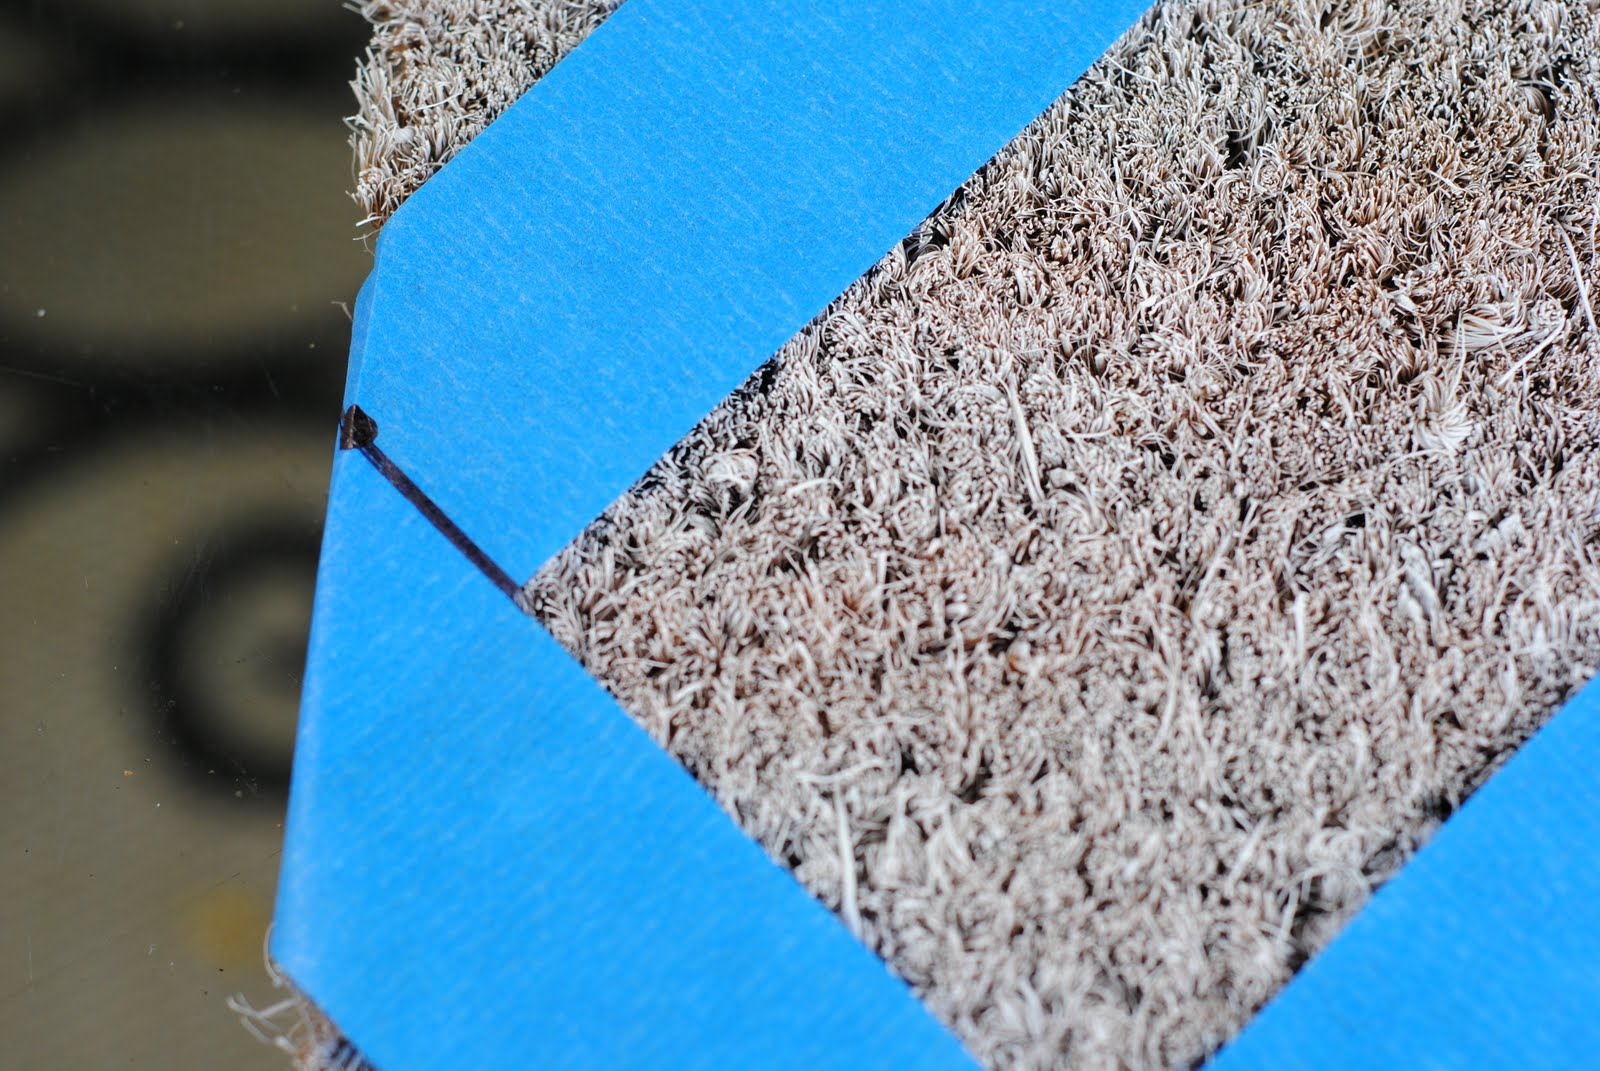
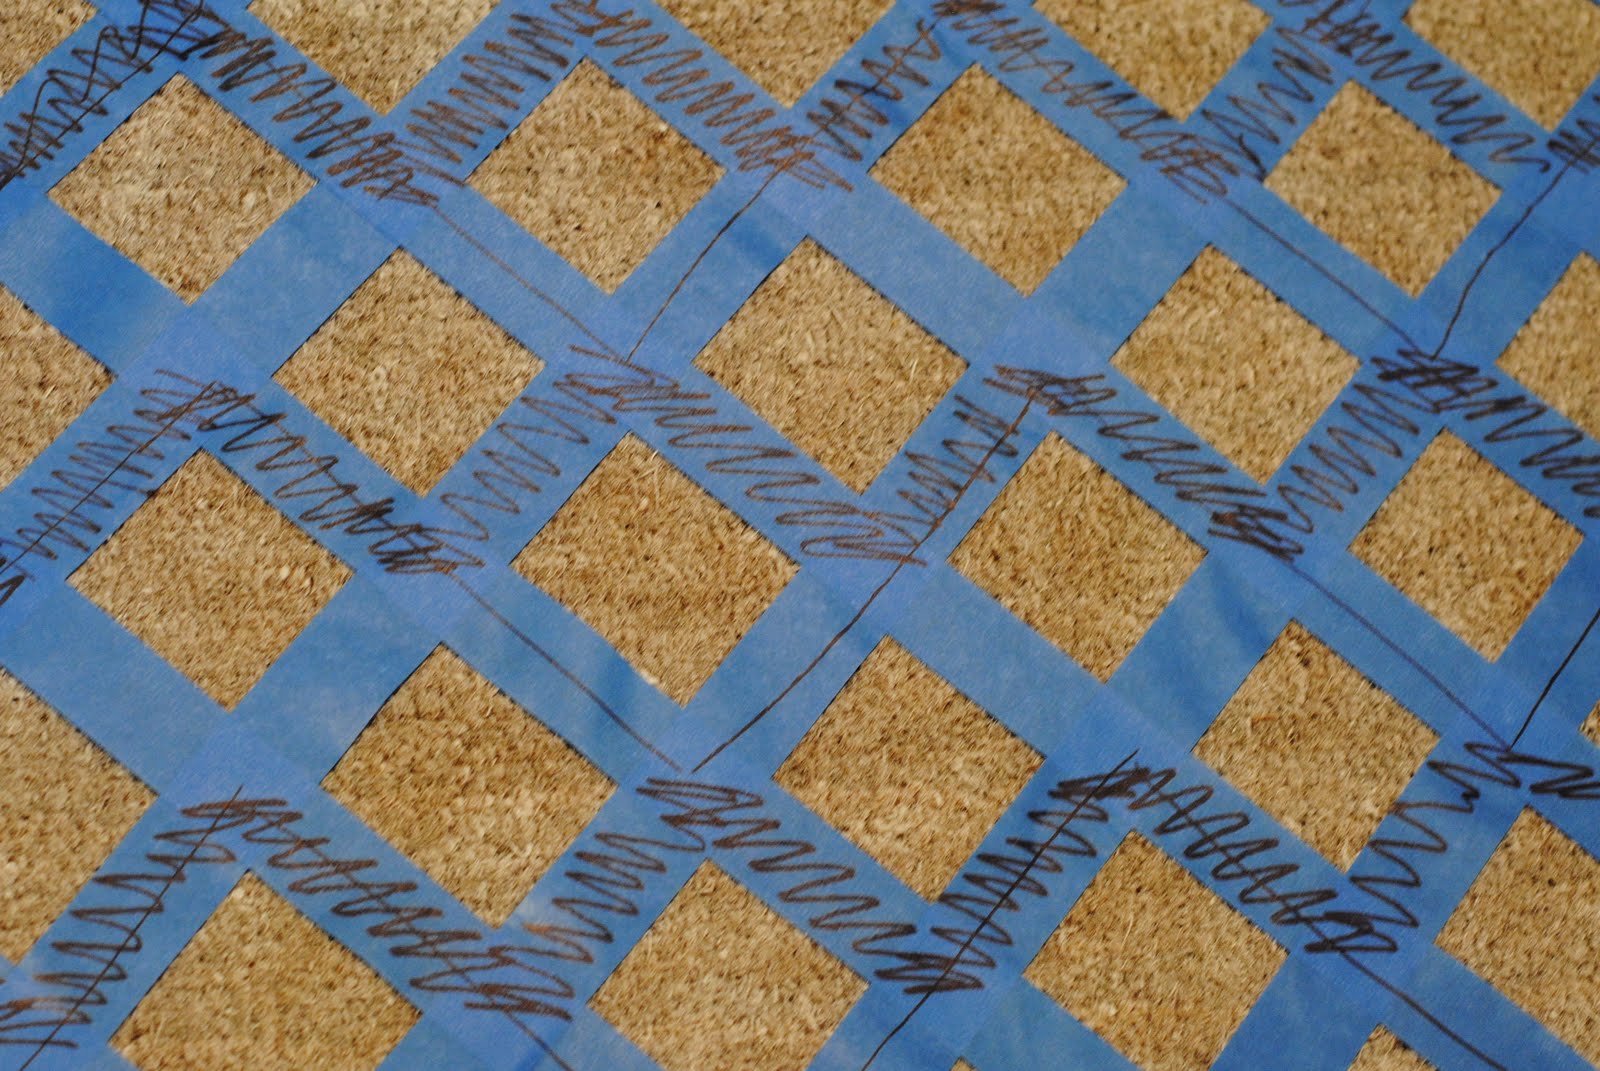
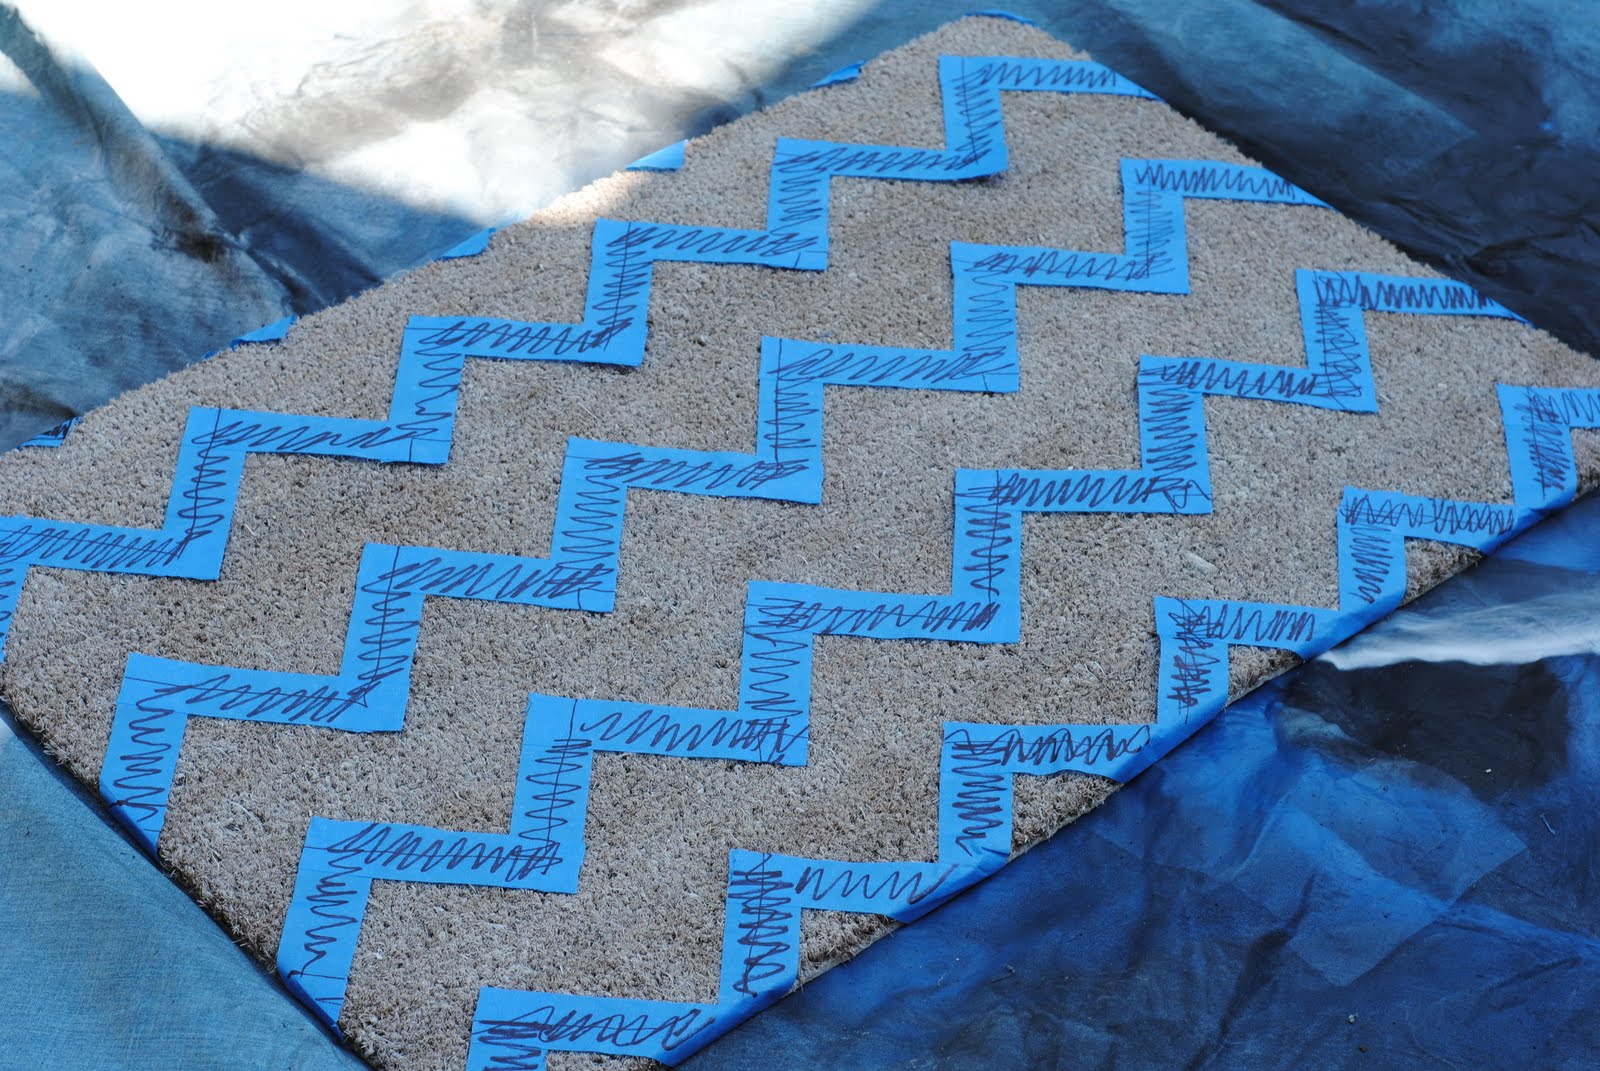
Step Four: Use a permanent marker to mark the chevron pattern (the pieces you want to keep) directly onto the tape. This will help guide you in the next step.
Step Five: Using a box cutter or large exacto knife, cut away the unmarked pieces to reveal your chevron pattern. It sounds obvious, but try to cut as evenly as possible since the remaining tape will be your stencil. I’m basically putting that in there because I’m a sloppy cutter so I had to be extra patient and careful!

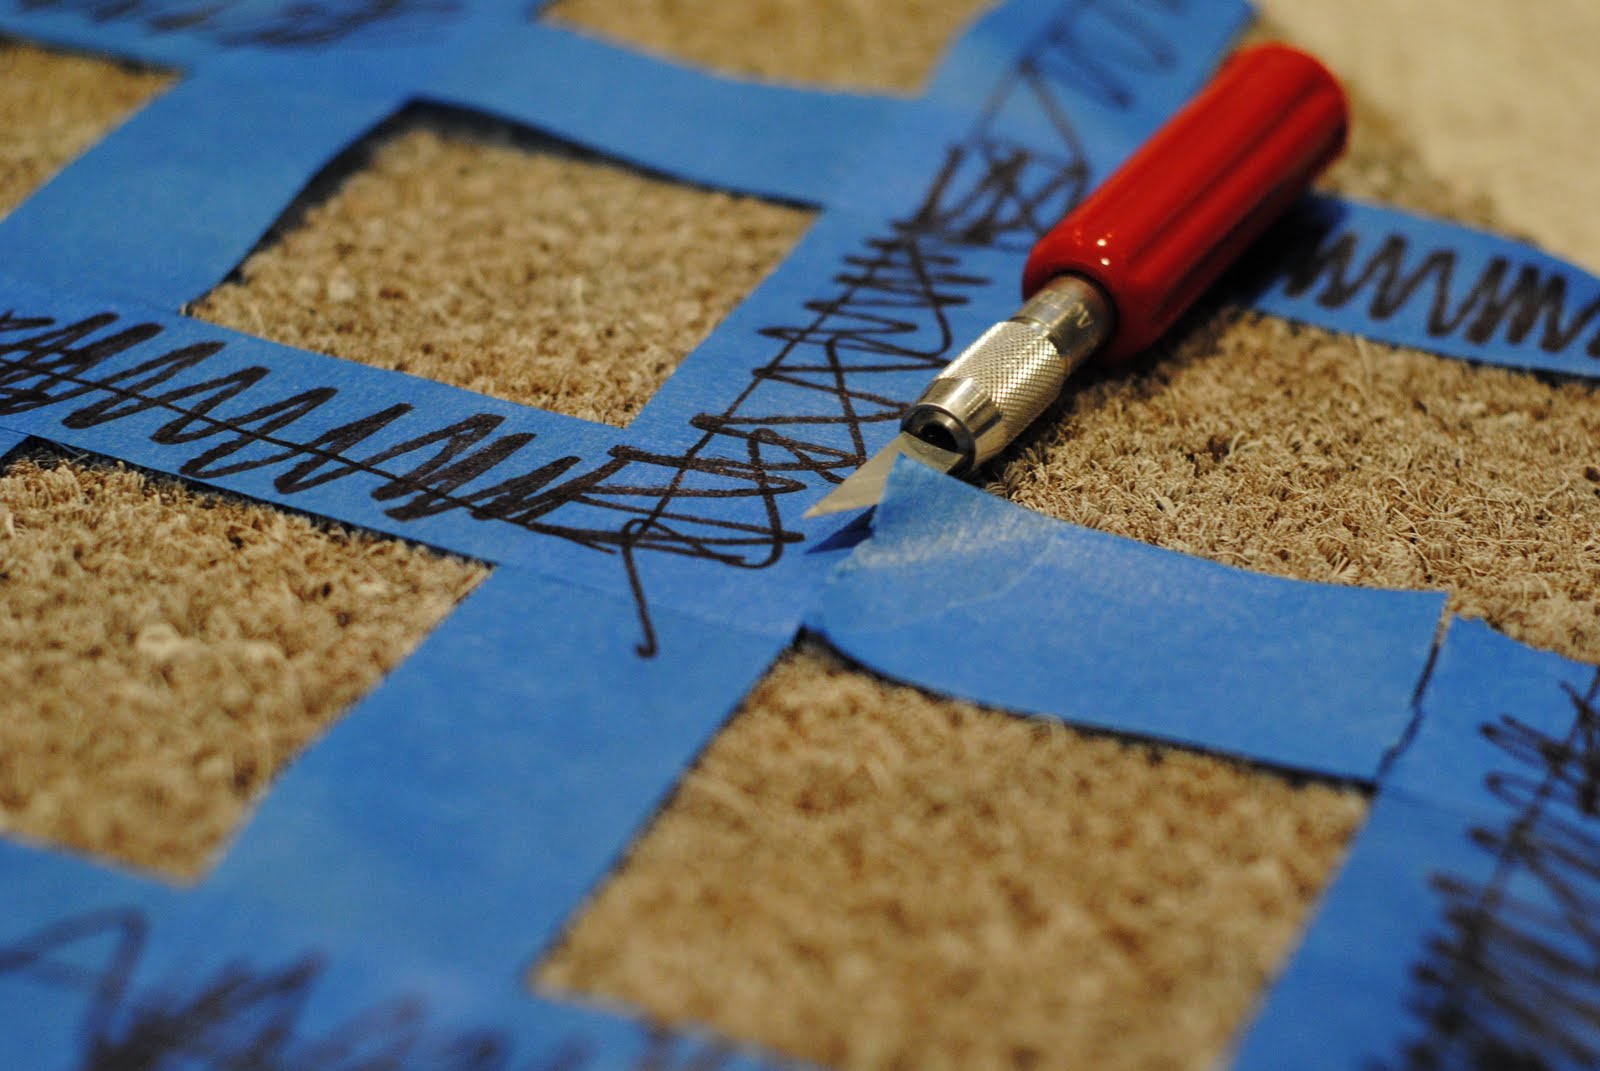
For the tip of the chevron along this edge, remember to keep the top of the next "v" as seen in the photo below.
Step Six: Woot. You’ve got chevron. Take a moment to celebrate your hard work. Step Seven: Now, the fun part. If by "fun" you mean inhaling fumes and decorating your driveway several different colors from the overspray. 😉 Take your darker color and spraypaint all over the mat. Again, this took several light coats at close range to get an even color all around.
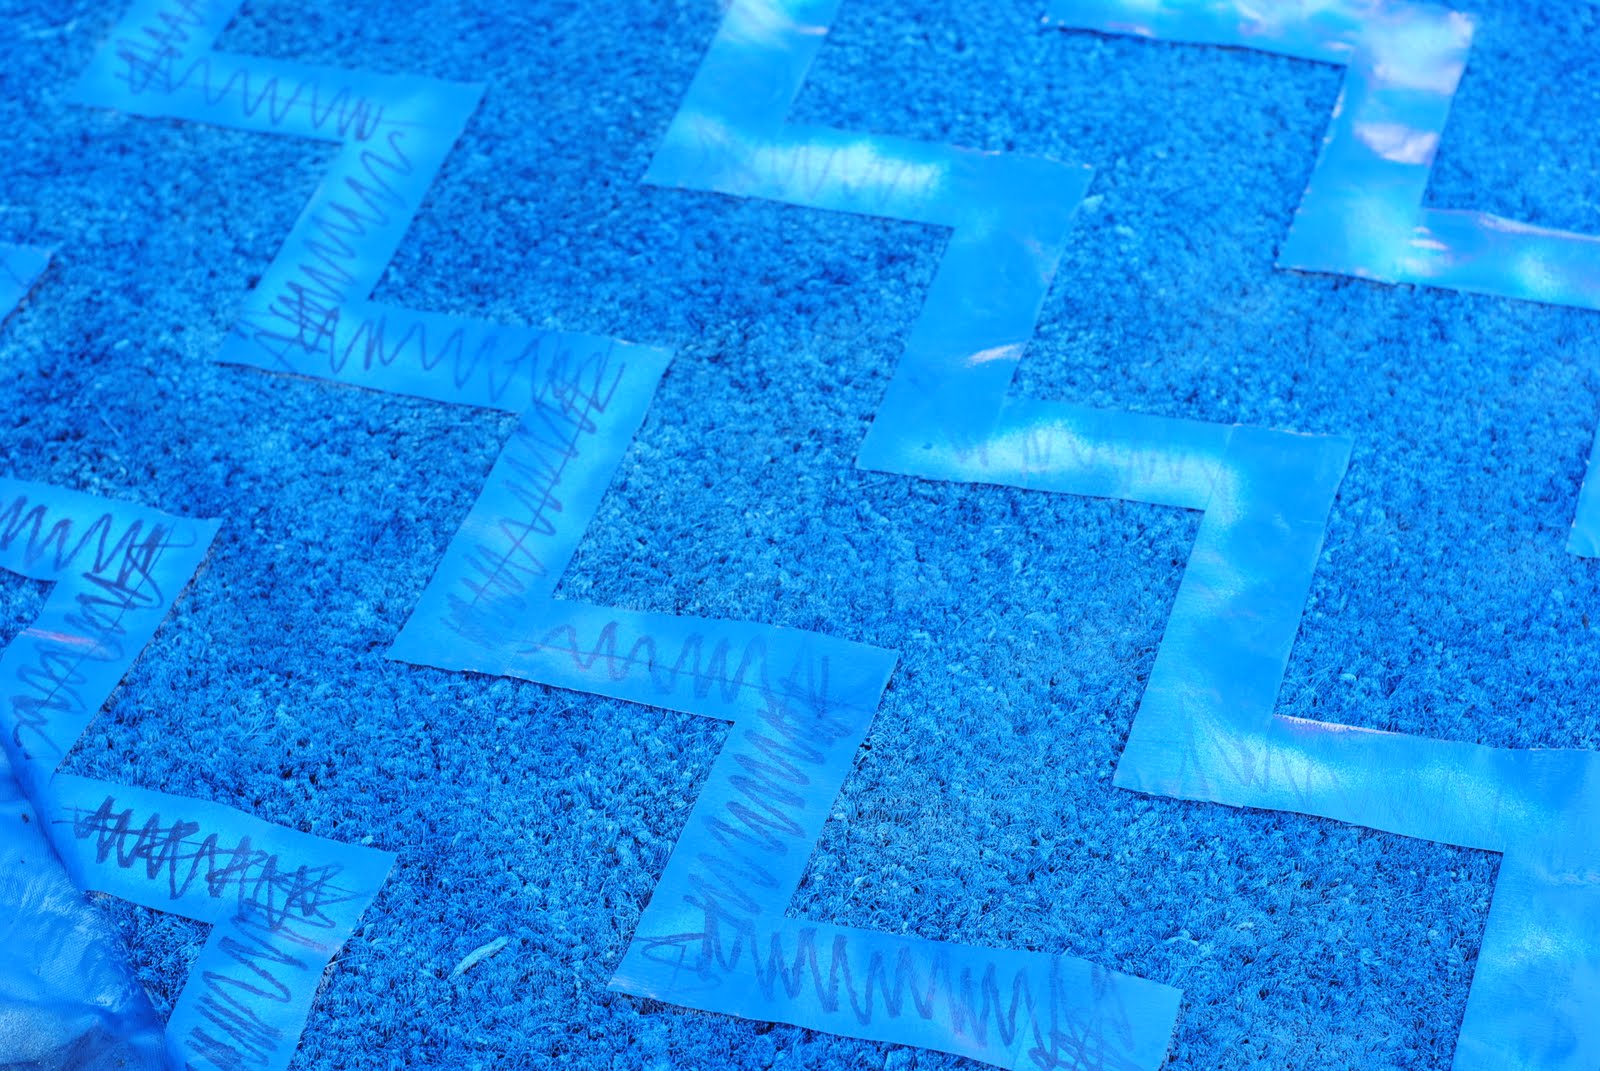
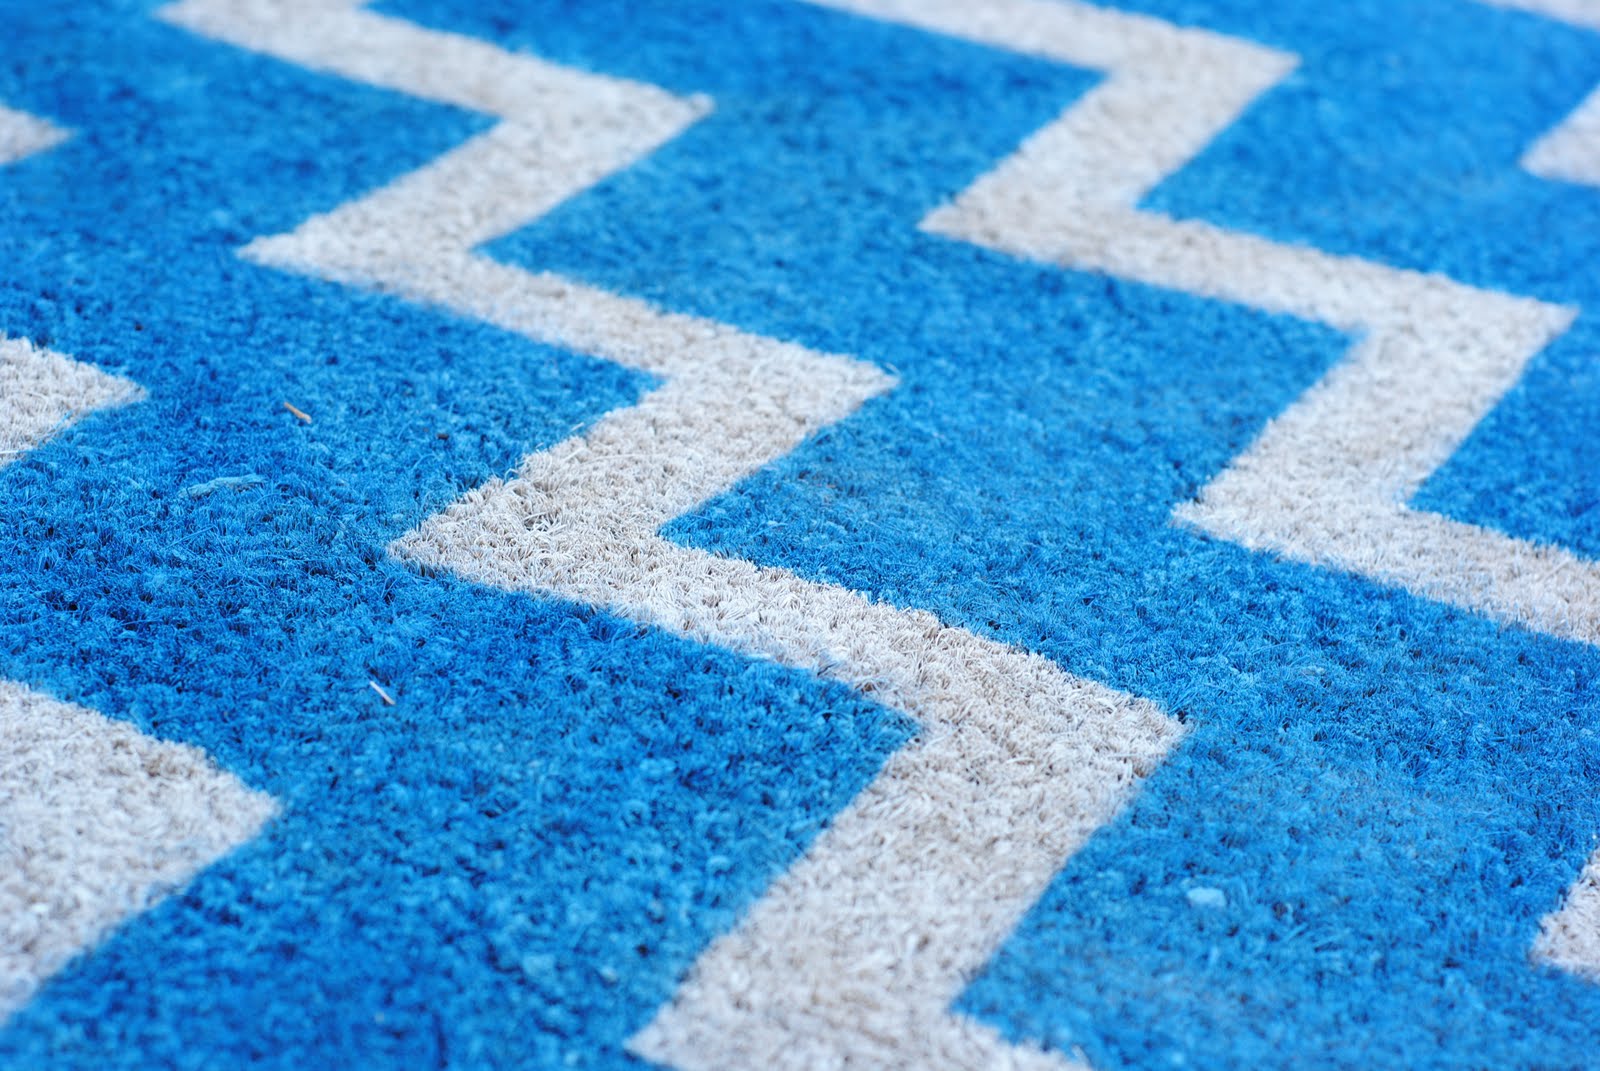
Step Eight: Make sure the color looks good, hold your breath, and rip up your tape. It will look great. Breathe now.
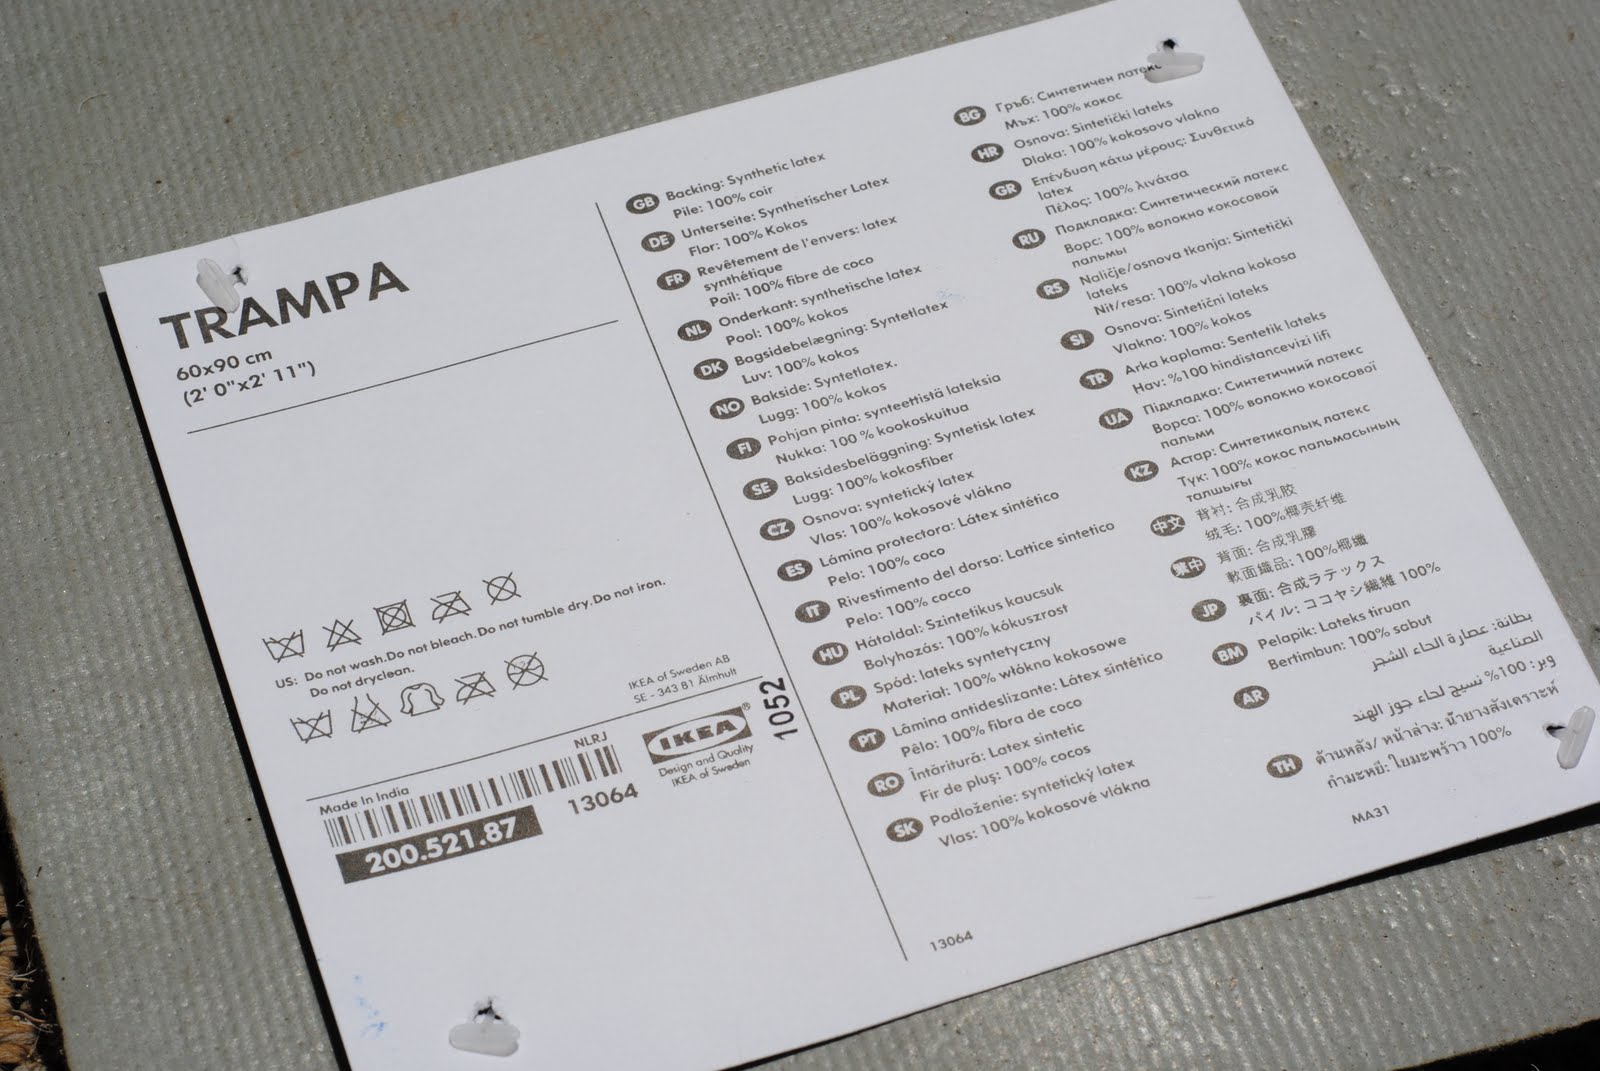
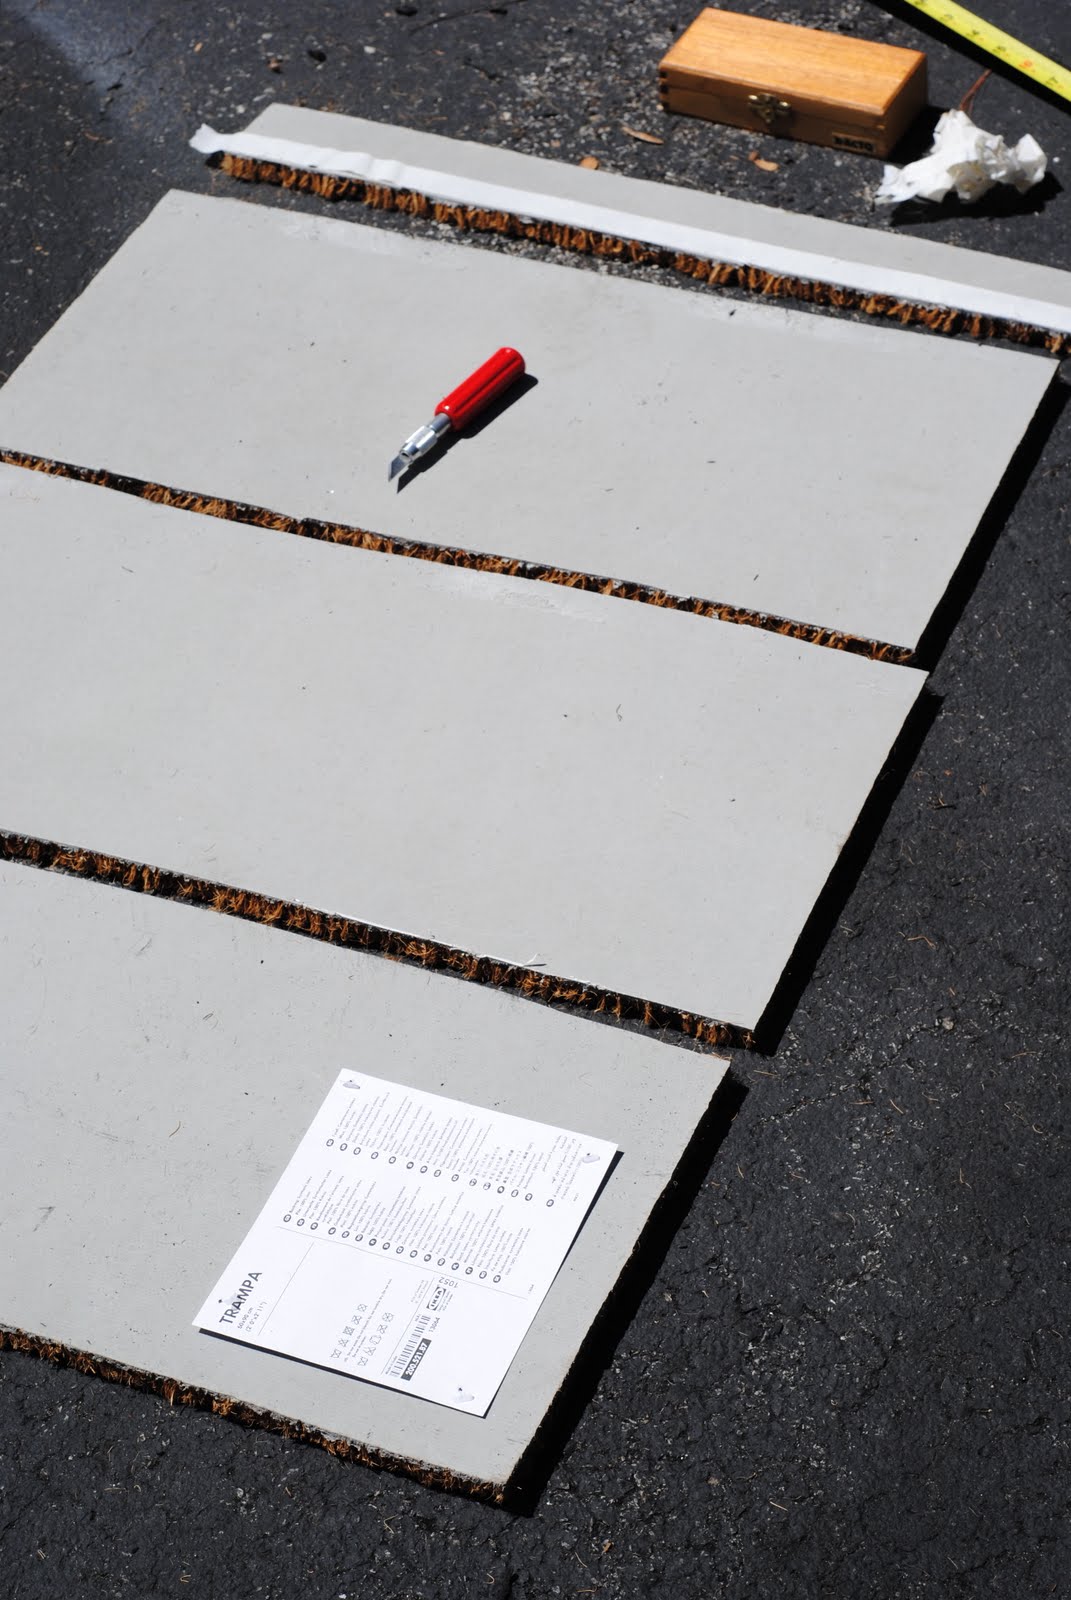
Step Nine: Now we can move on to the other mat, which (if you use the IKEA version) will be enough for three inserts. Here’s where I can get all complicated and explain exactly how I decided on the widths and lengths, but I don’t want to make this tutorial even longer than it already is. If you have specific questions feel free to ask, otherwise here’s how I did it with the IKEA mat. Lay the mat facedown and divide the mat into three 11 inch high sections (I used tape to mark it):
Step Ten: Now, cut! Cut across the top of each piece of tape to make three lovely inserts and one extra piece. {that extra part would make an excellent test piece for your spraypaint colors. wish I’d thought of that before putting it in the trash. drat.}
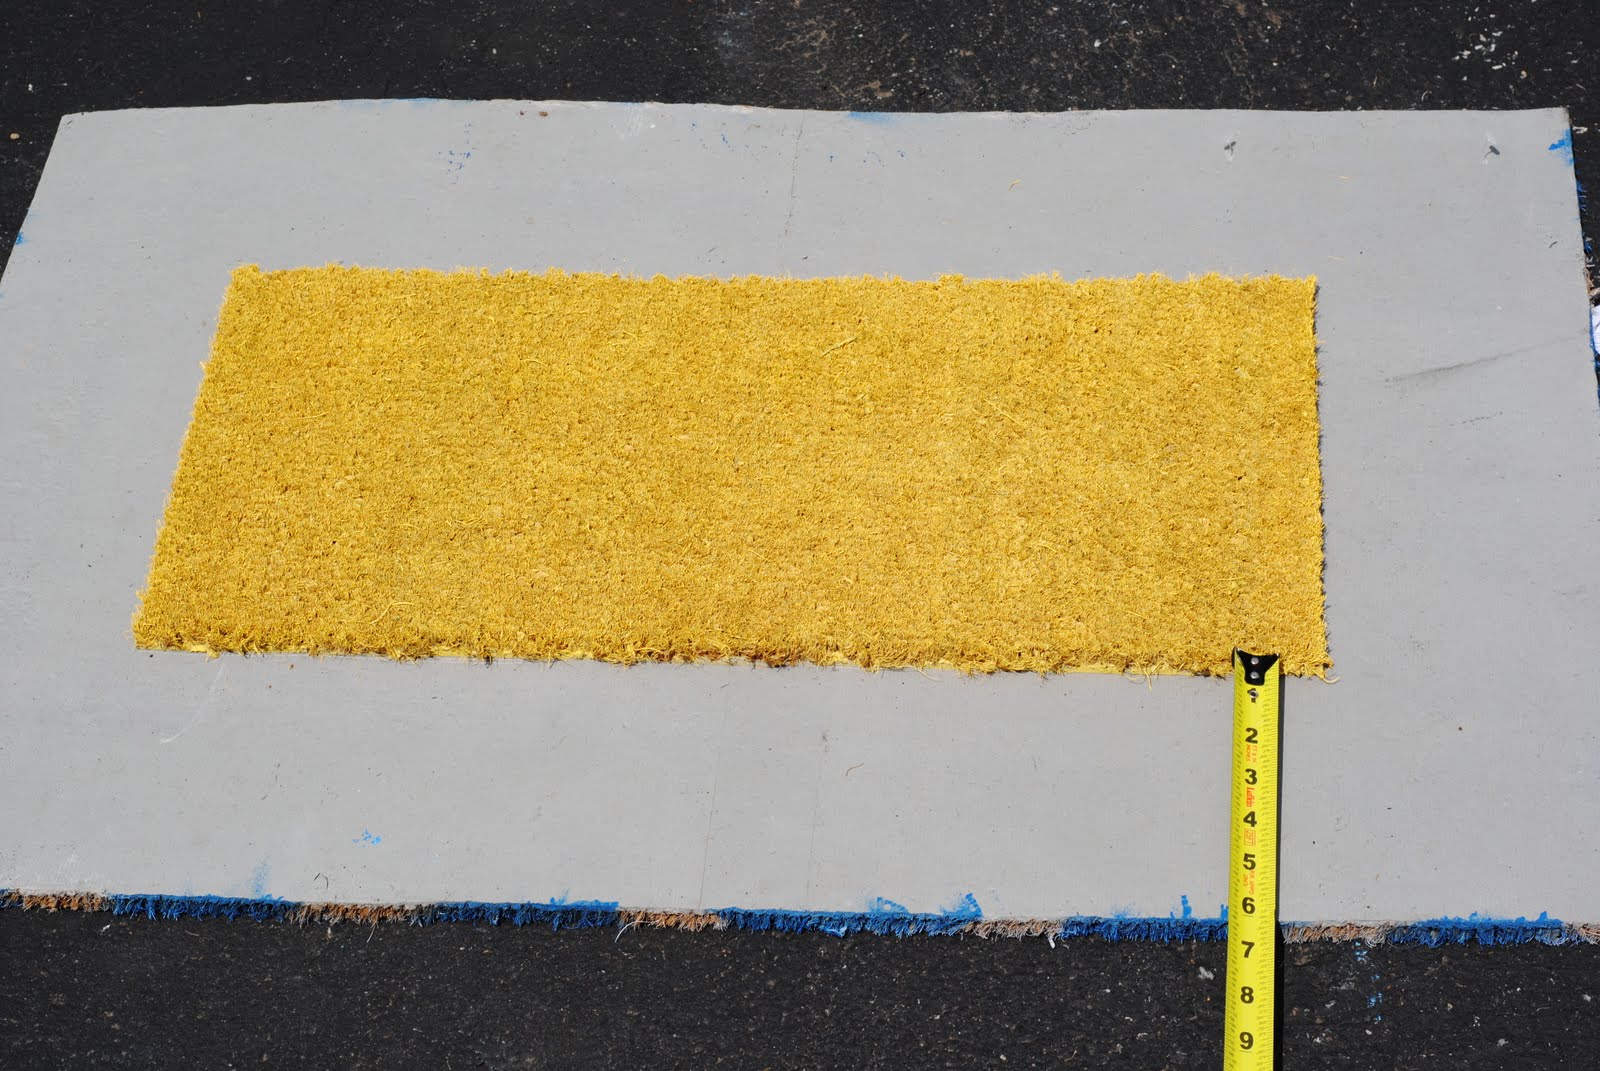
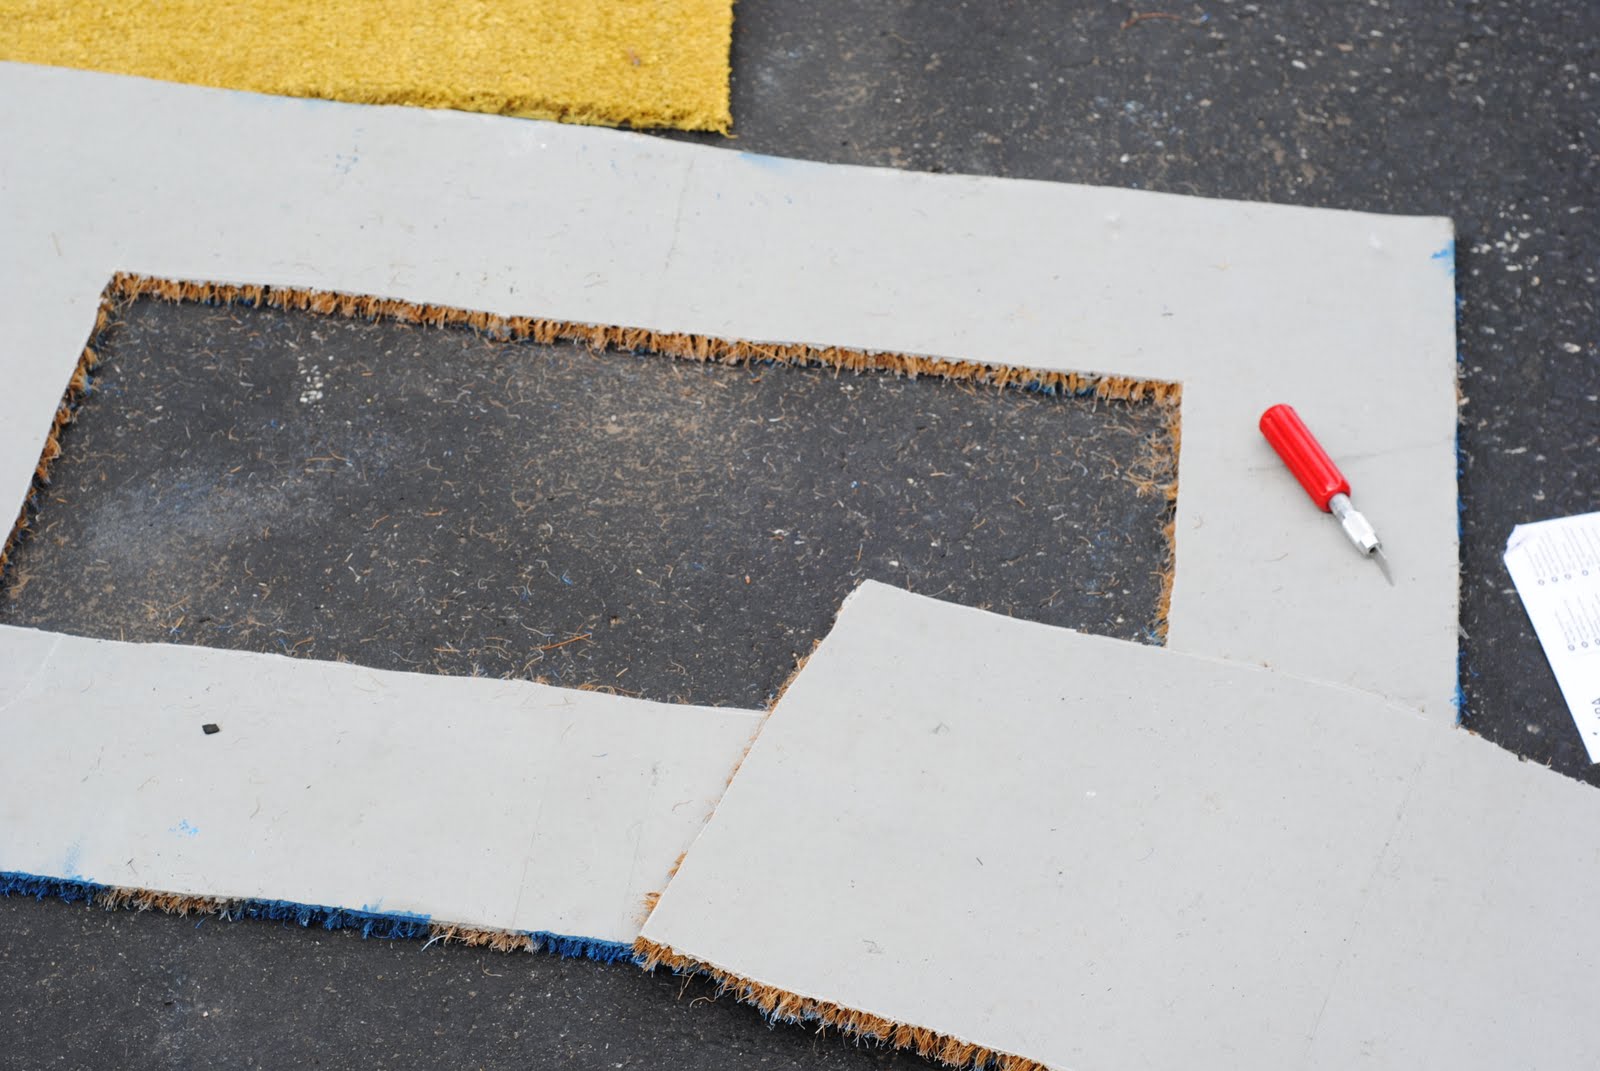
Step Eleven: Lay your first mat facedown, and use an insert piece as a template in the center. If you are a math person, you can also measure to figure out where exactly to cut. I used a pen to trace the template, then used my large exacto knife to cut through the rubber bottom. The IKEA mats were very easy to cut using this method.
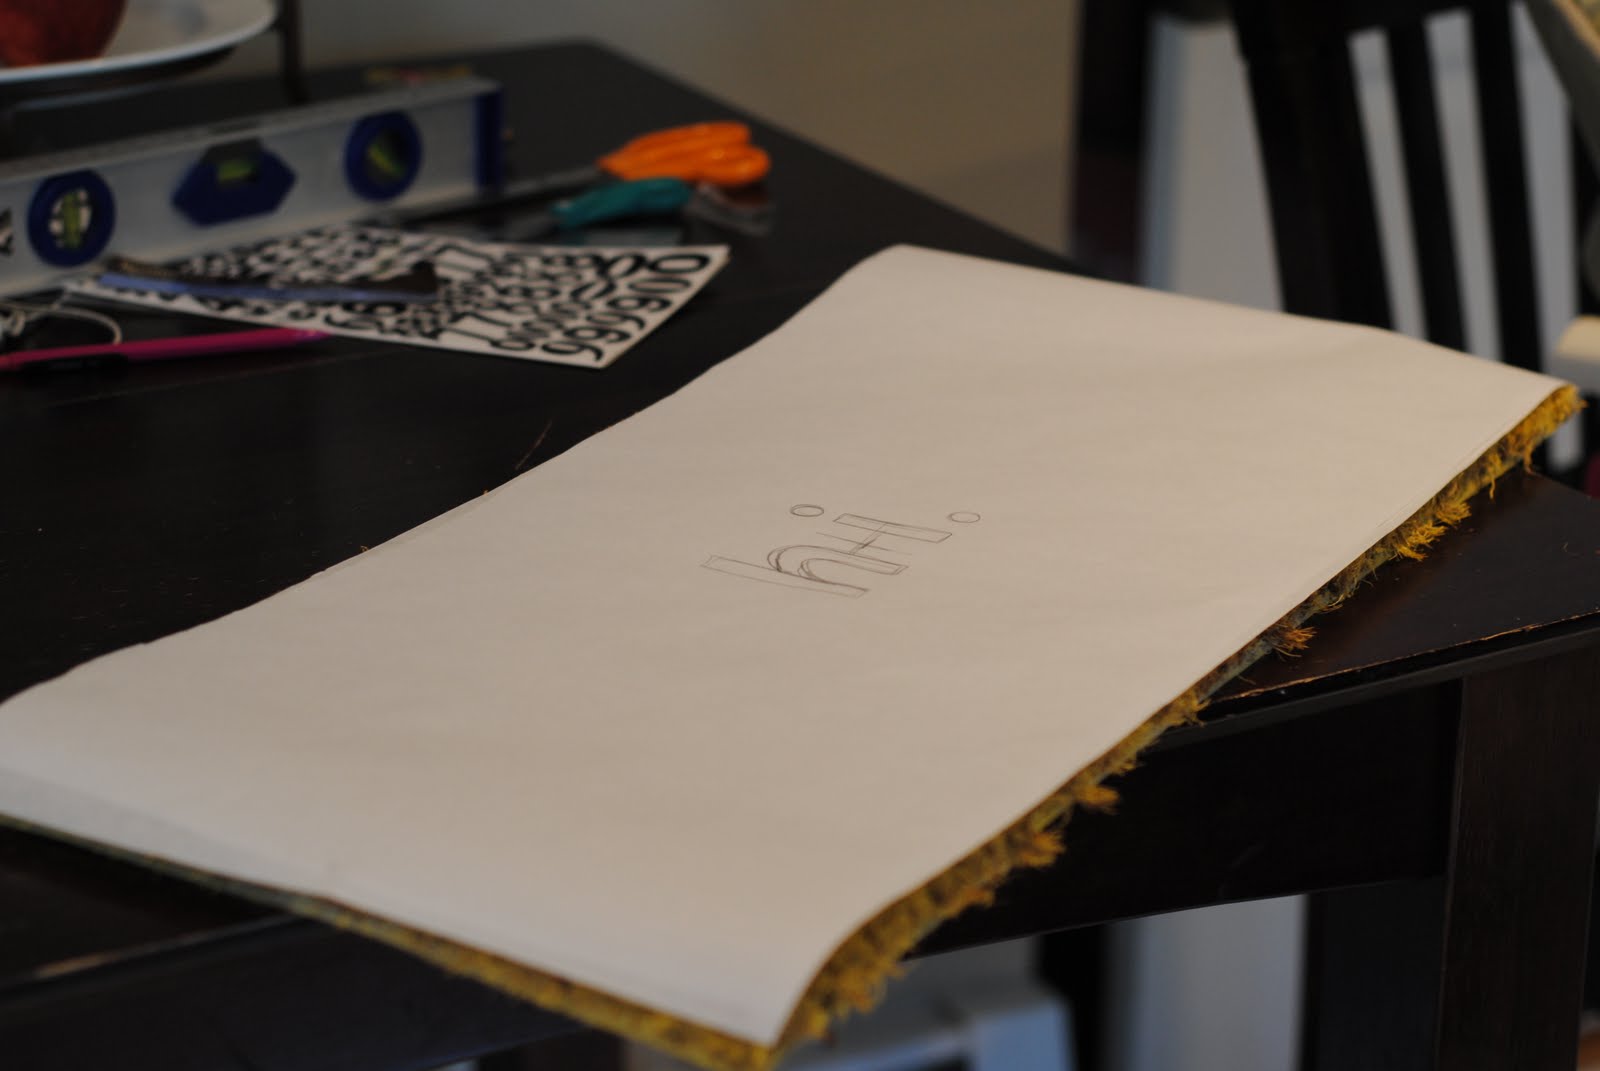
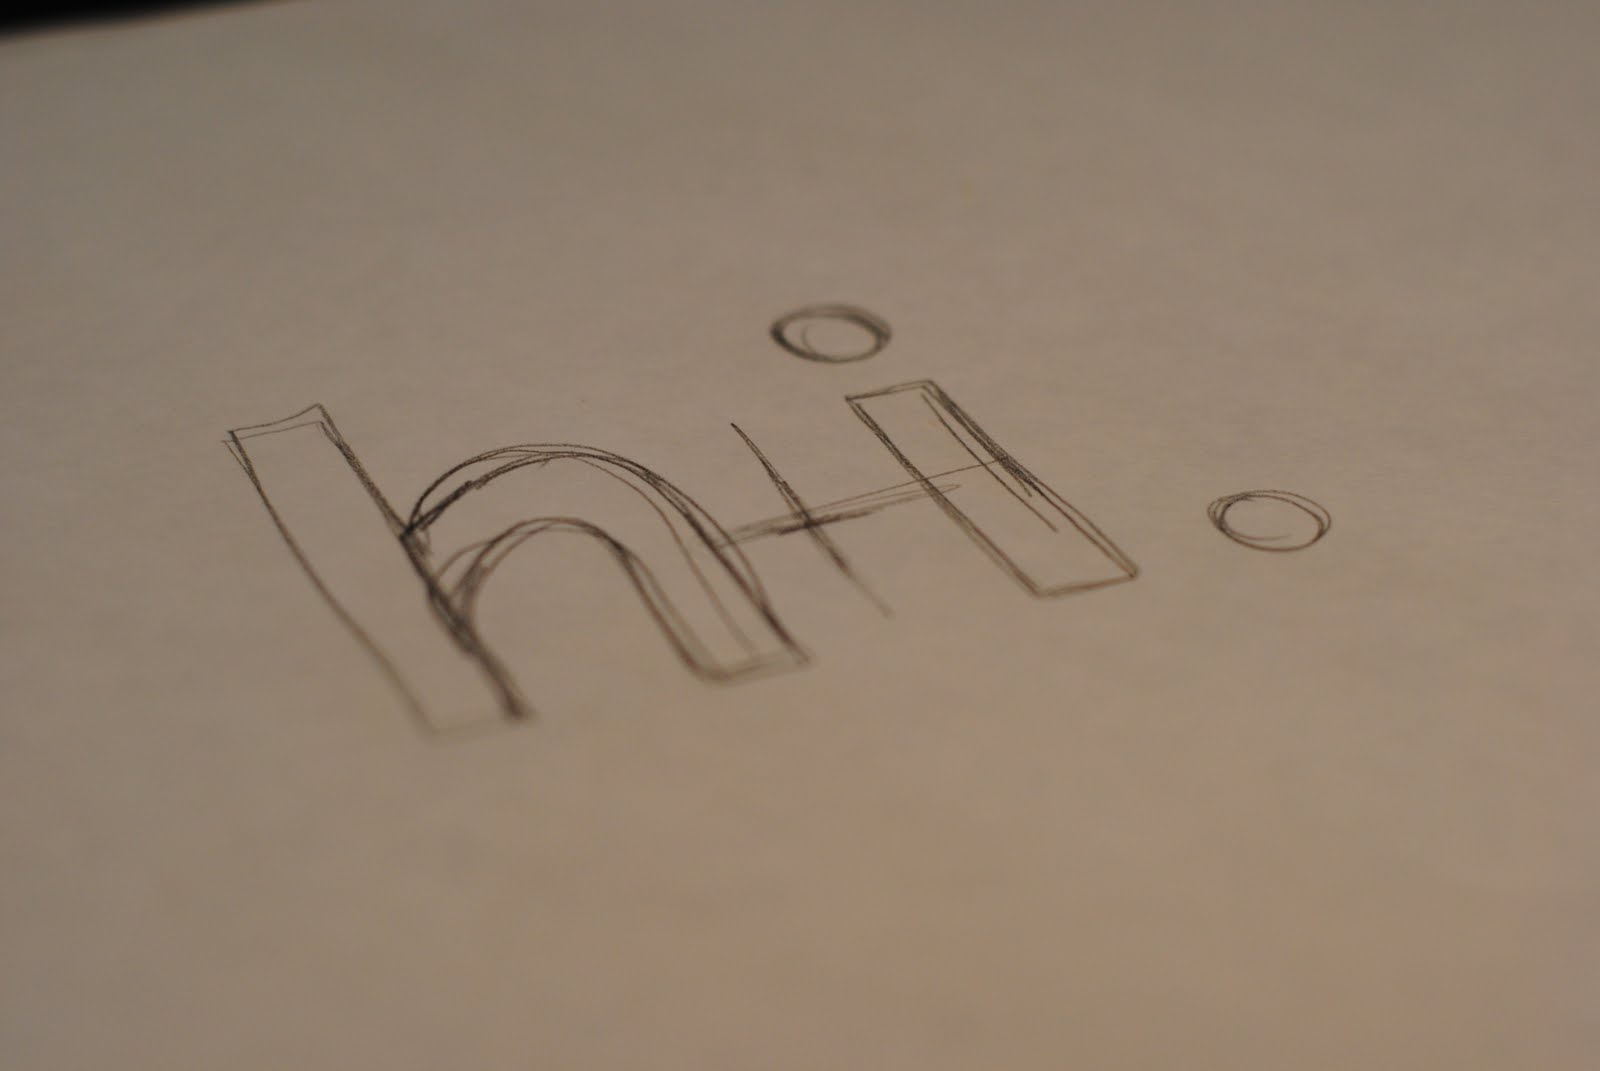
Step Twelve: To create the inserts, I spraypainted the base colors first (again, use the lighter color for the base). For all you lucky duck Silhouette owners, this next part will be a cinch. The rest of us need to improvise. If you use a vinyl decal, sticker, etc. then you will place it on the mat, spray all over it, then peel it up. Your image will be the original background color. If you don’t have a decal, you can make one using freezer paper. I decided to make a stencil, so the color of the image would be the last (darker) color I sprayed. First, cut off a piece of freezer paper in the size of your mat. Find the center. Then draw what you want on the stencil (or use a computer image transferred to the freezer paper, for all you perfectionist types):
Cut it out using an exacto:
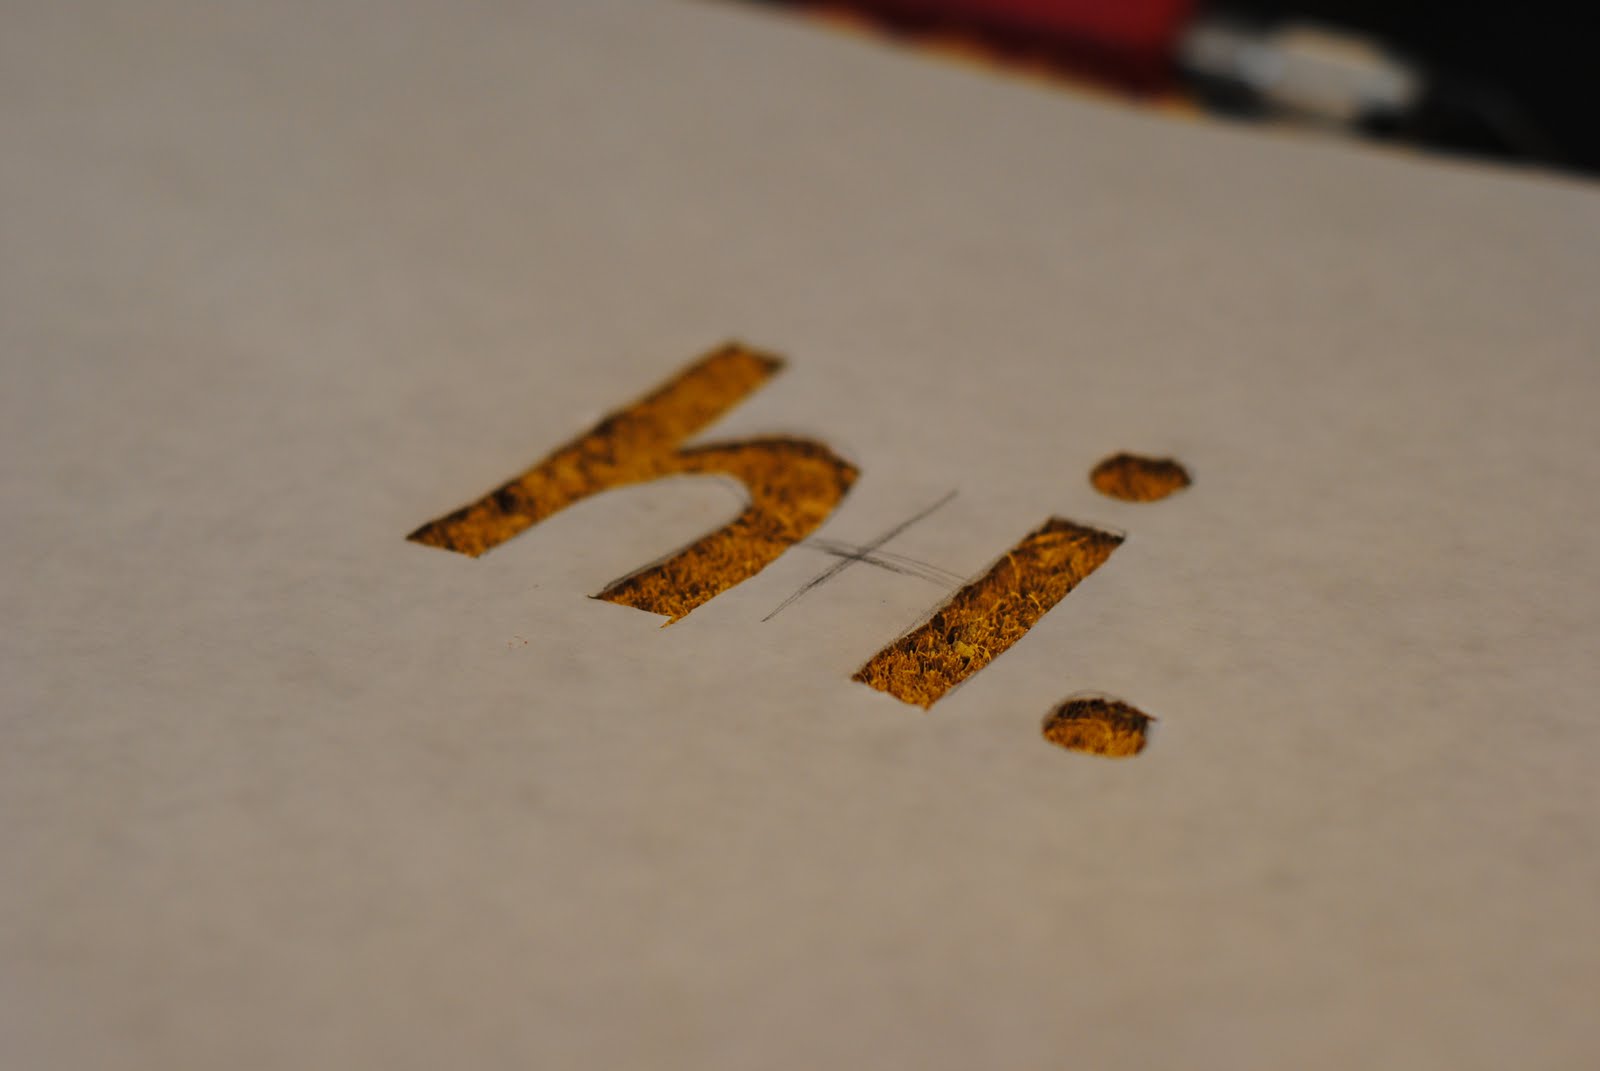
Iron it onto the mat. It won’t stick really well, but enough to get the job done. If you are using a non-IKEA mat, be sure it’s a natural coir material or it may melt!
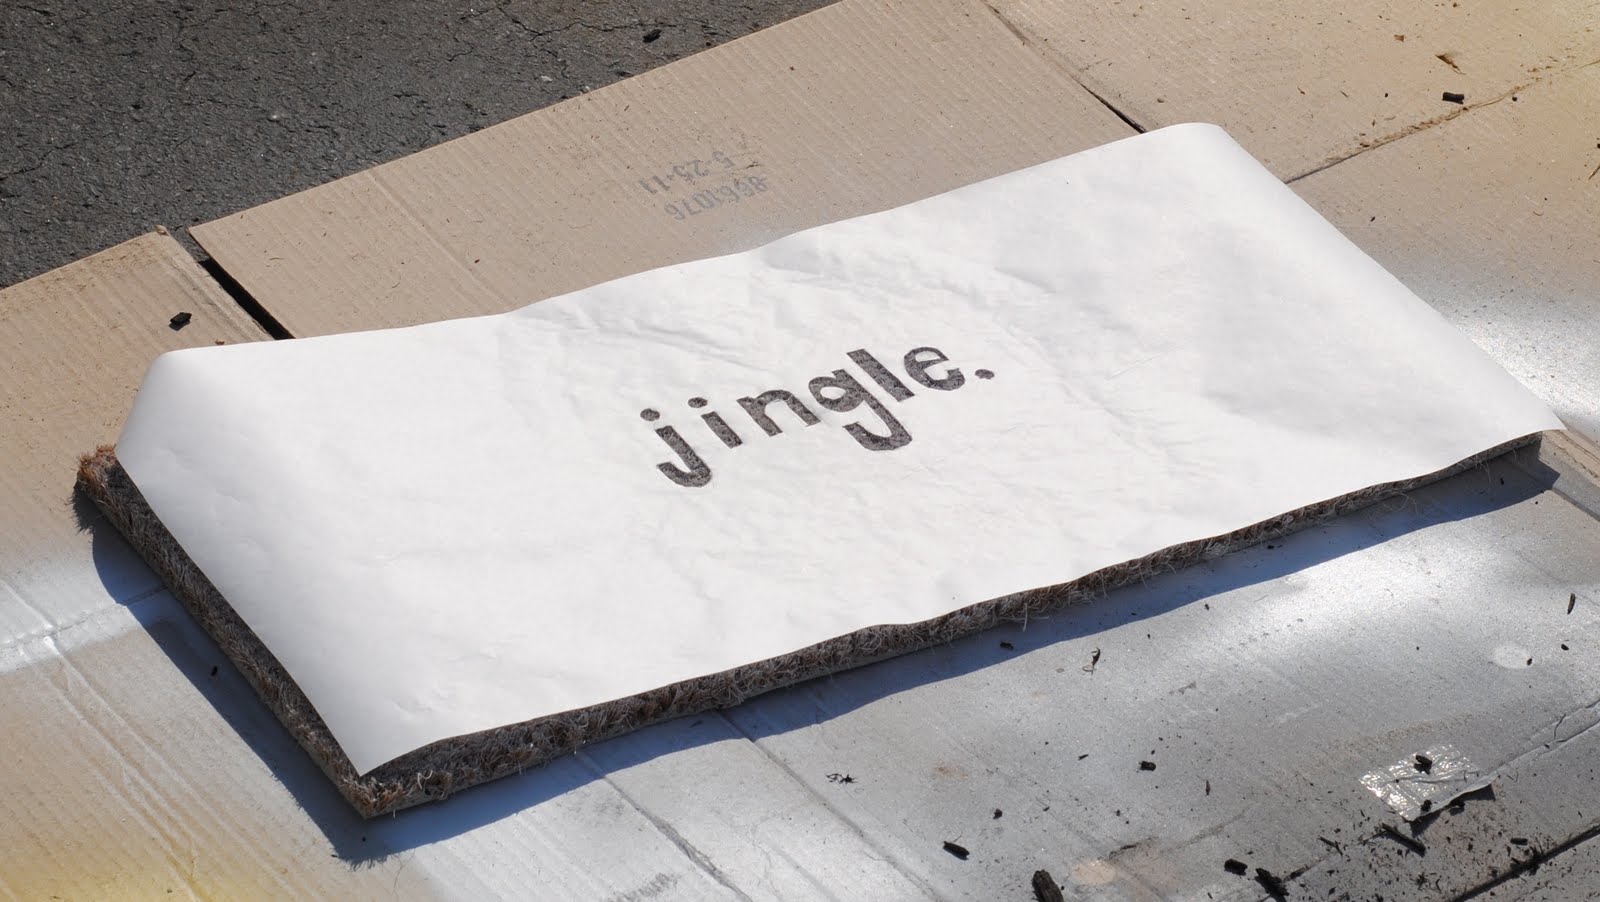
Now spraypaint your little heart out. It’s best to try to do it as directly as possible over the stencil so it doesn’t seep underneath. Lift it up, and…
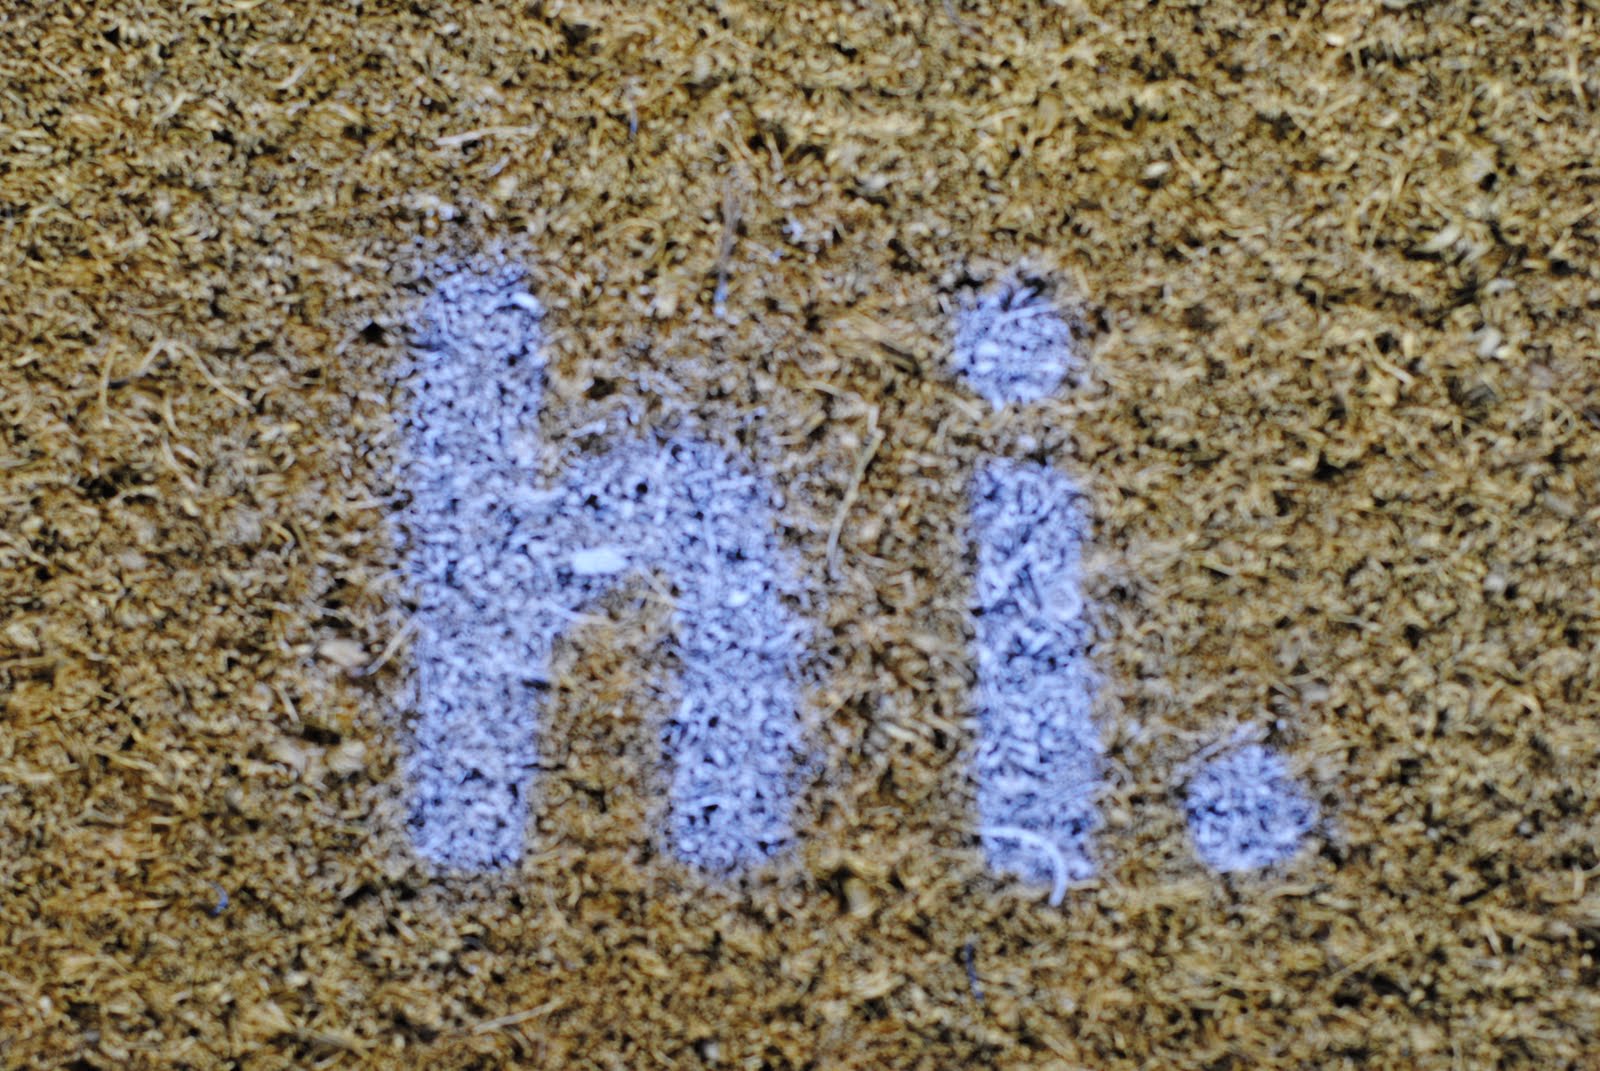
Now just work your insert into the opening in the chevron mat. It may take a minute to get it in, but it’s a very forgiving material to work with. Soon, you’ll have this:
Whew. Was that a novel-length tutorial or what? It’s worth the extra effort, because in the end you’ll have FOUR new doormats (if you include the original chevron insert as one). Not too shabby, friends!

Thanks for letting me stop by this massive house of creativity you call the CSI Project. Our welcome mat is always out over at Making Lemonade, so come on by when you have a minute! The other big project that’s part of my front porch spruce-up will be revealed soon as a guest post on Infarrantly Creative. I could not be more thrilled to show it to you on Beckie’s blog!