Hi CSI-ers! I’m Narelle from Cook Clean Craft (Tools for the Modern Domestic Engineer).

As I look back over 2011, I’ve created some fun projects:
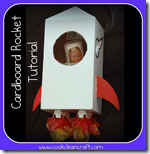

(I swear I’ve made stuff for my little girl too!)
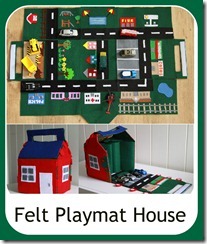
While my most popular post was my felt car play mat that folds into a house, my favourite (and it was so hard to choose) was my fabric bookends that I made for my son’s room (matching his quilt cover and wall art.):

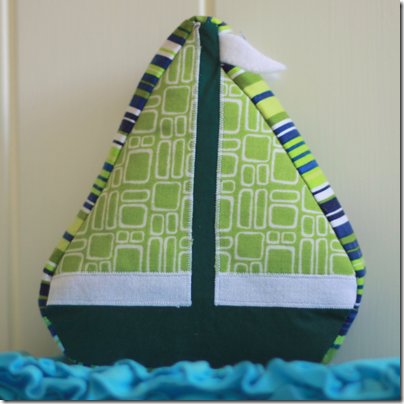
Here’s how I made them (using the boat as an example):
Materials
Fabric:
- 15inch x 7.5inch for boat (I used a dark green quilter’s cotton)
- 10inch x 5 inch sails (Mod Squares in Leaf from Monaluna Mingle)
- white for the “background” (Quilter’s cotton again)
- 27inch x 3inch strip for the outside (I used New Traditions Stripe in Chartreuse from Robert Kaufman)
- Small scrap of white felt
Medium or Heavy-weight interfacing
Heat’n’bond lite (or similar)
Polyfill or other type of stuffing
Mini Zip-Lock Bag
Handful of rice/lentils or other beanie-type filling
Sticky-mat drawer liner
Sewing machine
Thread
Scissors and/or rotary knife
Glue
Procedure
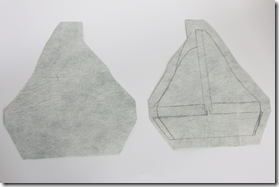
Print out the template from here.
Iron interfacing on to the main piece of fabric and the strips for the outside, and Heat’n’bond on to the fabrics for the sails and background.
Trace the whole shape onto the interfaced side of the main fabric. With right sides together, cut out 2 boats leaving a 1/2” seam allowance.
Trace and cut out the background and sails pieces.

Iron the background and sails into position.
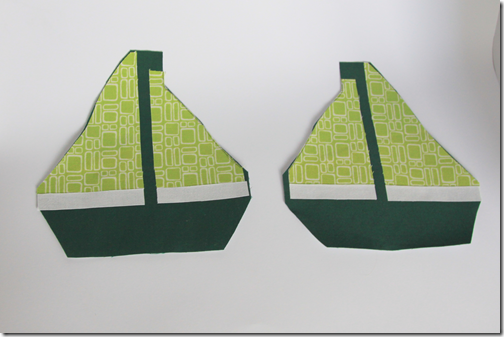
Using a zigzag stitch, sew over the edges of the sail and background (except for the edges in the seam allowance).
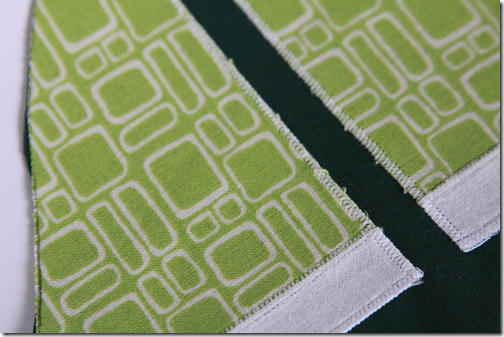
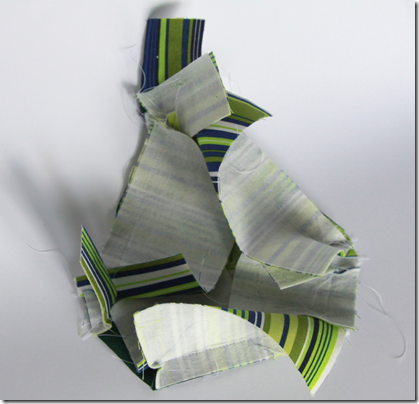
Cut sections of fabric the width of each “side of the boat” (It makes more sense if you look at the picture!). Make sure there is a 1/2inch seam allowance for each section to overlap!
Make a clip in the seam allowance at each corner.
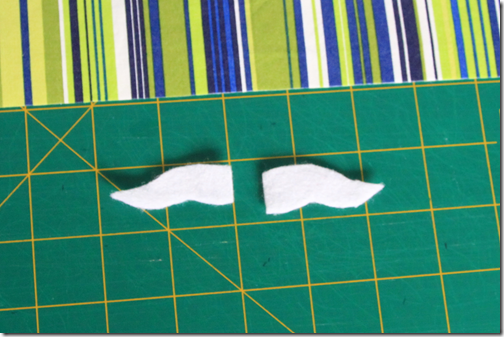
Cut two flag shapes from white felt. Pin into place on each boat shape (onto the right side of the fabric).
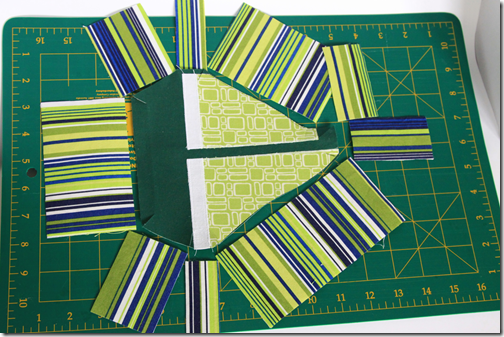
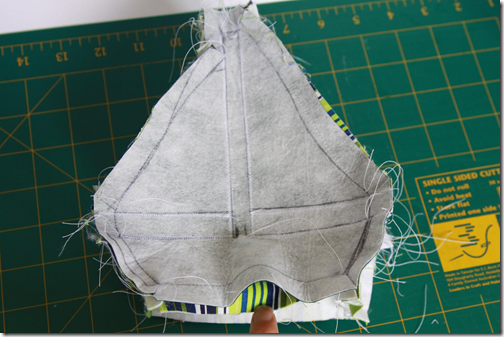
Sew each strip on to one of the boats. Only sew along the actual seam line – do not sew into the seam allowances. This is important to get nice sharp box corners! At this point it will look like a mess of fabric, but trust me, it will come together soon…
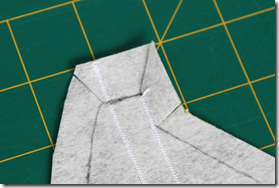
Sew each side strip to the one next to it, sewing from the already sewn side to the edge of the seam allowance edge (1/2 inch from end). Once again, this ensures sharp corners on the bookend.

Now it’s time to sew the other side of the boat into place. Once again, line up each “side” of the boat with the corresponding strip and sew into place only along the outline of the boat (and not into the seam allowances). Leave a large opening (2-3 inch) in the bottom of the boat to turn it inside out (or outside out to be precise!). I always make this too small because I hate hand-stitching!
Trim the seam allowance at the corners and turn the boat right-way out. “Finger press” the seams.
Stuff with polyfill through the opening, making sure you push it into all the corners, but don’t quite fill all the way. Put enough rice (or other bean-type material) to cover the bottom of the boat into a small zip lock bag.
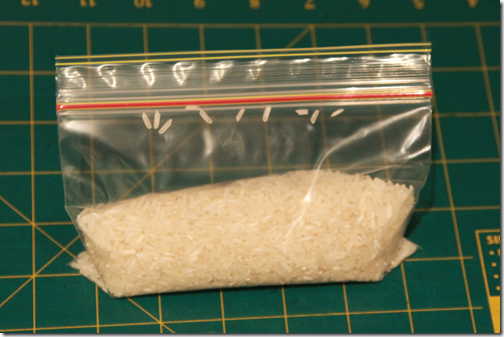
Poke the bag of rice through the opening in the boat and then lay the rice bag flat along the bottom of the boat. Hand-stitch the opening closed.
Cut a strip of sticky-mat drawer liner slightly smaller than the base of the bookend, and glue it to the base of your boat.
When the glue dries, you have a cute bookend:
Head over to this post to see more pictures, details and additional hints and tricks.
Thanks again for having me! I hope everyone has a Happy New Year!
~ I love this and I think your tutorial is so great.
I have new nephews coming in 2012 and friends having boys also, so this would make a great gift for all of them.
Thanks for sharing your day and year with us here at The CSI Project!