
This is my tutorial on embellishing a pillow with yarn.
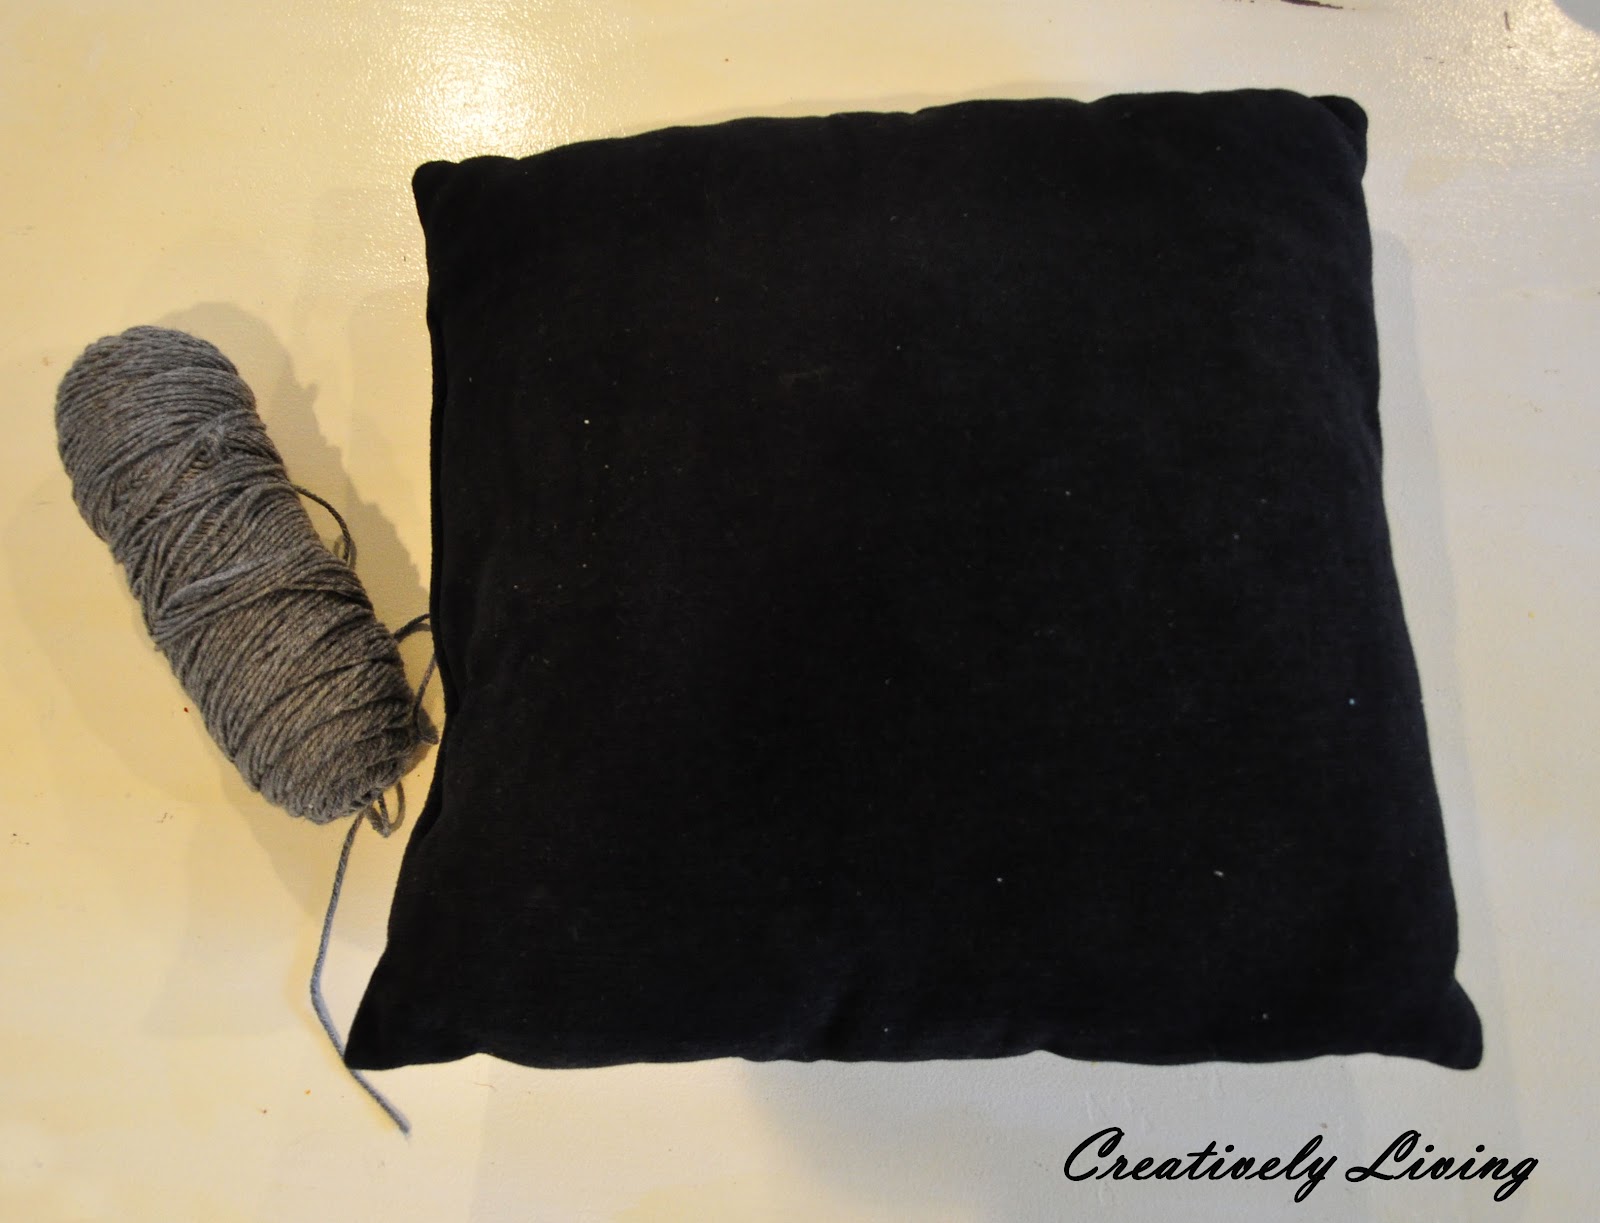
I started with some yarn, and a pillow that was already laying around my house, and was rather…..plain.
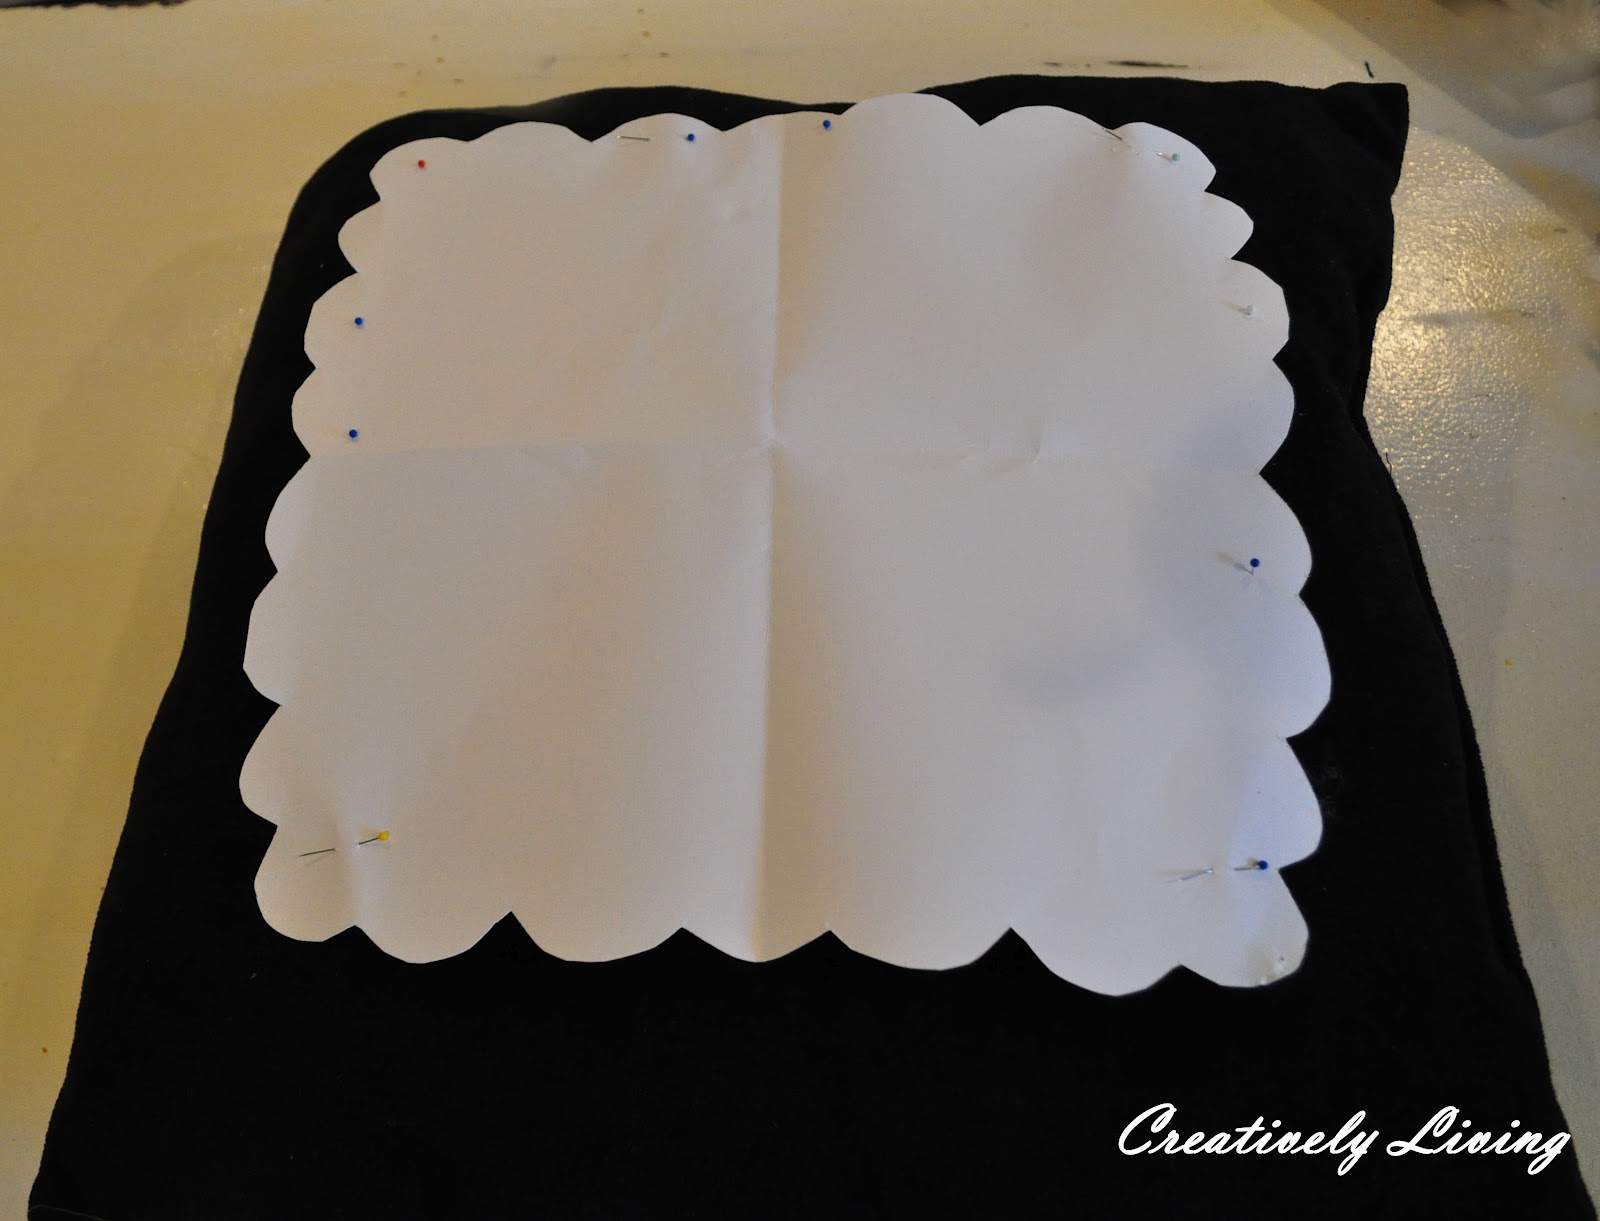
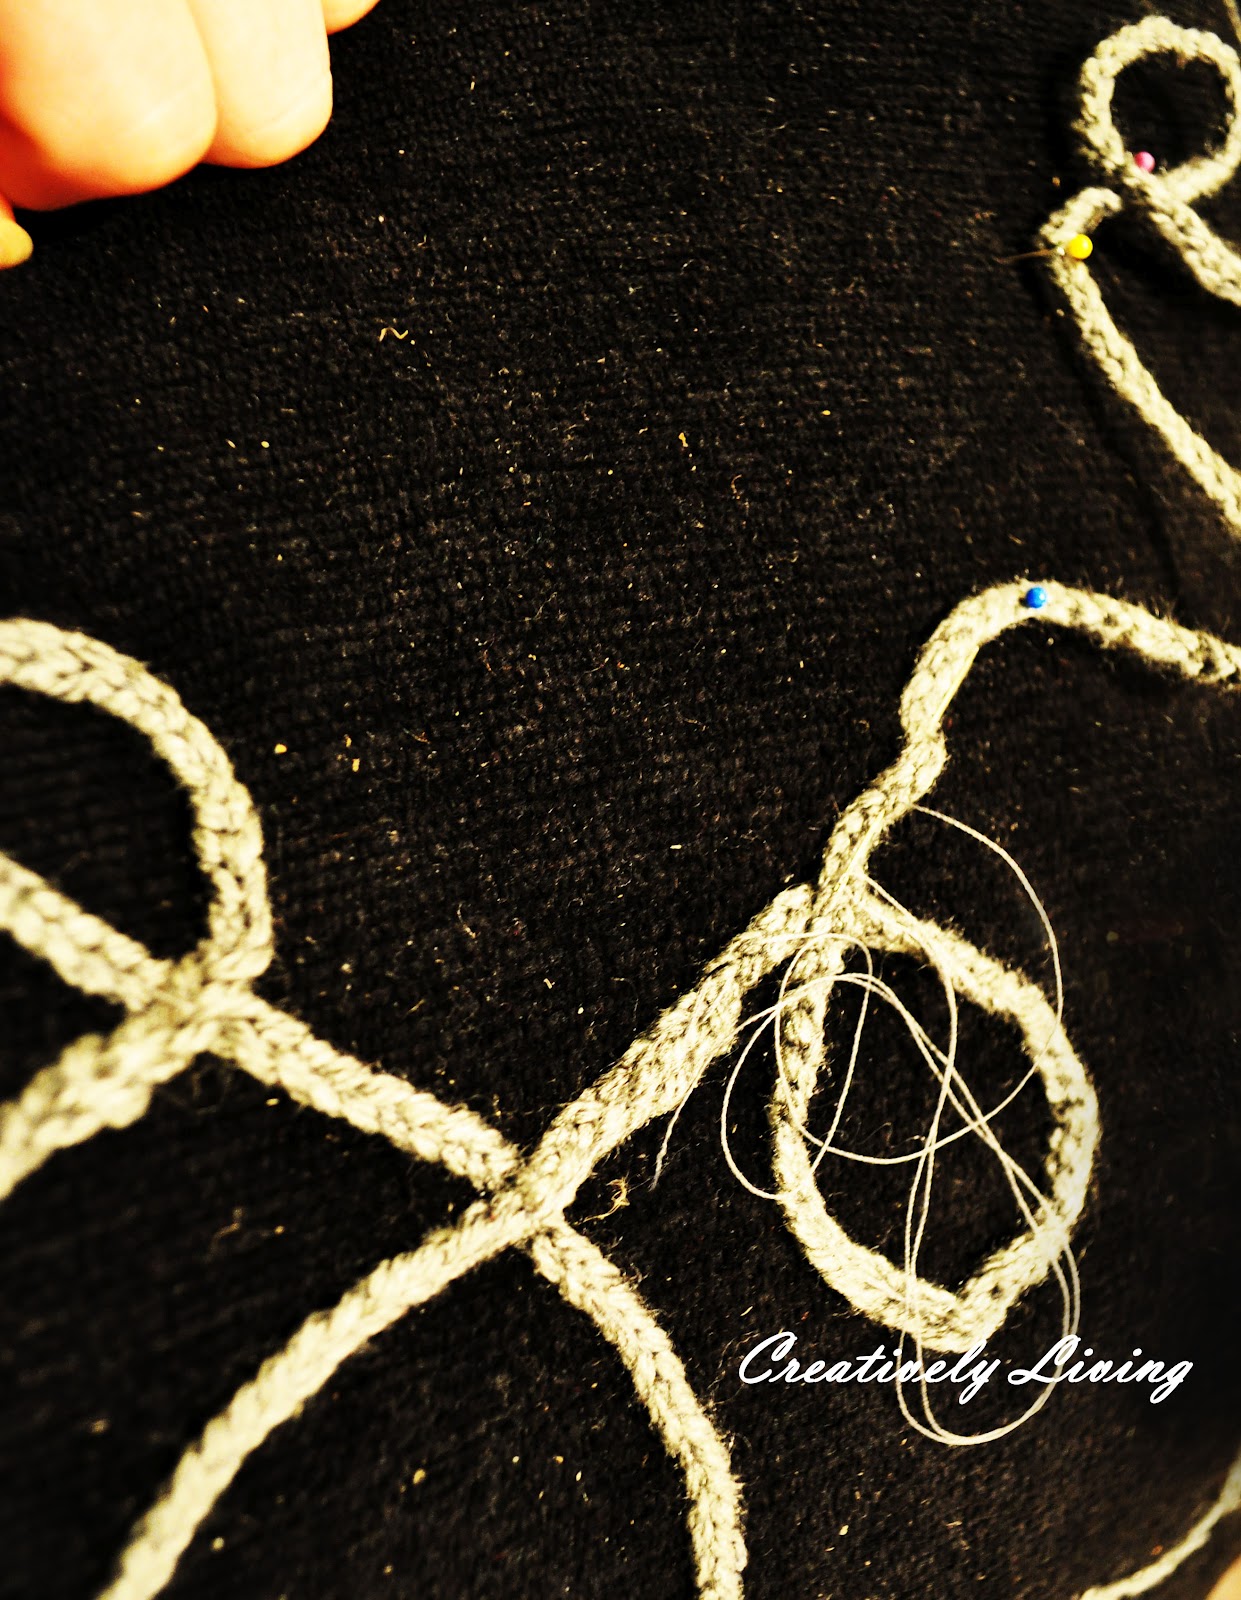
I took a square piece of scrap booking paper, quartered it, and cut some scalloped edges. Then I pinned it to the pillow to use as a guide.
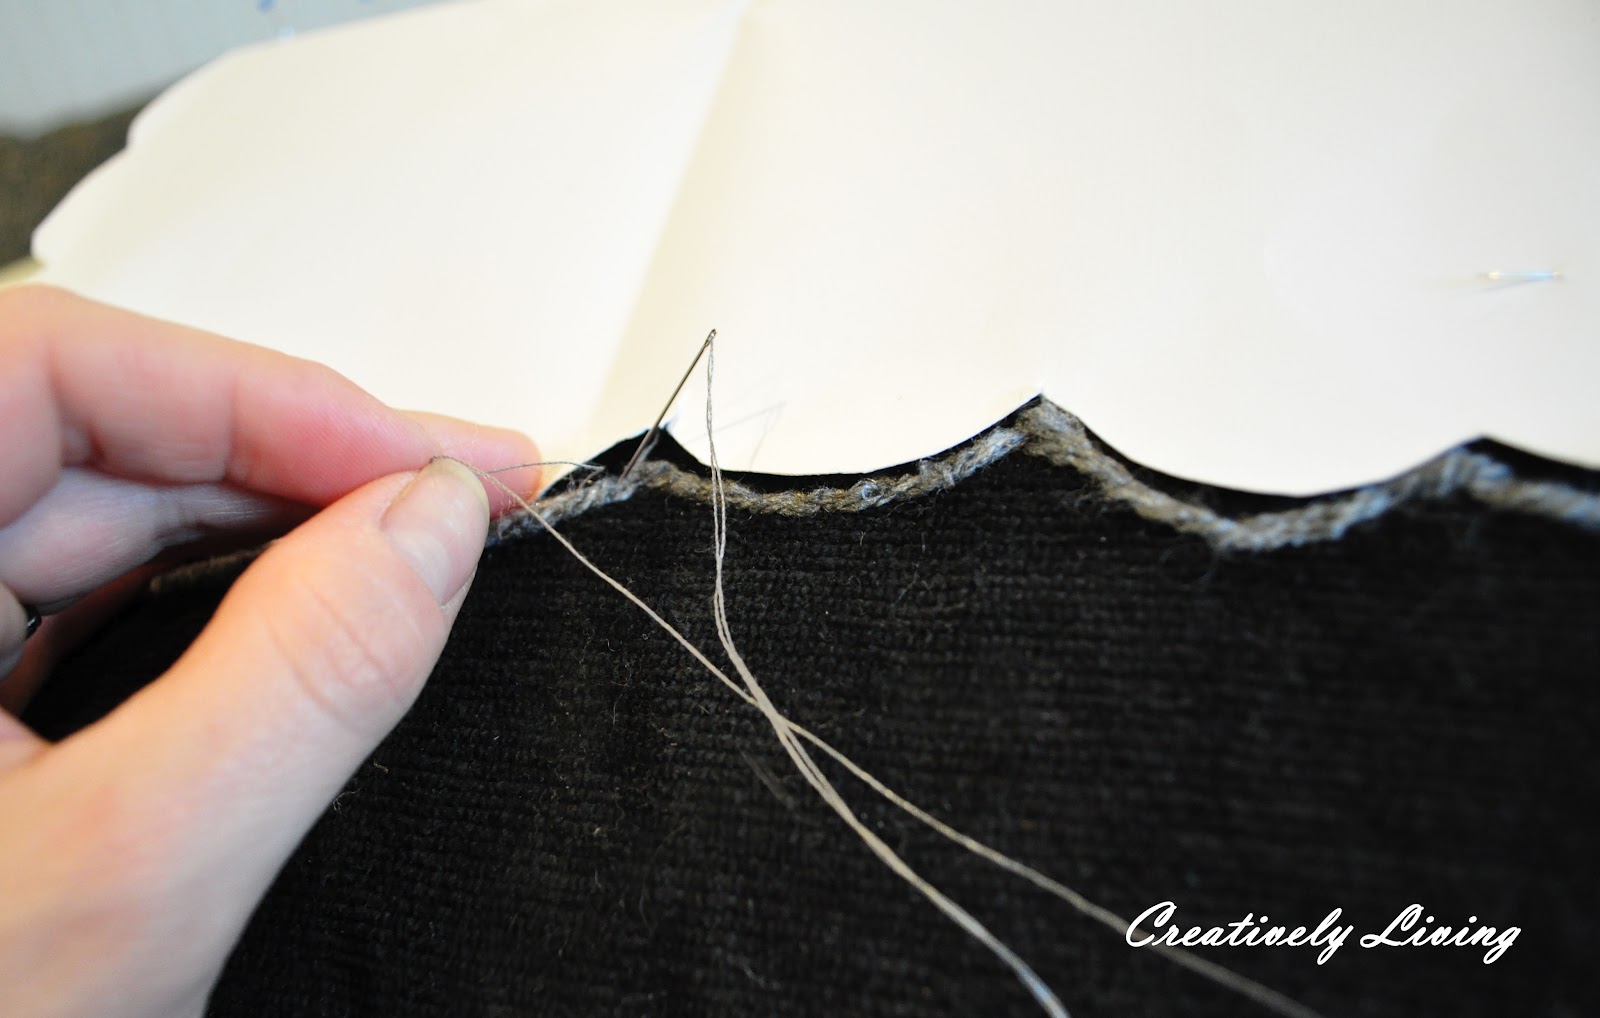
Then I took some yarn and stitched it around the guide.
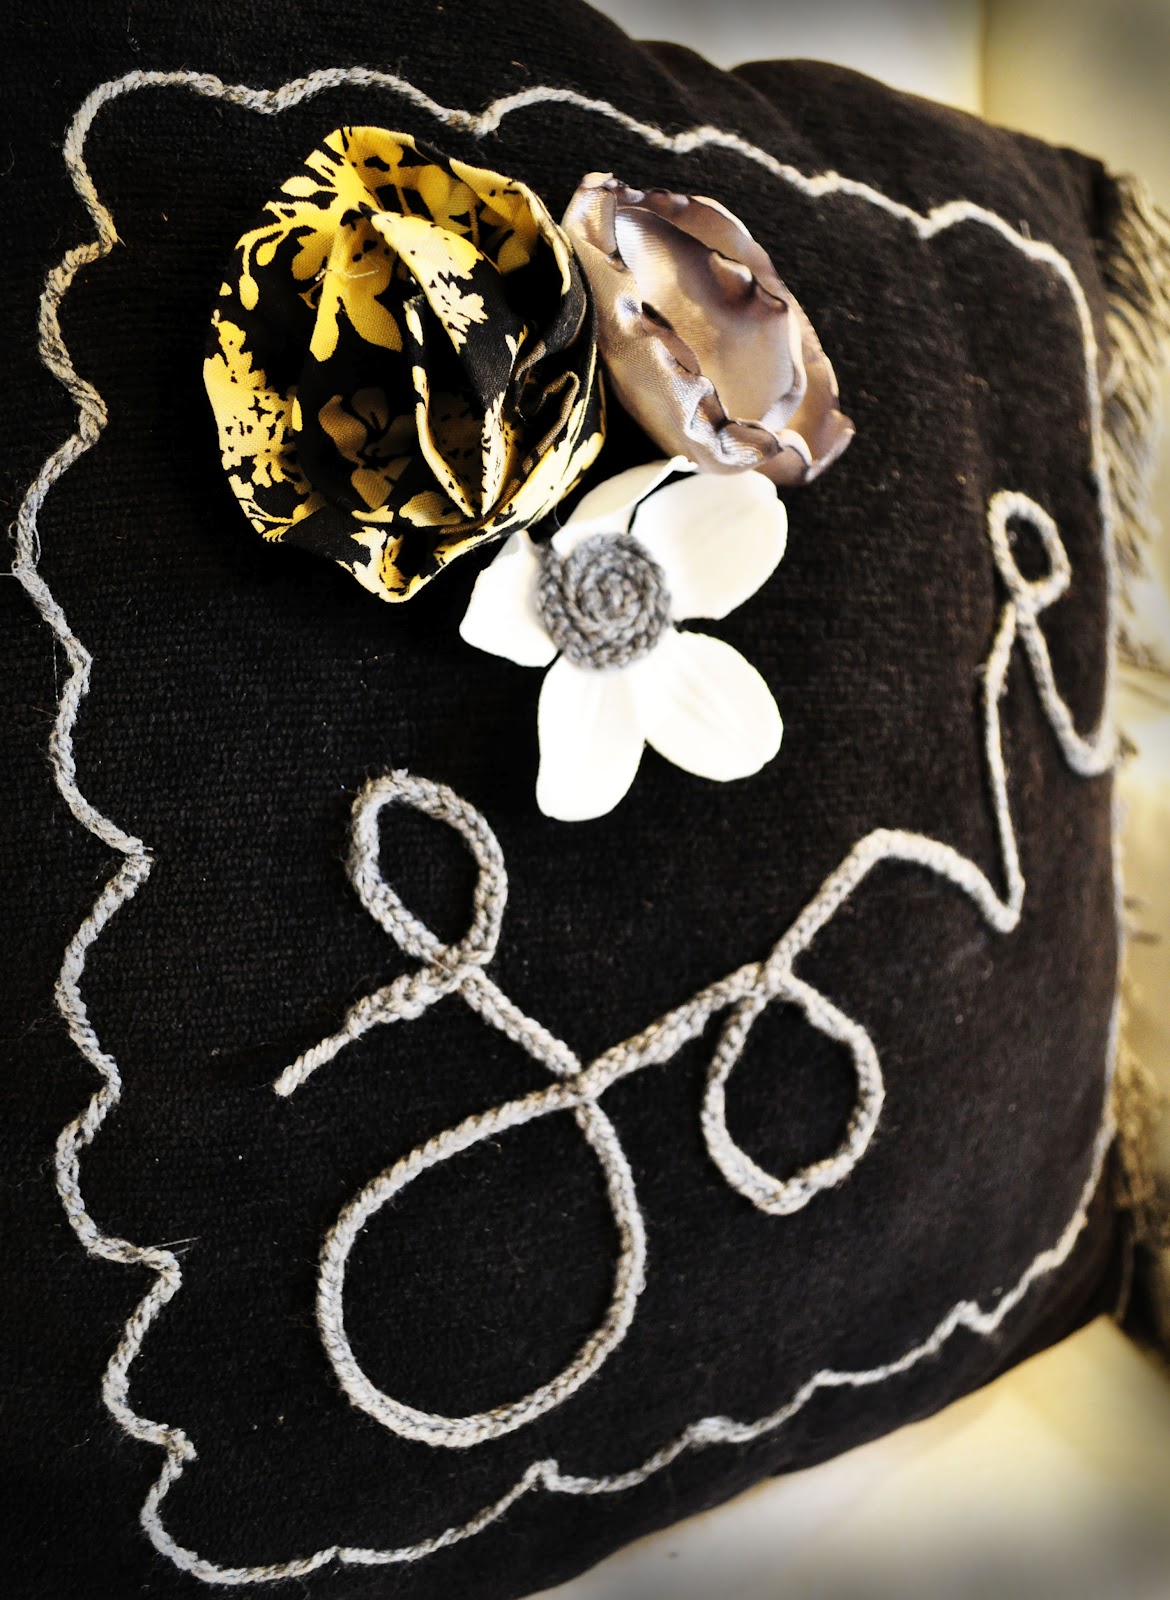
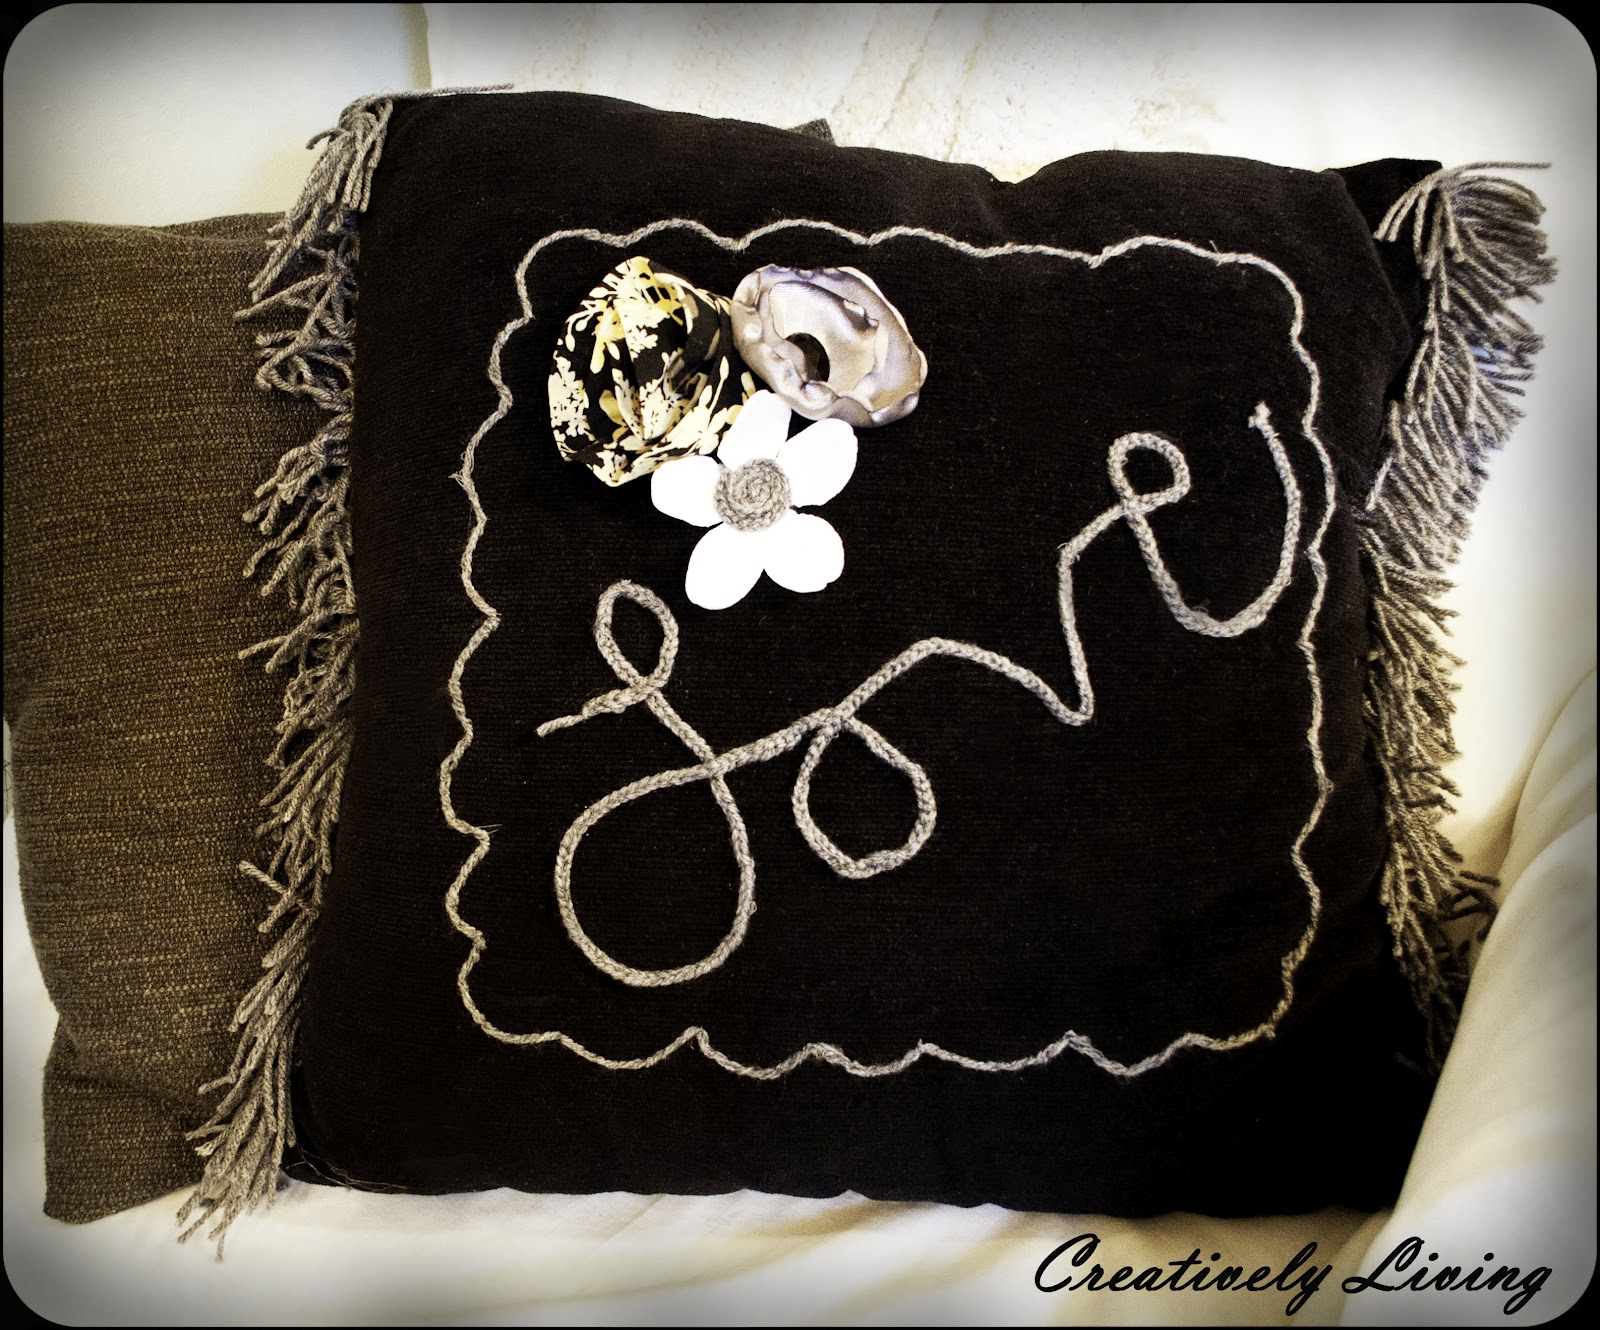
Once I finished stitching around the scalloped edges, I made a finger crochet chain (you can see the letters that I made with the chain below.
Finger chain crochets are really easy. They kept my sisters and me busy for hours when we were kids!
If you don’t know how to make one, there is a quick U-tube video here.
In a nutshell, you make a loop with the yarn, and pull the yarn through your loop, over and over making a chain.
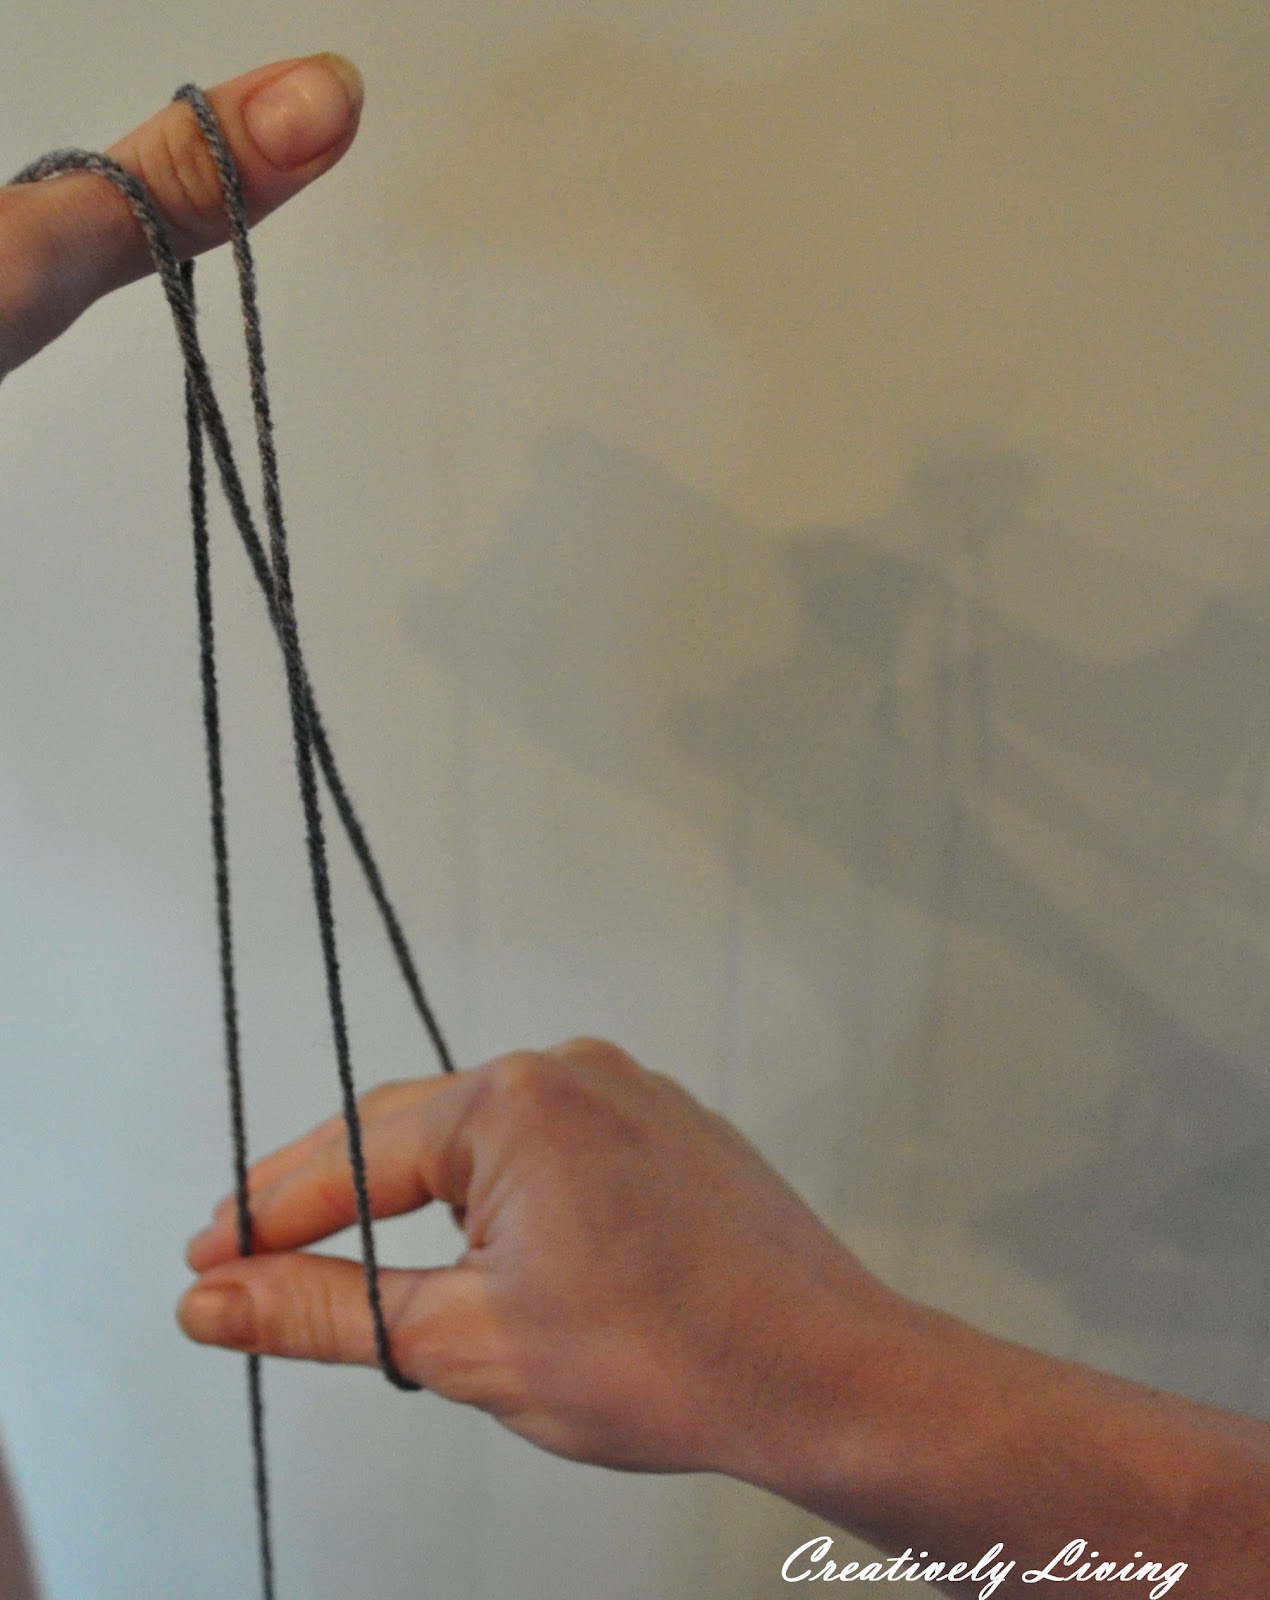
This picture shows me pulling it tight after I pulled the yarn through the loop. It was really hard to explain with these pictures, and that’s why I included the U-tube tutorial above.

You could also make these letters out of plain yarn, but I wanted more texture, so I made them out of the crochet chain. I then put pins where I wanted the letters and quickly stitched them on the pillow.
Next, I embellished the pillow with some flowers I made. If you need a tutorial google “how to make fabric flowers” and you will have a zillion tutorials.
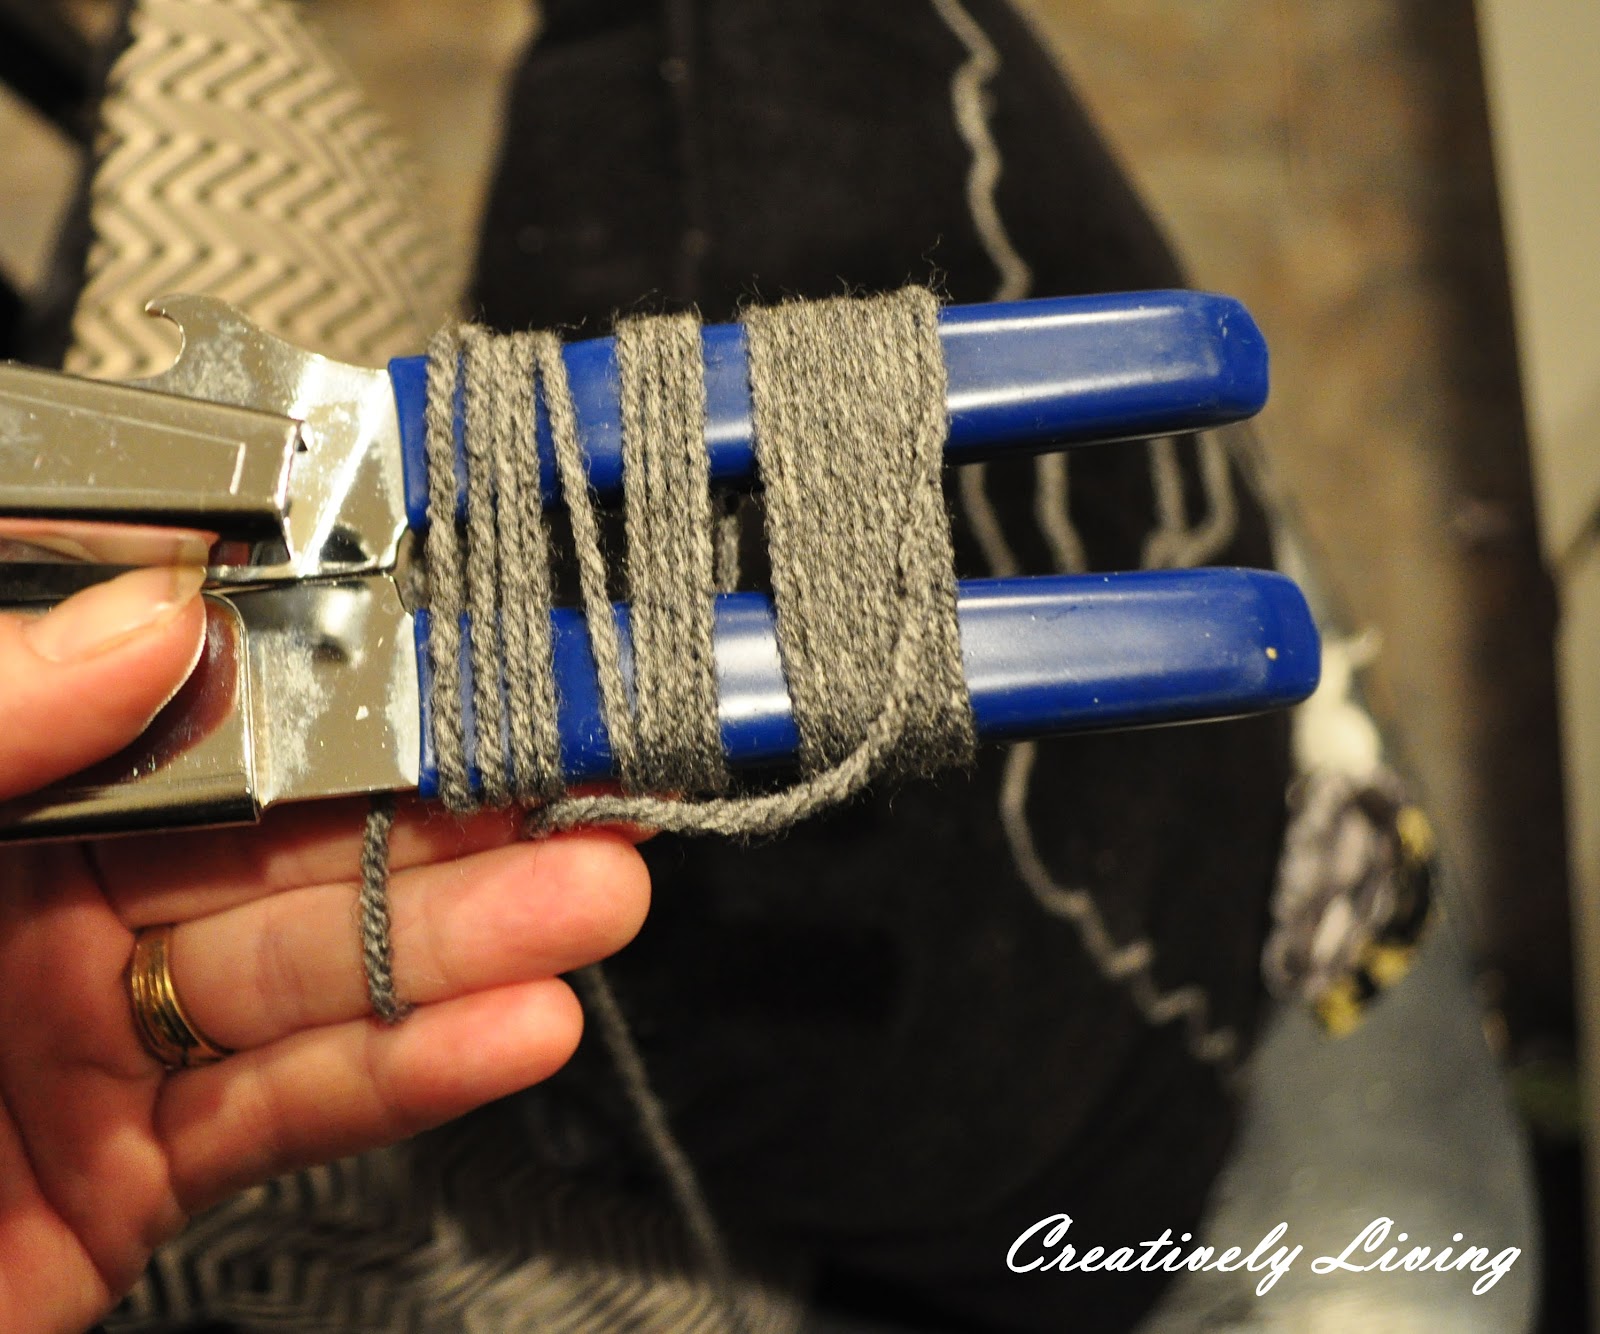
I decided at this point, that I really wanted some yarn shag around the sides, but I was embellishing an already sewn pillow, so sewing the yarn shag in the seam of the pillow sides wasn’t an option. I decided to wrap the yarn around an object that was an appropriate width, and then hot glue it on the sides of the pillow, pulling the object out while the glue was drying.
If you are wanting to wash the pillow often and it is going to get a lot of wear and tear, I would suggest opening up the seams and sewing the shag inside the seam, for durability. My pillow will mainly be for display, so I figured hot glue would do.
Yes, strange, but the only object I could find in my cupboard that was going to work was my can opener, so that’s what I used. I wrapped the yarn…..
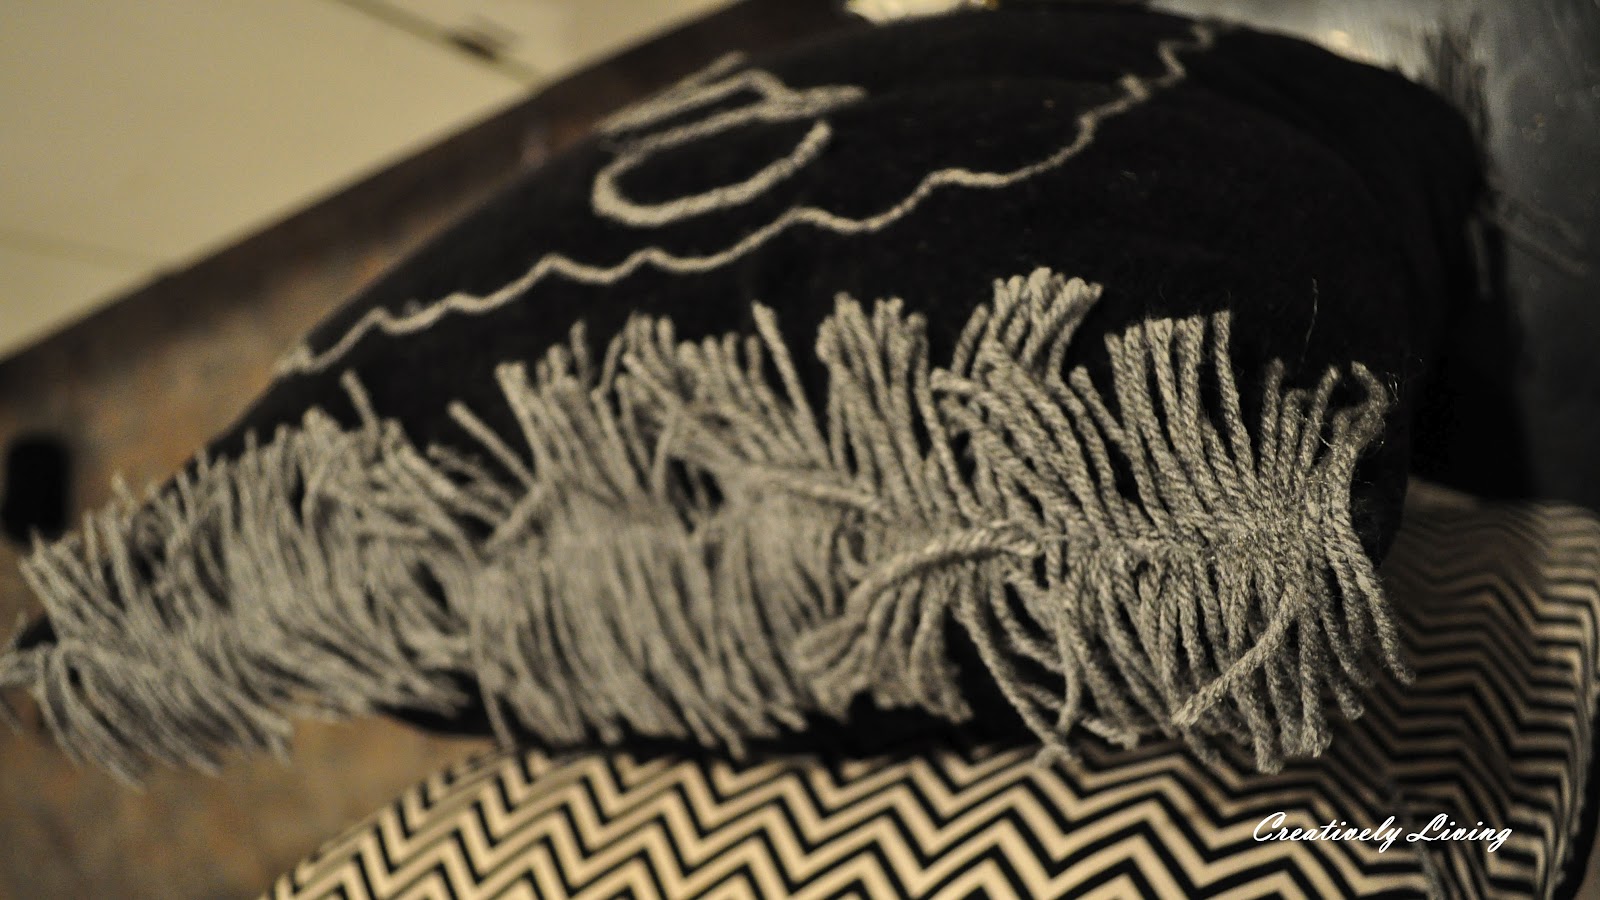
Then I put hot glue on the seam of the pillow, pressed the side of the wrapped yarn in the glue, and then cut the top, creating some “yarn shag”. You can see this in the picture below.
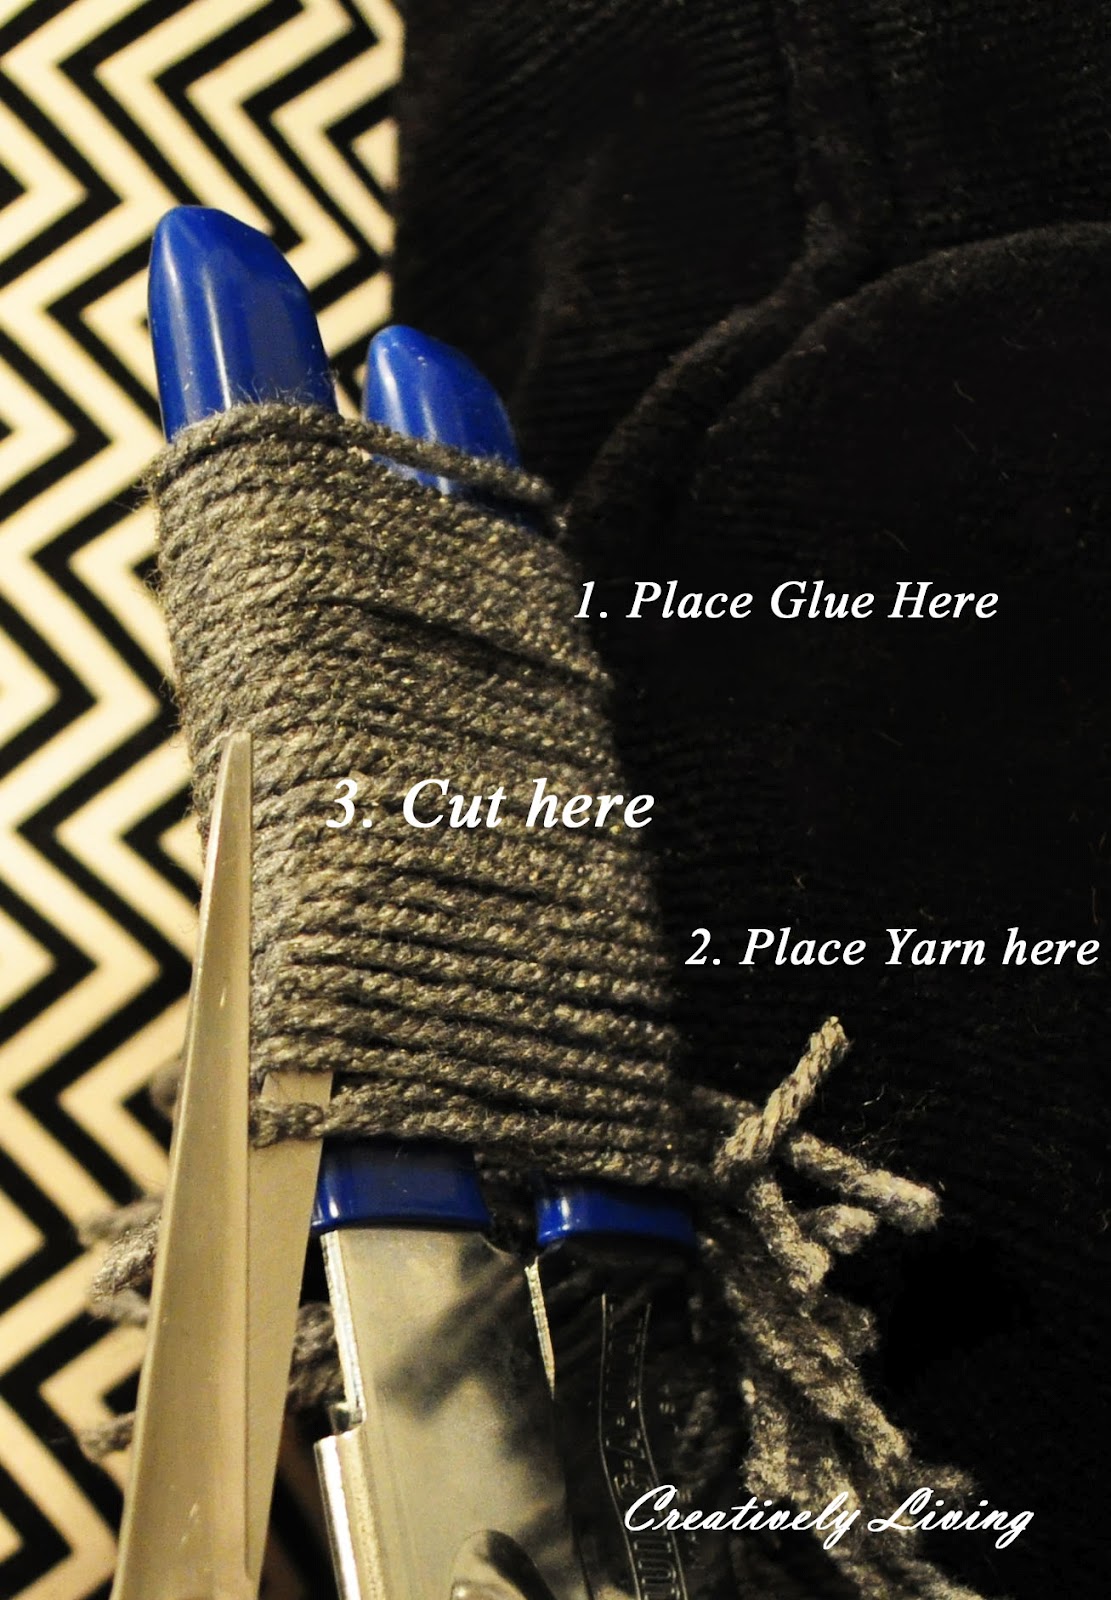
I did this repeatedly, until I had shag on both sides of the pillow.
This project took about 2 hrs and was free, (since I had gray yarn and the fabric scraps).
Now I have a great pillow for this Valentine’s season, that will also work after the holiday!
I might try this again making lots of yarn stitched flowers, the name of a child, or some sort of monogram!
–Katie
~ Thank you Katie!!! That is so cute and very creative. Thanks for sharing your day with us.
This week’s challenge is sponsored by Bombshell Bling.
![]()
To enter this week’s giveaway, go here.